Tutorial: All The Basics You Need to Try React Server Components

On the menu for this month's Optimized Dev challenge: React Server Components.
React Server Components have been teased for what feels like a loooong time, at least in Internet years. The concept was first presented by the React team back in December 2020. Since then, the React team and others in the industry, including Vercel and Shopify, have been refining and implementing the concept.
If you aren’t familiar with React Server Components, or “RSC” for short, they are effectively a way to render React apps on the server while keeping component code away from the browser. This is different than the traditional React Server-Side Rendering that we’re familiar with today where all of an app’s JavaScript is sent to and re-executed in the browser. With RSC, you can pick and choose which components are server-only and which require client-side interactivity.
React Server Components work great with React Suspense, a React feature that lets you manage loading states within your app. In this challenge, you’ll see how RSC and Suspense work together.
🐣 Don’t know what Suspense is?
No problem! Check out our introduction to Suspense to get an understanding of what it is and where you can use it.
Although React Server Components are still in development and not ready for production, you can try them out today thanks to Next.js’s experimental support.
Disclaimer: The concepts you’ll learn throughout the challenge will change by the time React Server Components are officially released. Treat this challenge as a way to get familiar with RSC’s ideas, not as a way to learn their exact APIs.
The Challenge
Your challenge, should you choose to accept it, is to build an RSS feed reader powered by React Server Components. The app will display a combined feed with as many RSS sources you want and let you save your favorite feed items to a database.
Building an RSS feed reader demonstrates many of RSC’s strengths. Parsing an RSS feed’s XML and working with date libraries, for example, are best done on a powerful server, not in a resource-limited client. You’ll also see how you can mix-and-match server-only and client-friendly components to build an interactive but performant app.
Before getting into the details of the challenge, let’s download the challenge project and take a quick tour of what you’ll be starting with.
Not signed up for The Optimized Dev?
Staying on the leading edge of web development just got easier. Explore new tech with a fun, scaffolded coding challenge that lands in your inbox once a month.

Setup
To complete this challenge, we recommend you download and edit the project locally. You can grab a copy of the challenge project using the following commands:
# Download the project
npx degit prismicio-community/optimized-dev-rsc optimized-dev-rsc

# Navigate into the project
cd optimized-dev-rsc

# Start a new Git project to keep track of your progress
git init
git add .
git commit -m "init"
Project Tour
🐔 Risc, the React Server Chicken (”RSC” — get it?), will be your guide throughout the challenge. If you see her throughout the code in your project, she’s there to give you a hint or explain some concepts. You might even see a few 🥚 eggs to give you ideas on how to take the app further.
You’ll start with a standard Next.js app created using create-next-app with the following additions:
- React Server Components have been enabled using an experimental flag in
next.config.js. - Tailwind CSS has been installed to handle styling.
A couple of helper functions have been written for you in the lib directory, but you’ll need to write the rest (🐔: ”Don’t get your feathers in a bunch; I’ll be there to help!”):
savedDB()- A small API that lets you read and write to a JSON file just like a database.fetchRSSFeedItems()- A function to fetch items from a collection of RSS feeds. Only some of the code has been written for you. You and 🐔 Risc will need to come up with your own solution.
Additionally, a few React components have been provided as well:
<Feed>- Renders a list of RSS feed items.<FeedItem>- An individual RSS feed item.<SaveButton>- Saves and unsaves an RSS feed item. LikefetchRSSFeedItems(), this one is mostly empty and awaits your coding skills to complete. 🧙
Finally, a pair of Next.js API routes in the pages/api directory have been included to save and unsave RSS feed items to the database. To keep things simple, the “database” is really just a JSON file saved at db/saved.json. Maybe you can upgrade this to a real database when you’re done with the challenge. 👀 (🐔: ”Hey! Laying 🥚 idea eggs is my job!”)
You can run the app with the following commands:
# Install all of its dependencies first.
npm install

# Then kick start the dev server.
npm run dev

# You can access the app at http://localhost:3000
Step-by-step Tutorial
1. Write a function in lib/fetchRSSFeedItems.js that fetches items from RSS feeds and sorts them by publication date.
The lib/fetchRSSFeedItems.js file has an empty fetchRSSFeedItems() function we need to fill in. We know it needs to do three things:
- Fetch items from RSS feeds.
- Reshape each fetched item using the
buildItem()function provided in the file. - Sort the items by publication date.
To fulfill these requirements, we’re going to use two libraries: rss-parser and Day.js.
rss-parser: Fetches RSS feeds and converts the feeds’ XML into JavaScript objects.Day.js: Manipulates JavaScript date objects with a simple API.
Day.js is already installed in the project, but rss-parser will need to be installed via npm:
npm install rss-parserIn fetchRSSFeedItems.js, we’ll need to import the two libraries at the top of the file. We’re going to use two Day.js plugins that let us work with timezones more reliably, so we’ll also need to import those plugins. Different feeds might return dates from different time zones, which could cause problems if they aren’t handled properly.
// lib/fetchRSSFeedItems.js

import RSSParser from "rss-parser";
import dayjs from "dayjs";
import utc from "dayjs/plugin/utc";
import timezone from "dayjs/plugin/timezone";

import { feedURLs } from "../config";

// Register the Day.js plugins.
dayjs.extend(utc);
dayjs.extend(timezone);
We’ll need to create an instance of RSSParser that we can use in our fetchRSSFeedItems() function. We can create a new instance right after the buildItem() function:
const parser = new RSSParser()Further down the file, we can implement fetchRSSFeedItems() with the newly installed libraries. Here’s what a fully implemented function could look like:
// lib/fetchRSSFeedItems.js

/**
 * Fetches RSS feed items from URLs configured in `config.js`'s `feedURLs`
 * export. Each RSS feed item is reshaped to better suit the app and reduce
 * in-app network payload sizes.
 *
 * It uses `dayjs` on the server to sort all items by publication date.
 */
export const fetchRSSFeedItems = async () => {
  // 1. Fetch each RSS feed in `feedURLs`.
  const feeds = await Promise.all(
    (feedURLs || []).map((url) => {
      return parser.parseURL(url);
    })
  );

  // 2. Simplify the RSS feed items with `buildItem()` and sort the items
  //    by publication date.
  const items = feeds
    .flatMap((feed) =>
      feed.items.map((item) => {
        return buildItem({ item, feed });
      })
    )
    .sort((a, b) => {
      return dayjs(b.pubDate).diff(dayjs(a.pubDate));
    });

  // 3. Return the simplified, sorted items.
  return items
};
We won’t be able to see the RSS feed items in our app yet, but we will after the next step.
2. Use the fetchRSSFeedItems() function in the home page to display the list of RSS feed items. A starting file has been written for you at pages/index.server.js.
The getServerSideProps() function in pages/index.server.js has a constant called items. It’s set to an empty array initially, so we’ll need to change that to use our fetchRSSFeedItems() function we just implemented.
This should be a simple change; import the function:
// pages/index.server.js

// At the top of the file:
import { fetchRSSFeedItems } from "../lib/fetchRSSFeedItems";
Then replace const items = [] with our function call:
// pages/index.server.js
// At the bottom of the file:
/**
* A server-only function that fetches the page's data. It should fetch all RSS
* feed items and a list of saved items.
*
* Data should be returned as `items` and `saved` props to be used in the
* page's component above.
*/
export const getServerSideProps = async () => {
// Use `fetchRSSFeedItems()` to fetch the RSS feed items.
const items = await fetchRSSFeedItems();
const saved = await savedDB.loadAll();
return {
props: {
items,
saved,
},
};
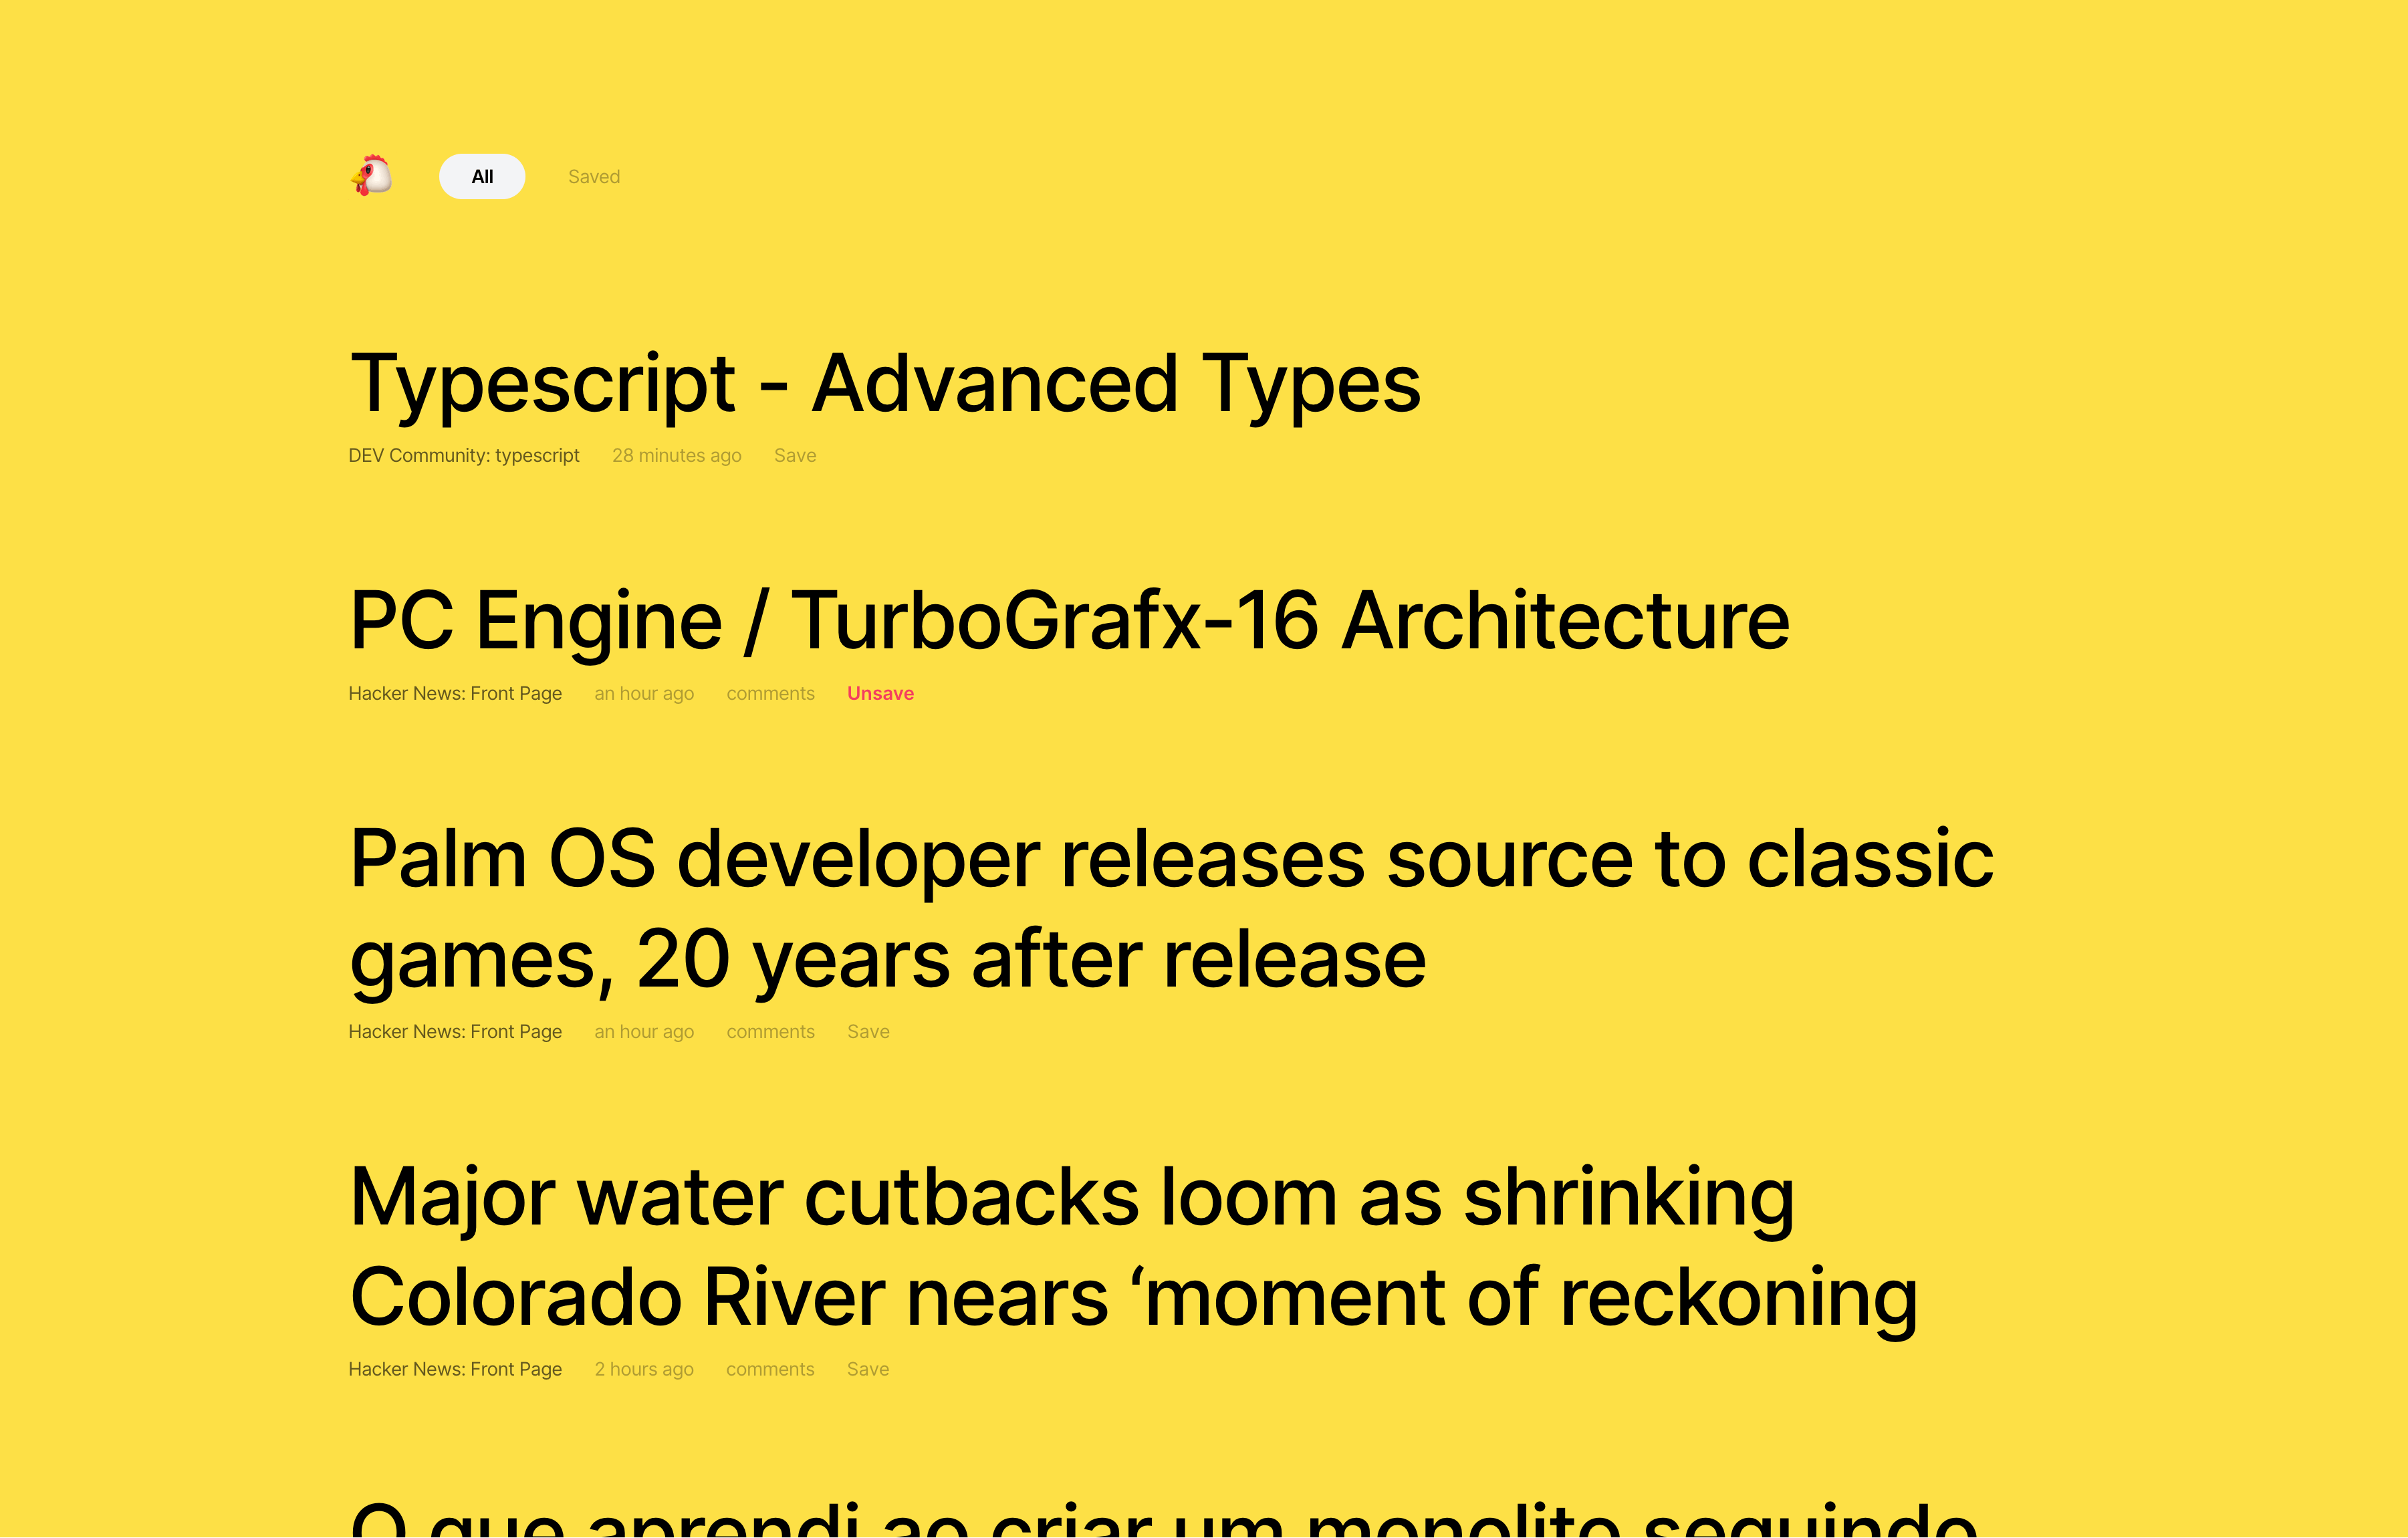
};At this point, we should be able to navigate to the home page at http://localhost:3000 and see a list of RSS feed items.
3. Display the publication date for each RSS feed item using a relative format like “6 hours ago” by editing <FeedItem> in components/FeedItem.server.js.
The home page lists our RSS feed items, but the publication date is an ugly, default-looking timestamp. We can do better than that!
We’re going to use Day.js again to convert the timestamp to a relative format like “6 hours ago.” Luckily, Day.js has a plugin in that does that conversion with a single function call. Because <FeedItem> is in a server-only component (notice the .server.js file extension?), we can import hefty libraries without worrying about bloating our app’s JavaScript bundle size.
First, let’s open components/FeedItem.server.js and import Day.js and its Relative Time plugin.
// components/FeedItem.server.js

import dayjs from "dayjs";
import relativeTime from "dayjs/plugin/relativeTime";

// Register the Day.js plugin.
dayjs.extend(relativeTime);
Next, we can replace the current way the publication date is rendered with a Day.js-enhanced version. Find the {publishedAt} line somewhere toward the middle of the component and update it with the following code dayjs() wrapped code:
// components/FeedItem.server.js

<dd className="capsize">
  {dayjs(publishedAt).fromNow()}
</dd>
💥 Boom! Now we have nicer-looking dates in our feed.
At this point, I encourage you to check out your app’s bundled JavaScript. You can do this by opening your browser’s developer tools and checking out its “Network” tab. You should be able to inspect the JavaScript files loaded by your app.
In a non-React Server Components app, you would see Day.js and its plugin taking up a large part of your app’s JavaScript. But because the <FeedItem> component is only rendered on the server, none of its JavaScript ends up in the browser.
This behavior is one React Server Components’ biggest benefits: it lets you ship less code, resulting in better performance.
4. Create a <SaveButton> component in components/SaveButton.client.js that, when clicked, saves or unsaves a feed item using the /api/save and /api/unsave API endpoints.
To add a working save/un-save button, we’ll need to add some logic to components/SaveButton.client.js’s existing code. Luckily, we’re already given a few things, like a save() and unsave() function, as well as an empty toggle() click handler.
Here’s the plan:
- Fill in
toggle()so it callssave()andunsave()according to the isSaved state. - Display a spinner while the
save()orunsave()functions are making a network request.
We’ll start by implementing toggle() using the simplest solution possible.
const toggle = () => {
  isSaved ? unsave() : save()
}
Nothing fancy happening here. When the “Save” button is clicked, toggle() is called, which triggers a network request to save or un-save the item.
When you click the button, however, you don’t get any feedback until the request is complete. Not great. Let’s improve the user experience by displaying a spinner while the network request is pending.
There are a few ways we can do this:
- Add a
pendingstate variable that we toggle fromtruetofalseas the network request starts and resolves. - Use React’s
<Suspense>component to automatically toggle between a loading and idle UI. - Use React’s new
useTransition()hook to get<Suspense>-like behavior, but scoped to this specific component.
Options #2 and #3 are, in my opinion, the best choices as they use React’s purpose-built solution for handling loading states: <Suspense>. For this challenge, let’s go with Option #3 to learn a new API in case you haven’t already tried it yourself.
We’ll need to add two new hooks: one to manage the transition (in our case, the transition is the act of moving from “loading” to “resolved”), and another to manage the Promise created by save() and unsave().
First, import useTransition() from React and suspensify() from lib/suspensify.js at the top of the file.
// components/SaveButton.client.js

import { useState, useTransition } from "react";
import { suspensify } from "../lib/suspensify";
Next, add a useTransition() hook under the isSaved constant:
// components/SaveButton.client.js

const [clientSideIsSaved, setClientSideIsSaved] = useState();
const isSaved = clientSideIsSaved ?? initialIsSaved;

// Add the following line:
const [isPending, startTransition] = useTransition();isPendinglets us know when a transition is happening. In our case, the transition is the act of moving from a “loading” network request to a “resolved” network request.startTransition()lets us tell React that we’re beginning a transition. We’ll use this function to wrap the save/unsave network request we’ll make intoggle().
Then add the following useState() hook and if statement after the useTransition() hook:
// components/SaveButton.client.js

const [clientSideIsSaved, setClientSideIsSaved] = useState();
const isSaved = clientSideIsSaved ?? initialIsSaved;

const [isPending, startTransition] = useTransition();

// Add the following lines:
const [networkRequest, setNetworkRequest] = useState();
if (networkRequest) {
  networkRequest.read();
}networkRequeststores the network request in React state. Keeping it in state lets us trigger a re-render easily.networkRequest.read()triggers the component to “suspend,” causingisPendingto change totrueand letting us render a loading indicator until the network request has resolved.
To tie all of those additions together, update the toggle() function with the following contents:
// components/SaveButton.client.js

const toggle = () => {
  startTransition(() => {
    setNetworkRequest(suspensify(isSaved ? unsave() : save()));
  });
};
The toggle() function will be called when the save button is clicked, triggering a few actions:
save()orunsave()will be called depending on the save state of the item. Both functions start a network request to update the database.- The network request
Promiseis wrapped by thesuspensify()function, letting us hook into React’s Suspense handling. - The wrapped
Promiseis set in thenetworkRequeststate variable, allowing us to access it outside the function. Once the state variable is set, the component will re-render, triggeringnetworkRequest.read()to be called again. The component will be marked as “loading” since thePromiseis pending. - All of this is wrapped in a
startTransition()call which ensures theisPendingvariable updates in response to the network request’s loading state.
A lot is happening in that small function!
If you want to learn more about React Suspense and the suspensify() function used in this challenge, check out "Understanding the Magic of React Suspense." It gives a general introduction to Suspense and explains how it works under the hood using the suspensify() function.
The last change we need to make is to render a loading indicator when isPending is true. Luckily, the react-spinners library is already installed in your project. Add the following import to SaveButton.client.js:
// components/SaveButton.client.js

import PulseLoader from "react-spinners/PulseLoader";
Next, change the return value of the component to the following:
// components/SaveButton.client.js

if (isPending) {
  return (
    <div className="capsize">
      <PulseLoader color="currentColor" size={4} />
    </div>
  );
} else {
  return (
    <button
      onClick={toggle}
      className={cn("capsize", isSaved && "font-bold text-rose-500")}
    >
      {isSaved ? "Unsave" : "Save"}
    </button>
  );
}
Now if you click the “Save” or “Unsave” button on a feed item, you’ll see an animated loading indicator while the network request is pending.
Note that unlike the FeedItem.server.js file, which is only rendered on the server, SaveButton.client.js is rendered on the server and in the client. By rendering it in the client, we can add interactive elements, such as toggling between “Save,” “Unsave,” and the loading indicator. This comes at a cost, however; the component’s JavaScript is shipped to the browser, ultimately slowing your app down.
To see the cost of using a client-rendered component, check your app’s bundled JavaScript like you might have done in Step 3. You can do this by opening your browser’s developer tools and checking out its “Network” tab. You should be able to inspect the JavaScript files loaded by your app.
You’ll find SaveButton.client.js's code somewhere in the JavaScript files, including react-spinners and the suspensify() function. All of that code needs to be downloaded and parsed by the browser, forcing users to wait before interacting with your app. If you are writing a React Server Components-enabled app, prefer using server-rendered components whenever possible for the best performance and to minimize the amount of JavaScript sent to the client.
5. Create a page to see all of your saved items in pages/saved.server.js.
We’ve arrived at the final step of the challenge. We’ll make this one quick.
To display your saved items on the http://localhost:3000/saved page, we need to make two changes to pages/saved.server.js:
- Fetch your saved items in
getServerSideProps(). - Render the feed in the page’s component.
To fetch your saved items, first import the database API at the top of the file:
// pages/saved.server.js

// At the top of the file:
import * as savedDB from "../lib/savedDB";
Then add the following getServerSideProps() code to the bottom of the file to load your saved items and return it as a saved prop:
// pages/saved.server.js

// At the bottom of the file:
export const getServerSideProps = async () => {
  // Load all of the saved items.
  const saved = await savedDB.loadAll();

  return {
    props: {
      saved,
    },
  };
};
Next, we’ll need to update the page’s component. Because the database saved the feed items exactly as they came from our fetchRSSFeedItems() function, we can treat the saved items exactly like unsaved ones. This means we can copy and paste code directly from the homepage.
Here’s what the page’s component should look like. Note that the <Feed> component needs to be imported at the top of the file.
// pages/saved.server.js
// At the top of the file:
import Feed from "../components/Feed.server";
// Further down in the file:
/**
* The app's "Saved" page. It lists RSS feed items that have been saved.
*
* Note: This component only renders on the server since its filename ends with
* `.server.js`. Its JavaScript will not be sent to the browser.
*/
export default function SavedPage({ saved }) {
return (
<Layout activeRoute="/saved">
{saved.length > 0 ? (
<Feed items={saved} saved={saved} />
) : (
<p className="italic text-black/40 text-sm capsize">
There’s nothing here! Go save some stuff!
</p>
)}
</Layout>
);
}Compared to the home page’s code in pages/index.server.js, we removed the items prop, replaced it with the saved prop, and added a custom “empty” message.
Now you should be able to navigate to http://localhost:3000/saved and see all of your saved items.
Wrap-up
Phew! You made it to the end. I’m sure 🐔 Risc is very proud of you. (🐔: “Indeed!”)
Throughout this challenge, you covered several concepts:
- Fetching remote RSS feeds
- Rendering static server-only components (such as
FeedItem.client.js) - Rendering interactive client components (such as
SaveButton.client.js) - Using Suspense with
useTransition()to handle asynchronous network requests
Each of these concepts demonstrates some of what React Server Components provide. They let you build more performant, more flexible apps using the latest features React has to offer.
Remember: The APIs you tried today are experimental and will very likely change by the time React Server Components is officially released. Because you experienced some of its high-level concepts in this challenge, you might be ahead of others when it comes time to learn the full version of React Server Components.
If you want to be the first to hear when React Server Components are released, check the React blog or follow the React Twitter feed.
See you next month in the next issue of The Optimized Dev! 👋 (🐔: flaps wings)


