How to Build Website Navigation in Prismic: One, Two, or Three Levels

There are three common kinds of website navigation:
- A list of links. One level. Simple.
- Groups of links. Two levels. Easy.
- Collections of groups of links. Three levels. Complex, but straightforward.
This article shows how to implement each one in Prismic. Start from this guide and customize your navigation based on your design.
Our recommendation
Choose the simplest kind of navigation that works for your design. Only graduate to a more complex navigation model when you need it.
We’ll use the Prismic CLI to create the navigation models directly from the command line in your website project. If you prefer to use a visual interface, you can use your Prismic repository’s Type Builder instead. If you don’t have access to the Type Builder, you can also use Slice Machine.
One level: a list of links
This is the simplest kind of navigation. It contains a flat list of links with no categories, groups, or dropdown menus.
Tailwind CSS and Raycast use this kind of navigation:


Modeling a single-level navigation list in Prismic requires just one field: a repeatable link field. We recommend putting it in a single Settings custom type alongside your website’s other settings.
Here’s how to model it using the Prismic CLI:
# Create a Settings custom type
npx prismic type create Settings --single

# Add a repeatable link field
npx prismic field add link navigation_links --repeatable --allow-text --to-type settings

# Commit your changes
git add customtypes/* prismicio-types.d.ts
git commit -m "Add navigation management"

# Push the changes to Prismic
npx prismic push
Here’s how it looks in the Page Builder:
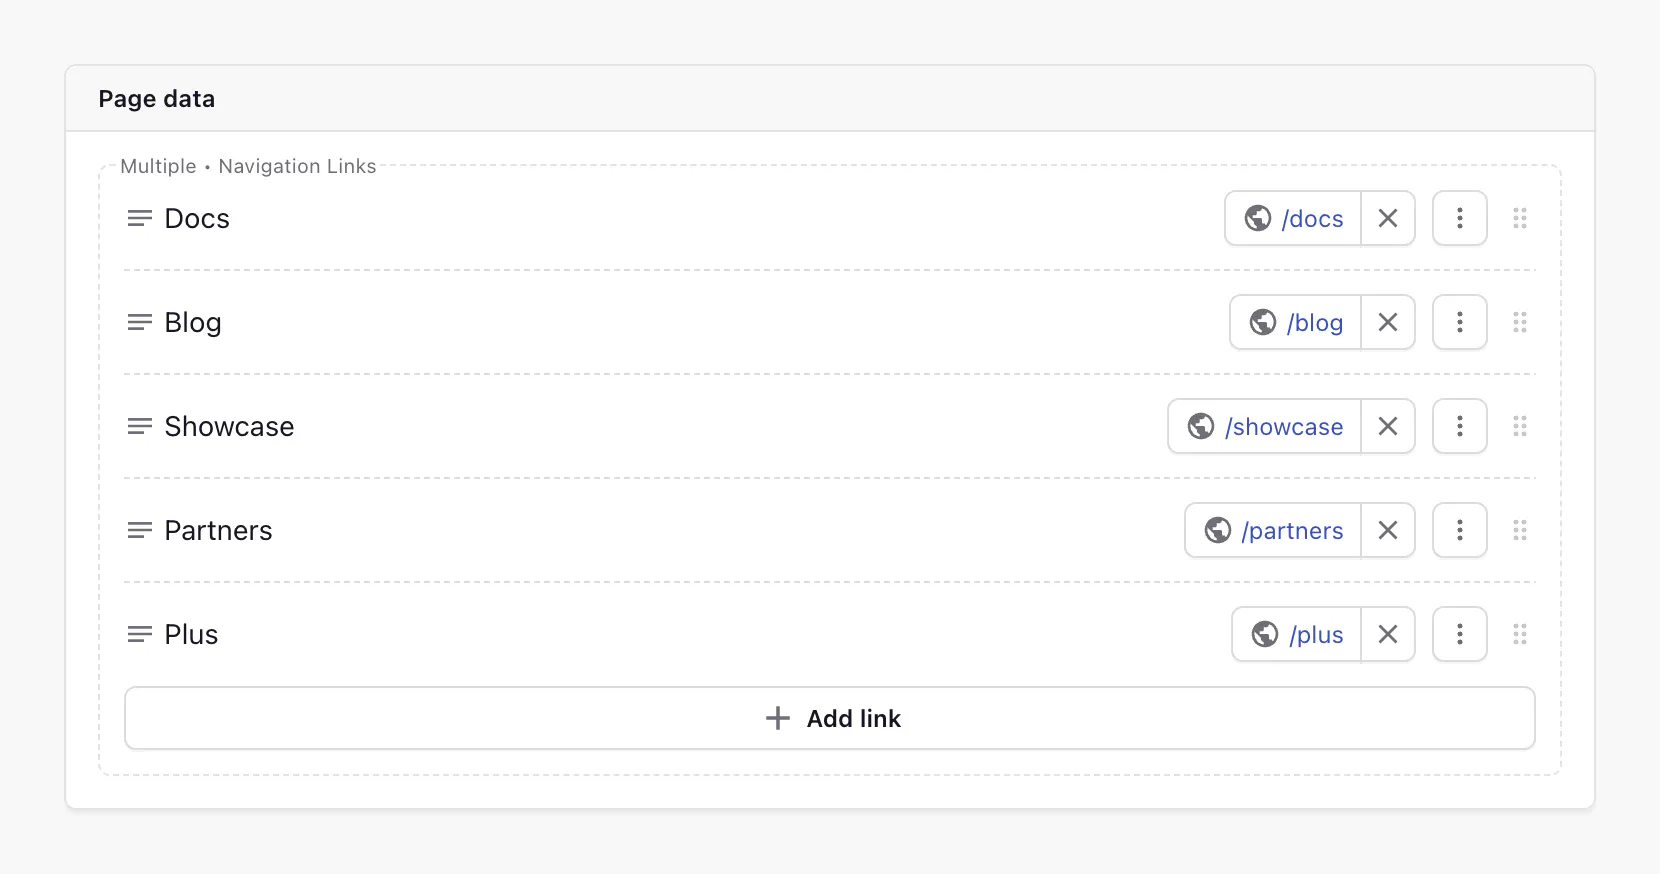
Now, render it using a loop. This example uses Next.js, but it can be adapted to any framework:
import { PrismicNextLink } from "@prismicio/next";
import { createClient } from "@/prismicio";

export async function Header() {
  const client = createClient();
  const settings = await client.getSingle("settings");

  return (
    <header>
      <nav>
        <ul>
          {settings.data.navigation_links.map((link) => (
            <li key={link.key}>
              <PrismicNextLink field={link} />
            </li>
          ))}
        </ul>
      </nav>
    </header>
  );
}
Using an AI agent?
Point your agent to this blog post to perform the coding and CLI commands for you. This article is written as a reference for agents, like Claude Code, Codex, and Cursor.
Two levels: groups of links
This is a surprisingly uncommon kind of navigation. Each top-level item uses a label or link to categorize a flat list of links beneath it. Unlike three-level navigation, the links within each list aren’t grouped any further.
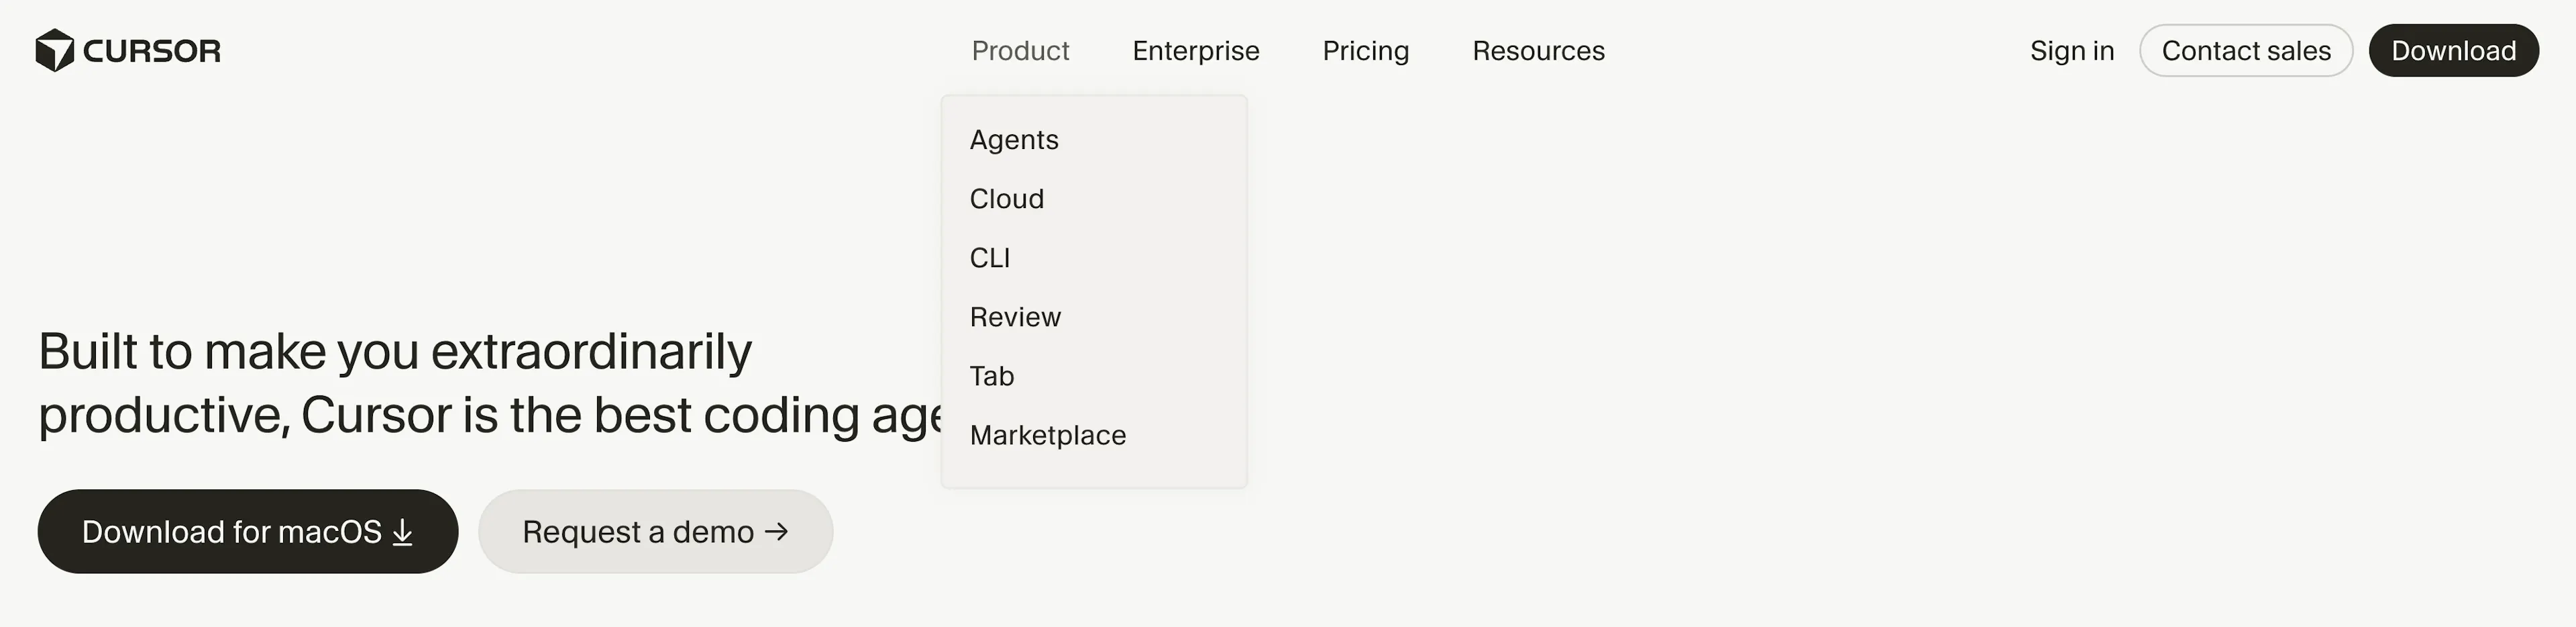
Cursor uses this kind of navigation:
Modeling a two-level navigation list in Prismic requires three fields: a repeatable group field, a text label field, and a repeatable link field. As with the one-level navigation, we recommend putting them in a single Settings custom type.
Here’s how to model it using the Prismic CLI:
# Create a Settings custom type
npx prismic type create Settings --single

# Add a repeatable group field
npx prismic field add group navigation --to-type settings

# Add a group label field
npx prismic field add text navigation.label --to-type settings

# Add a repeatable link field
npx prismic field add link navigation.links --repeatable --allow-text --to-type settings

# Commit your changes
git add customtypes/* prismicio-types.d.ts
git commit -m "Add navigation management"

# Push the changes to Prismic
npx prismic push
Here’s how it looks in the Page Builder:
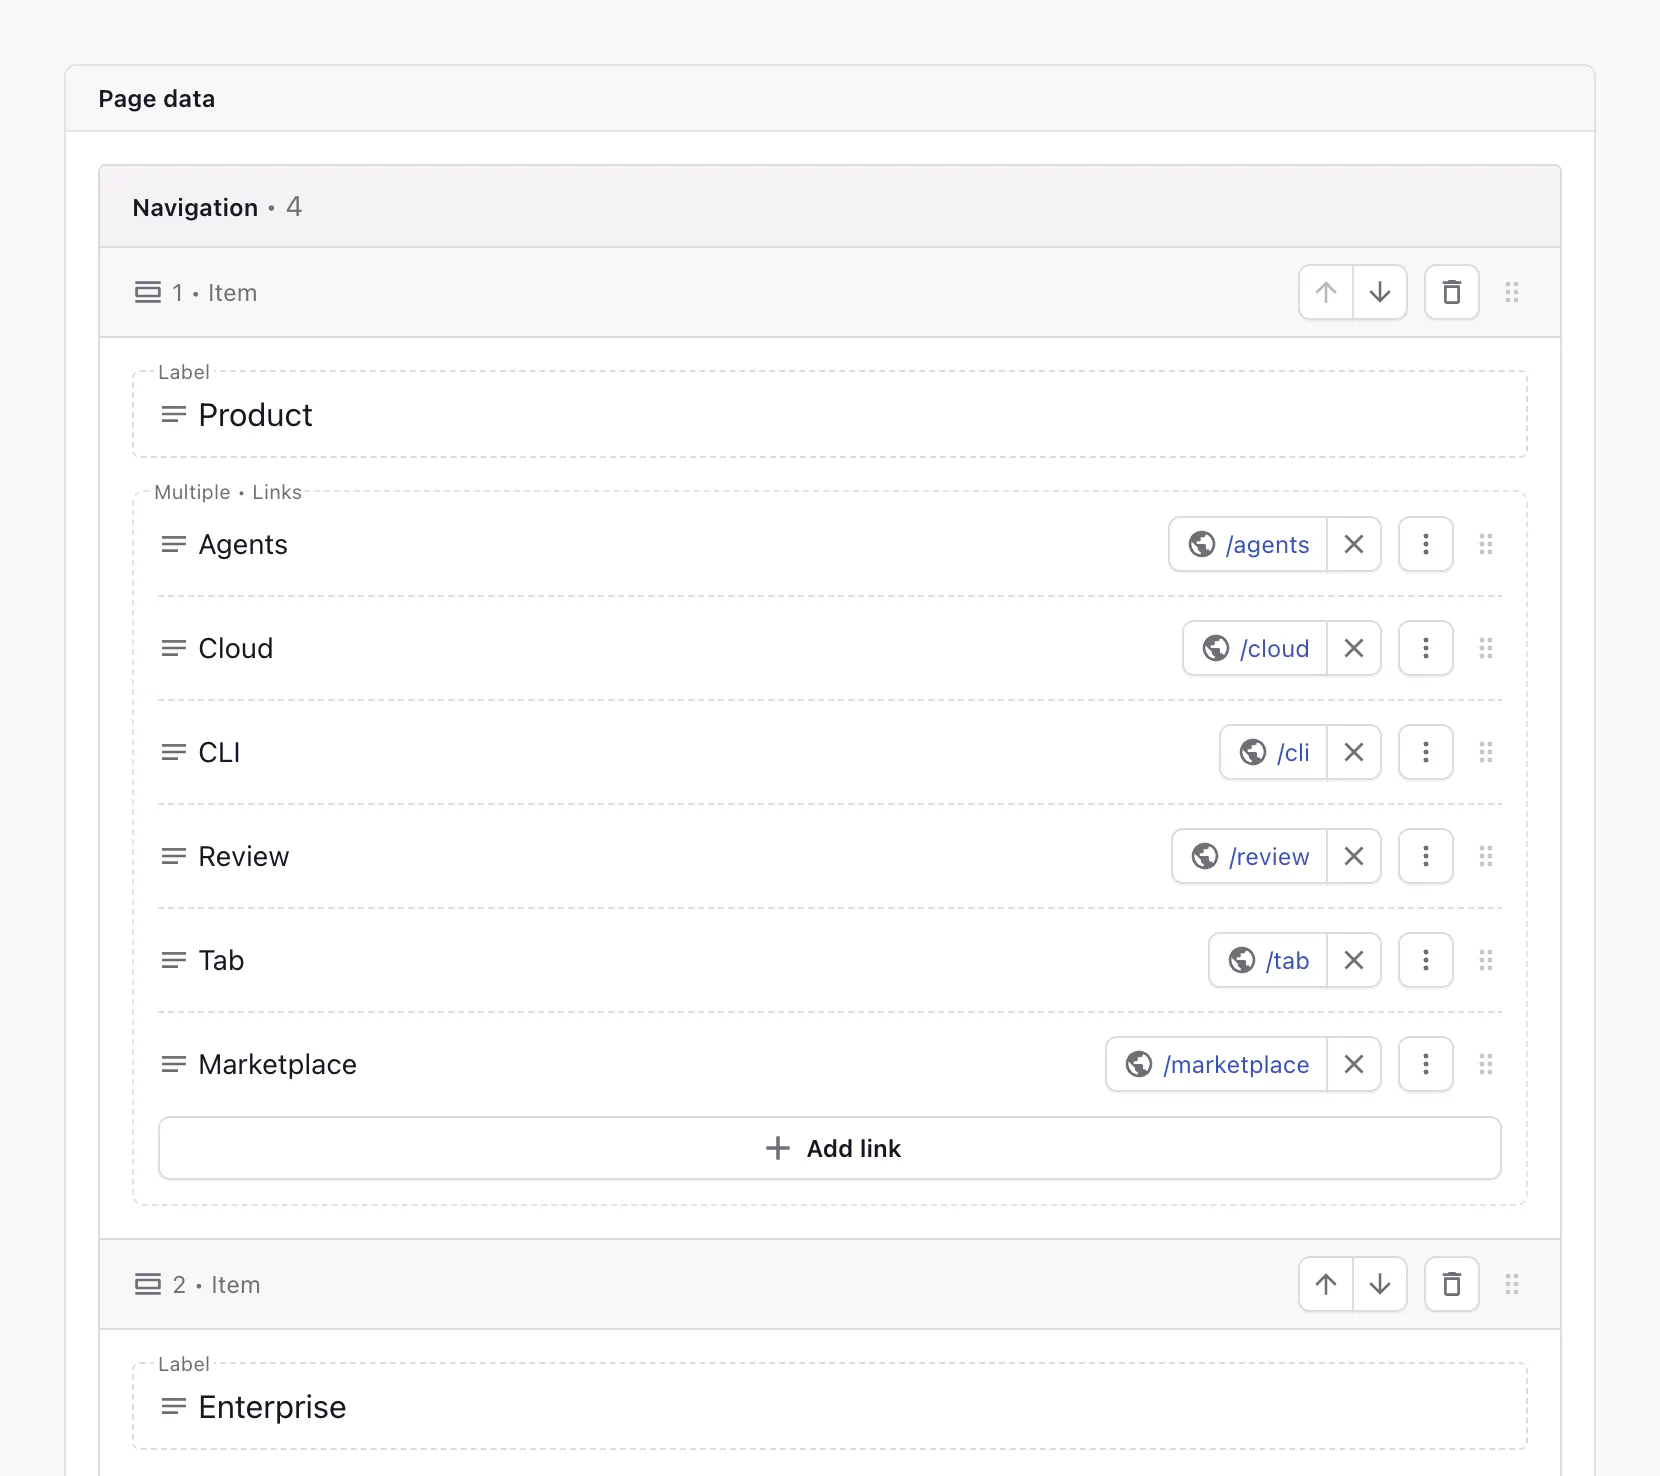
Now, render it using a loop. This example uses Next.js, but it can be adapted to any framework:
import { PrismicNextLink } from "@prismicio/next";
import { createClient } from "@/prismicio";

export async function Header() {
  const client = createClient();
  const settings = await client.getSingle("settings");

  return (
    <header>
      <nav>
        <ul>
          {settings.data.navigation.map((item) => (
            <li key={item.label}>
              <span>{item.label}</span>
              <ul>
                {item.links.map((link) => (
                  <li key={link.key}>
                    <PrismicNextLink field={link} />
                  </li>
                ))}
              </ul>
            </li>
          ))}
        </ul>
      </nav>
    </header>
  );
}
Three levels: collections of groups of links
This is probably the most common type of navigation. Each top-level menu is a collection of groups, and each group has its own label and list of links. It takes a bit more work to set up than the other types, but the flexibility is worth it.
OpenAI and Apple—and many others—use this kind of navigation:
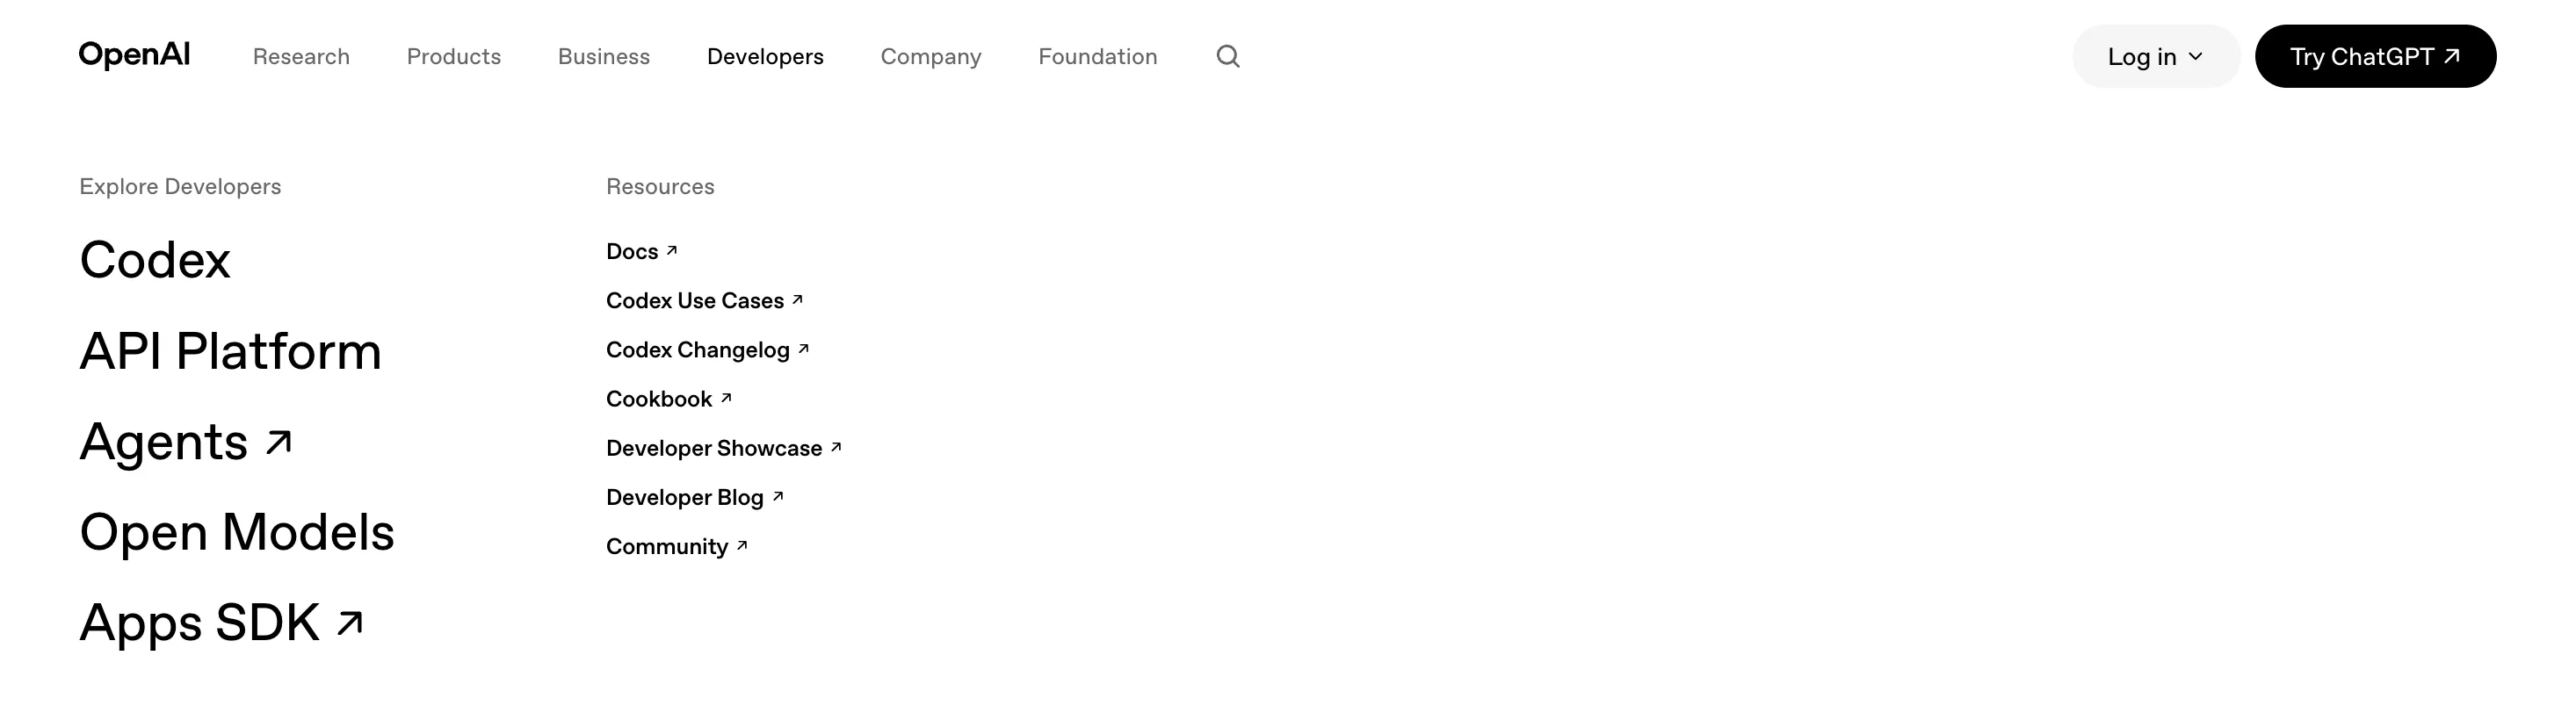
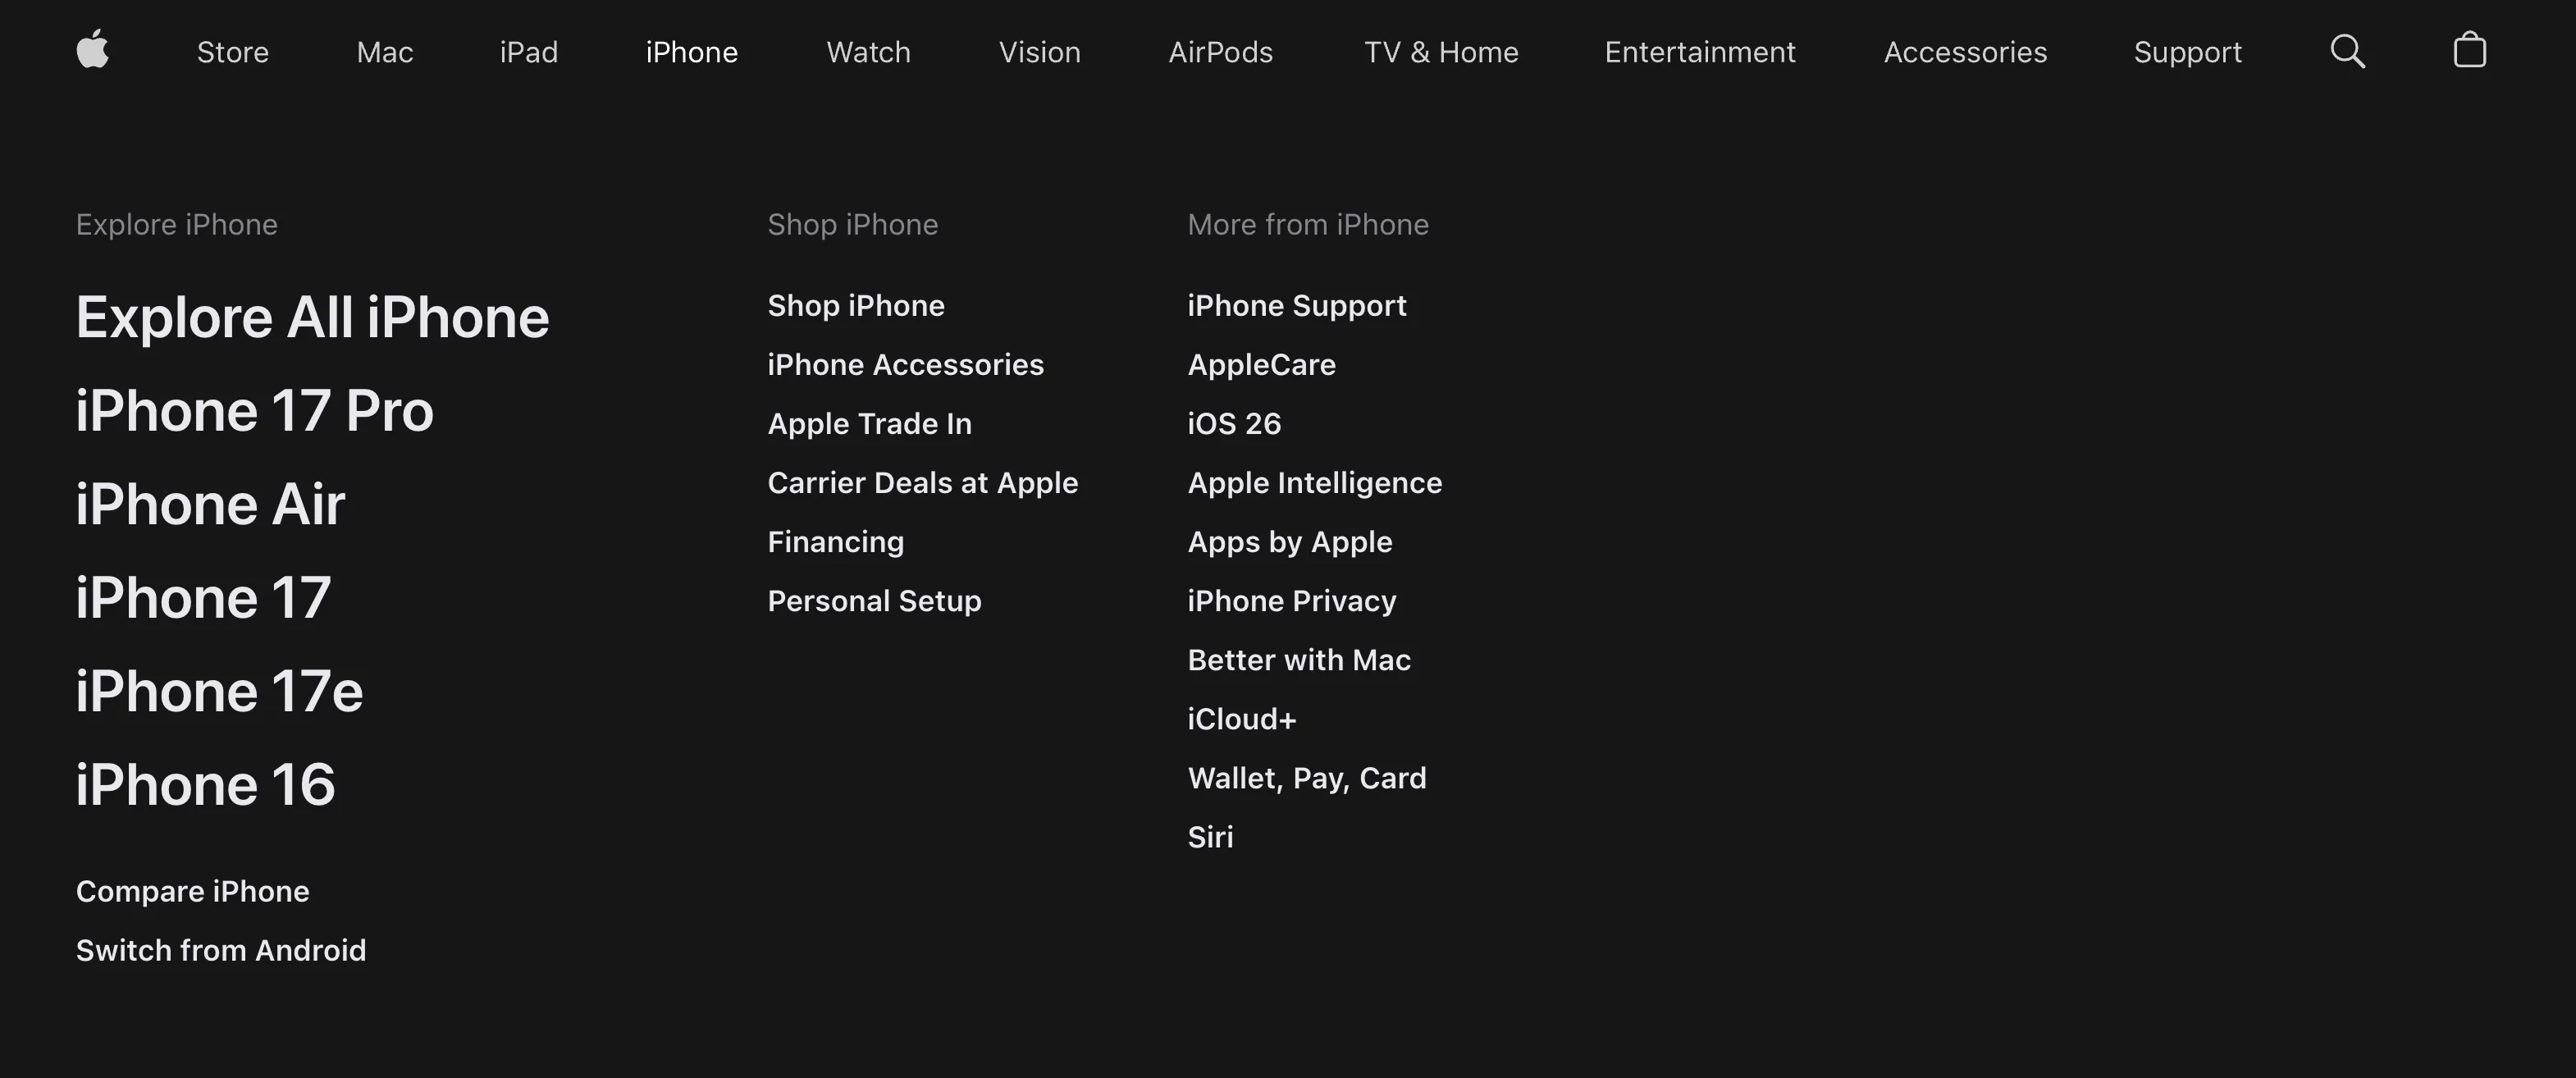
Modeling a three-level navigation list in Prismic requires more fields across two custom types, but it’s still straightforward to set up. Use a dedicated Navigation Submenu custom type and a content relationship field. We still recommend managing the navigation in a single Settings custom type, but the actual links will be managed in multiple Navigation Submenu documents. The top-level label for each menu lives in the linked Navigation Submenu document’s own label field, not on Settings.
Here’s how to model it using the Prismic CLI. First, create the Navigation Submenu custom type:
# Create Navigation Submenu custom type
npx prismic type create "Navigation Submenu"
# Add a top-level label field
npx prismic field add text label --to-type navigation_submenu
# Add a repeatable group field
npx prismic field add group group --to-type navigation_submenu
# Add a group label field
npx prismic field add text group.label --to-type navigation_submenu
# Add a repeatable link field
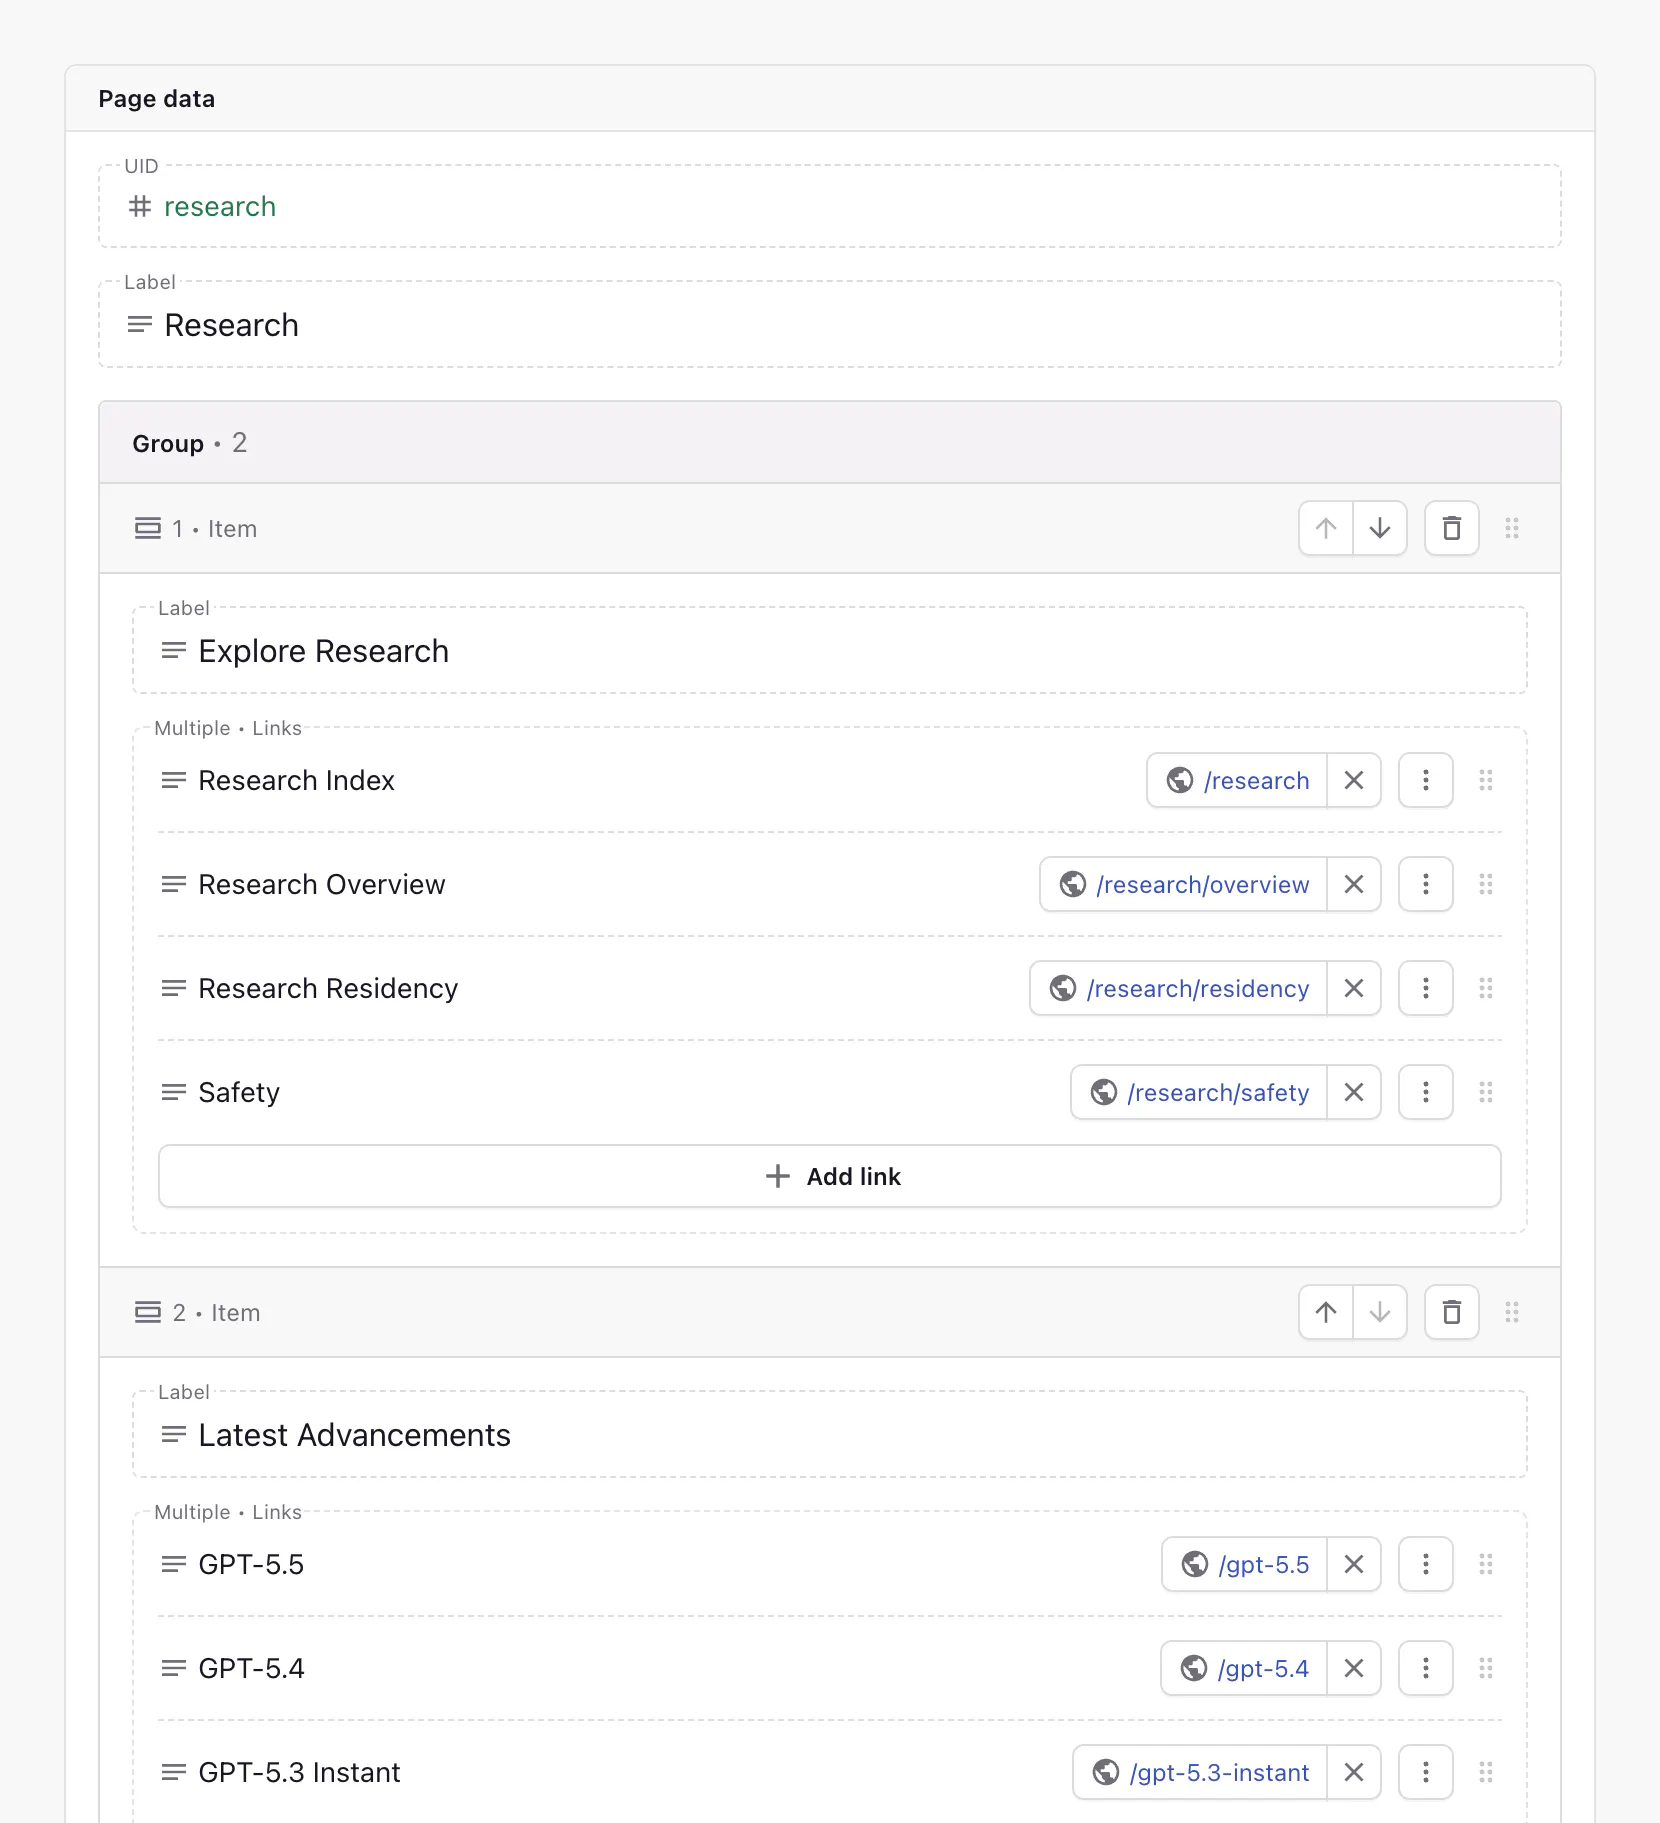
npx prismic field add link group.links --repeatable --allow-text --to-type navigation_submenuHere’s how Navigation Submenu looks in the Page Builder. You would have one for each submenu:
Then, create the Settings custom type that connects to Navigation Submenu documents and push to Prismic:
# Create a Settings custom type
npx prismic type create Settings --single
# Add a repeatable group field
npx prismic field add group navigation --to-type settings
# Add a content relationship field
npx prismic field add content-relationship navigation.submenu --to-type settings --custom-type navigation_submenu --field label --field group.label --field group.links
# Commit your changes
git add customtypes/* prismicio-types.d.ts
git commit -m "Add navigation management"
# Push the changes to Prismic
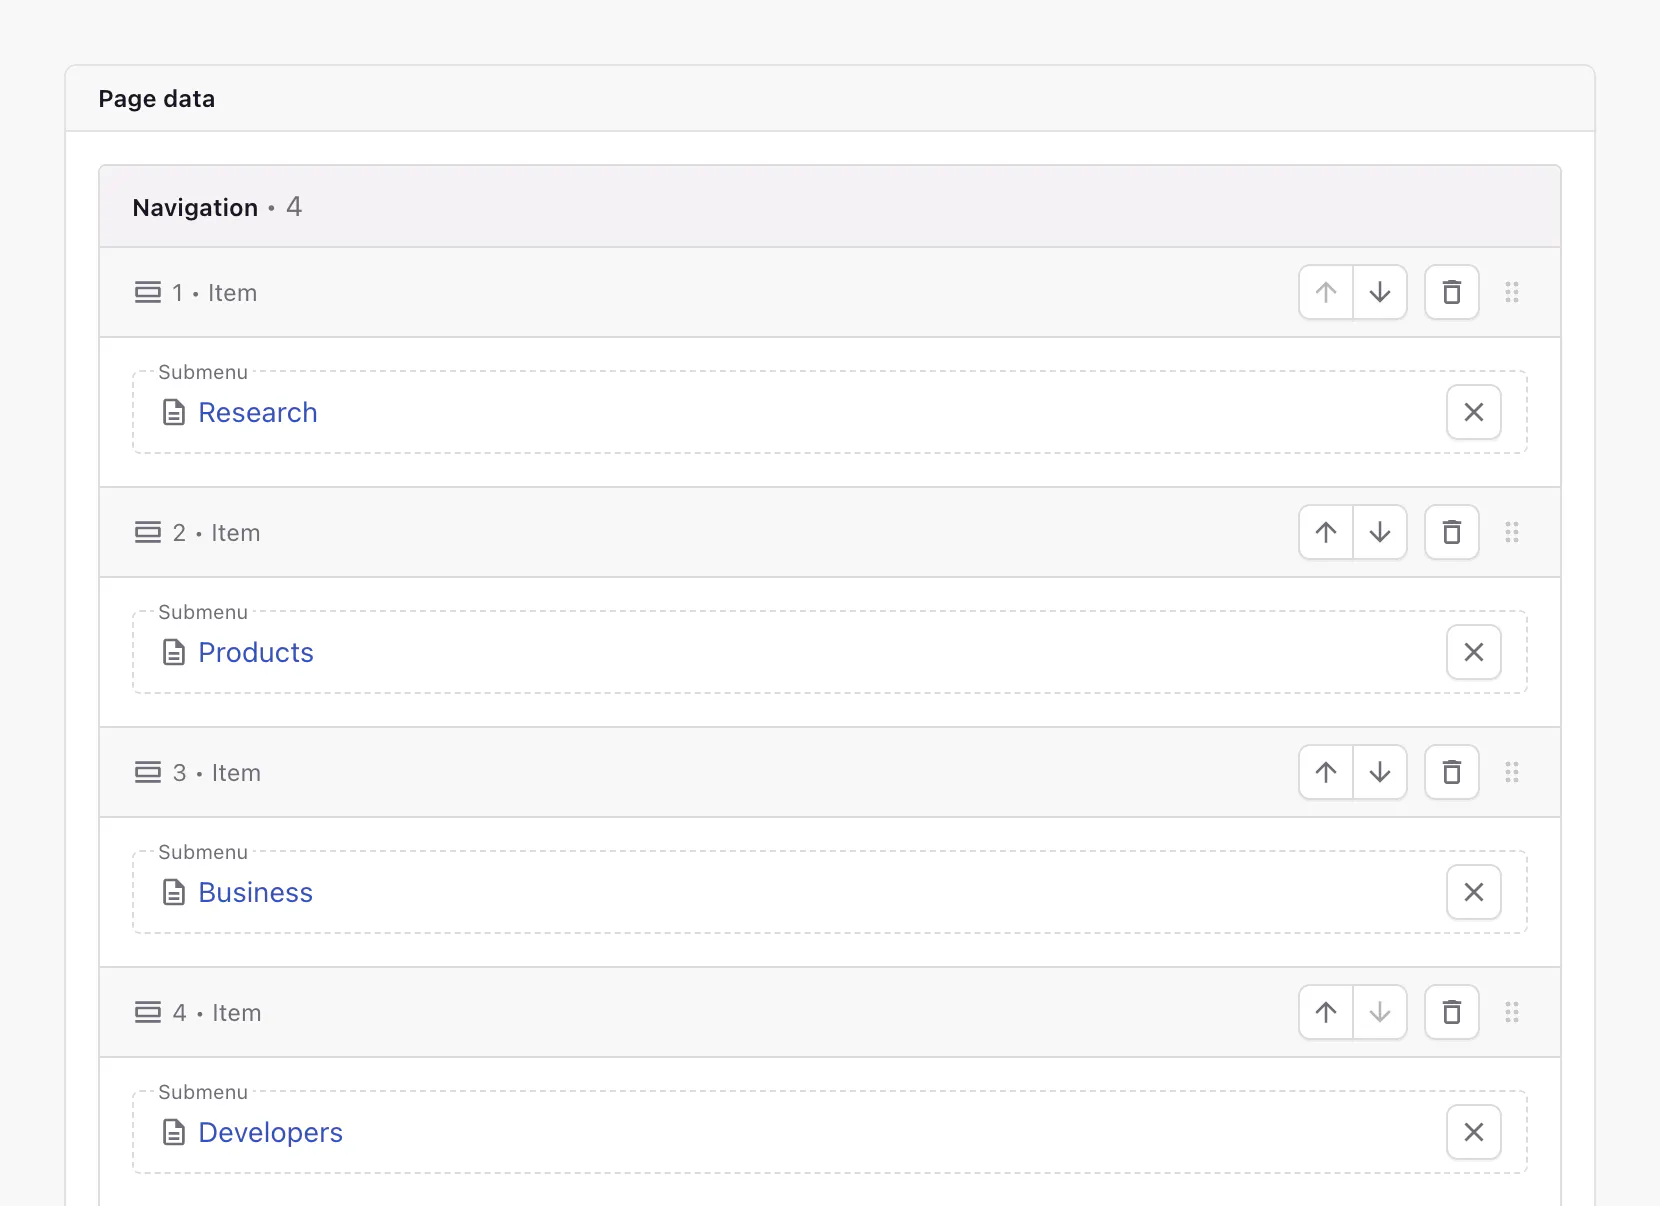
npx prismic pushHere’s how Settings looks in the Page Builder:
Now, render it using loops. This example uses Next.js, but it can be adapted to any framework:
import { Content, isFilled } from "@prismicio/client";
import { PrismicNextLink } from "@prismicio/next";
import { createClient } from "@/prismicio";

export async function Header() {
  const client = createClient();
  const settings = await client.getSingle("settings");

  return (
    <header>
      <nav>
        <ul>
          {settings.data.navigation.map((item) => {
            if (!isFilled.contentRelationship(item.submenu)) return null;

            return <NavSubmenu key={item.submenu.id} submenu={item.submenu} />;
          })}
        </ul>
      </nav>
    </header>
  );
}

type NavSubmenuProps = {
  submenu: Content.NavigationSubmenuDocument,
};

function NavSubmenu({ submenu }: NavSubmenuProps) {
  return (
    <li>
      <span>{submenu.data.label}</span>
      <ul>
        {submenu.data.group.map((group) => (
          <li key={group.label}>
            <span>{group.label}</span>
            <ul>
              {group.links.map((link) => (
                <li key={link.key}>
                  <PrismicNextLink field={link} />
                </li>
              ))}
            </ul>
          </li>
        ))}
      </ul>
    </li>
  );
}
This structure can be adapted to many designs:
- Use a link as each submenu’s top-level label: Replace the Navigation Submenu’s
labeltext field with a link field. - Allow different link sizes or styling: Add variants to the link field via the
--variantoption. Add as many variants as necessary, like “Large” and “Default”.
Bonus: footer navigation
Redisplaying your navigation in the footer, sometimes an extended version with all links visible at once, is a common website pattern. Because Prismic already stores your top-level navigation as data, you can reuse your navigation in your footer. Just render the content differently according to your design where necessary.
You can also manage a dedicated footer navigation if it diverges from your main navigation. In that case, follow the same strategies as above using a clear “footer” label in the field and custom type names (e.g. navigation_links becomes footer_navigation_links).
Wrap-up
This guide covered three ways to model website navigation in Prismic, each built using just a few fields. Choose the simplest model that fits your design.
To learn more about the fields used in this guide, see the Prismic documentation:


