Tutorial: How to use Prismic with the Next.js App Router
The Next.js App Router and React Server Components, two recently released innovative features, are great tools to build websites with Prismic.
The Next.js App Router introduces simple patterns to build fast, maintainable websites. It makes it easy to create global layouts, handle fine-grained dynamic URLs, and fetch data efficiently. The Next.js App Router is the successor to the Pages Router you may already be familiar with.
React Server Components unlock a whole new set of possibilities for frontend apps. As the name suggests, Server Components are rendered on the server and do not send any JavaScript to the browser. They simplify data fetching and lead to more concise code.
The App Router is built upon Server Components, providing an exceptionally good development experience.
In this tutorial, you’ll learn the best, most up-to-date way to develop Next.js websites with Prismic, the Next.js App Router, and React Server Components.
What you should already know
This tutorial expects some familiarity with Prismic, Next.js, and React. If you are new to any of those tools, check out the following introductions.
Prismic: Crash Course with Next.js
Next.js: What is Next.js?
React: Learn React
If you would like to see the finished project, check out the links below:

Create your Next.js app
To begin, create a new Next.js app using create-next-app.
npx create-next-app@latestUse all of the default options when asked. The app will be configured with the following settings:
- TypeScript (If you aren’t familiar with TypeScript, don’t worry! The code will look a lot like normal JavaScript.)
- ESLint
- Tailwind CSS
srcdirectory@import alias pointing tosrc- And of course… the App Router!
Next, run @slicemachine/init in your app’s directory to install and configure Slice Machine, the tool used to manage Prismic content models.
cd your-project-name
npx @slicemachine/init
You’re going to use Tailwind CSS’s default styles, but you’ll need to configure it to read your Slice component files. Add src/slices to Tailwind CSS’s content option.
  // tailwind.config.js

  /** @type {import('tailwindcss').Config} */
  module.exports = {
    content: [
      "./src/pages/**/*.{js,ts,jsx,tsx,mdx}",
      "./src/components/**/*.{js,ts,jsx,tsx,mdx}",
      "./src/app/**/*.{js,ts,jsx,tsx,mdx}",
+     "./src/slices/**/*.{js,ts,jsx,tsx,mdx}",
    ],
  };
@slicemachine/init created a prismicio.ts file for you, which will be used to query content from Prismic. You’ll need to make a couple of changes in the file to support the App Router:
- Move
prismicio.tsinto thesrcdirectory:src/prismicio.ts. - Add the following
fetchOptionsparameter to thecreateClient()function.
// src/prismicio.js

  import * as prismic from '@prismicio/client'
  import * as prismicNext from '@prismicio/next'

  export const createClient = (config = {}) => {
    const client = prismic.createClient(repositoryName, {
+     fetchOptions:
+       process.env.NODE_ENV === "production"
+          ? { next: { tags: ["prismic"] }, cache: "force-cache" }
+          : { next: { revalidate: 5 } },
      ...config,
    })

    prismicNext.enableAutoPreviews({ client })

    return client
  }
Finally, start your app’s development server, which you’ll use throughout the rest of the tutorial.
npm run devCreate custom types
You’re going to need some Prismic content to play with before you can create your first page.
You would normally use Slice Machine to create custom types and Slices and configure them with fields. We’re focusing on just the Next.js App Router for this tutorial, so let’s skip that step and automate some of that work.
What is Slice Machine?
If you aren’t familiar with Slice Machine and how to model content, you may want to check out the Model Content guide before continuing. That guide will help you understand the steps you are skipping.
In a new terminal, run the following npx scripts to add Homepage, Page, and Settings custom types to your project.
npx gist:a38c7f222bb8df40bdeaa91d97c3c916 homepage
npx gist:a38c7f222bb8df40bdeaa91d97c3c916 page
npx gist:a38c7f222bb8df40bdeaa91d97c3c916 settings

# Source: https://gist.github.com/a38c7f222bb8df40bdeaa91d97c3c916
You’ll come back to these custom types in a bit.
Create Slices
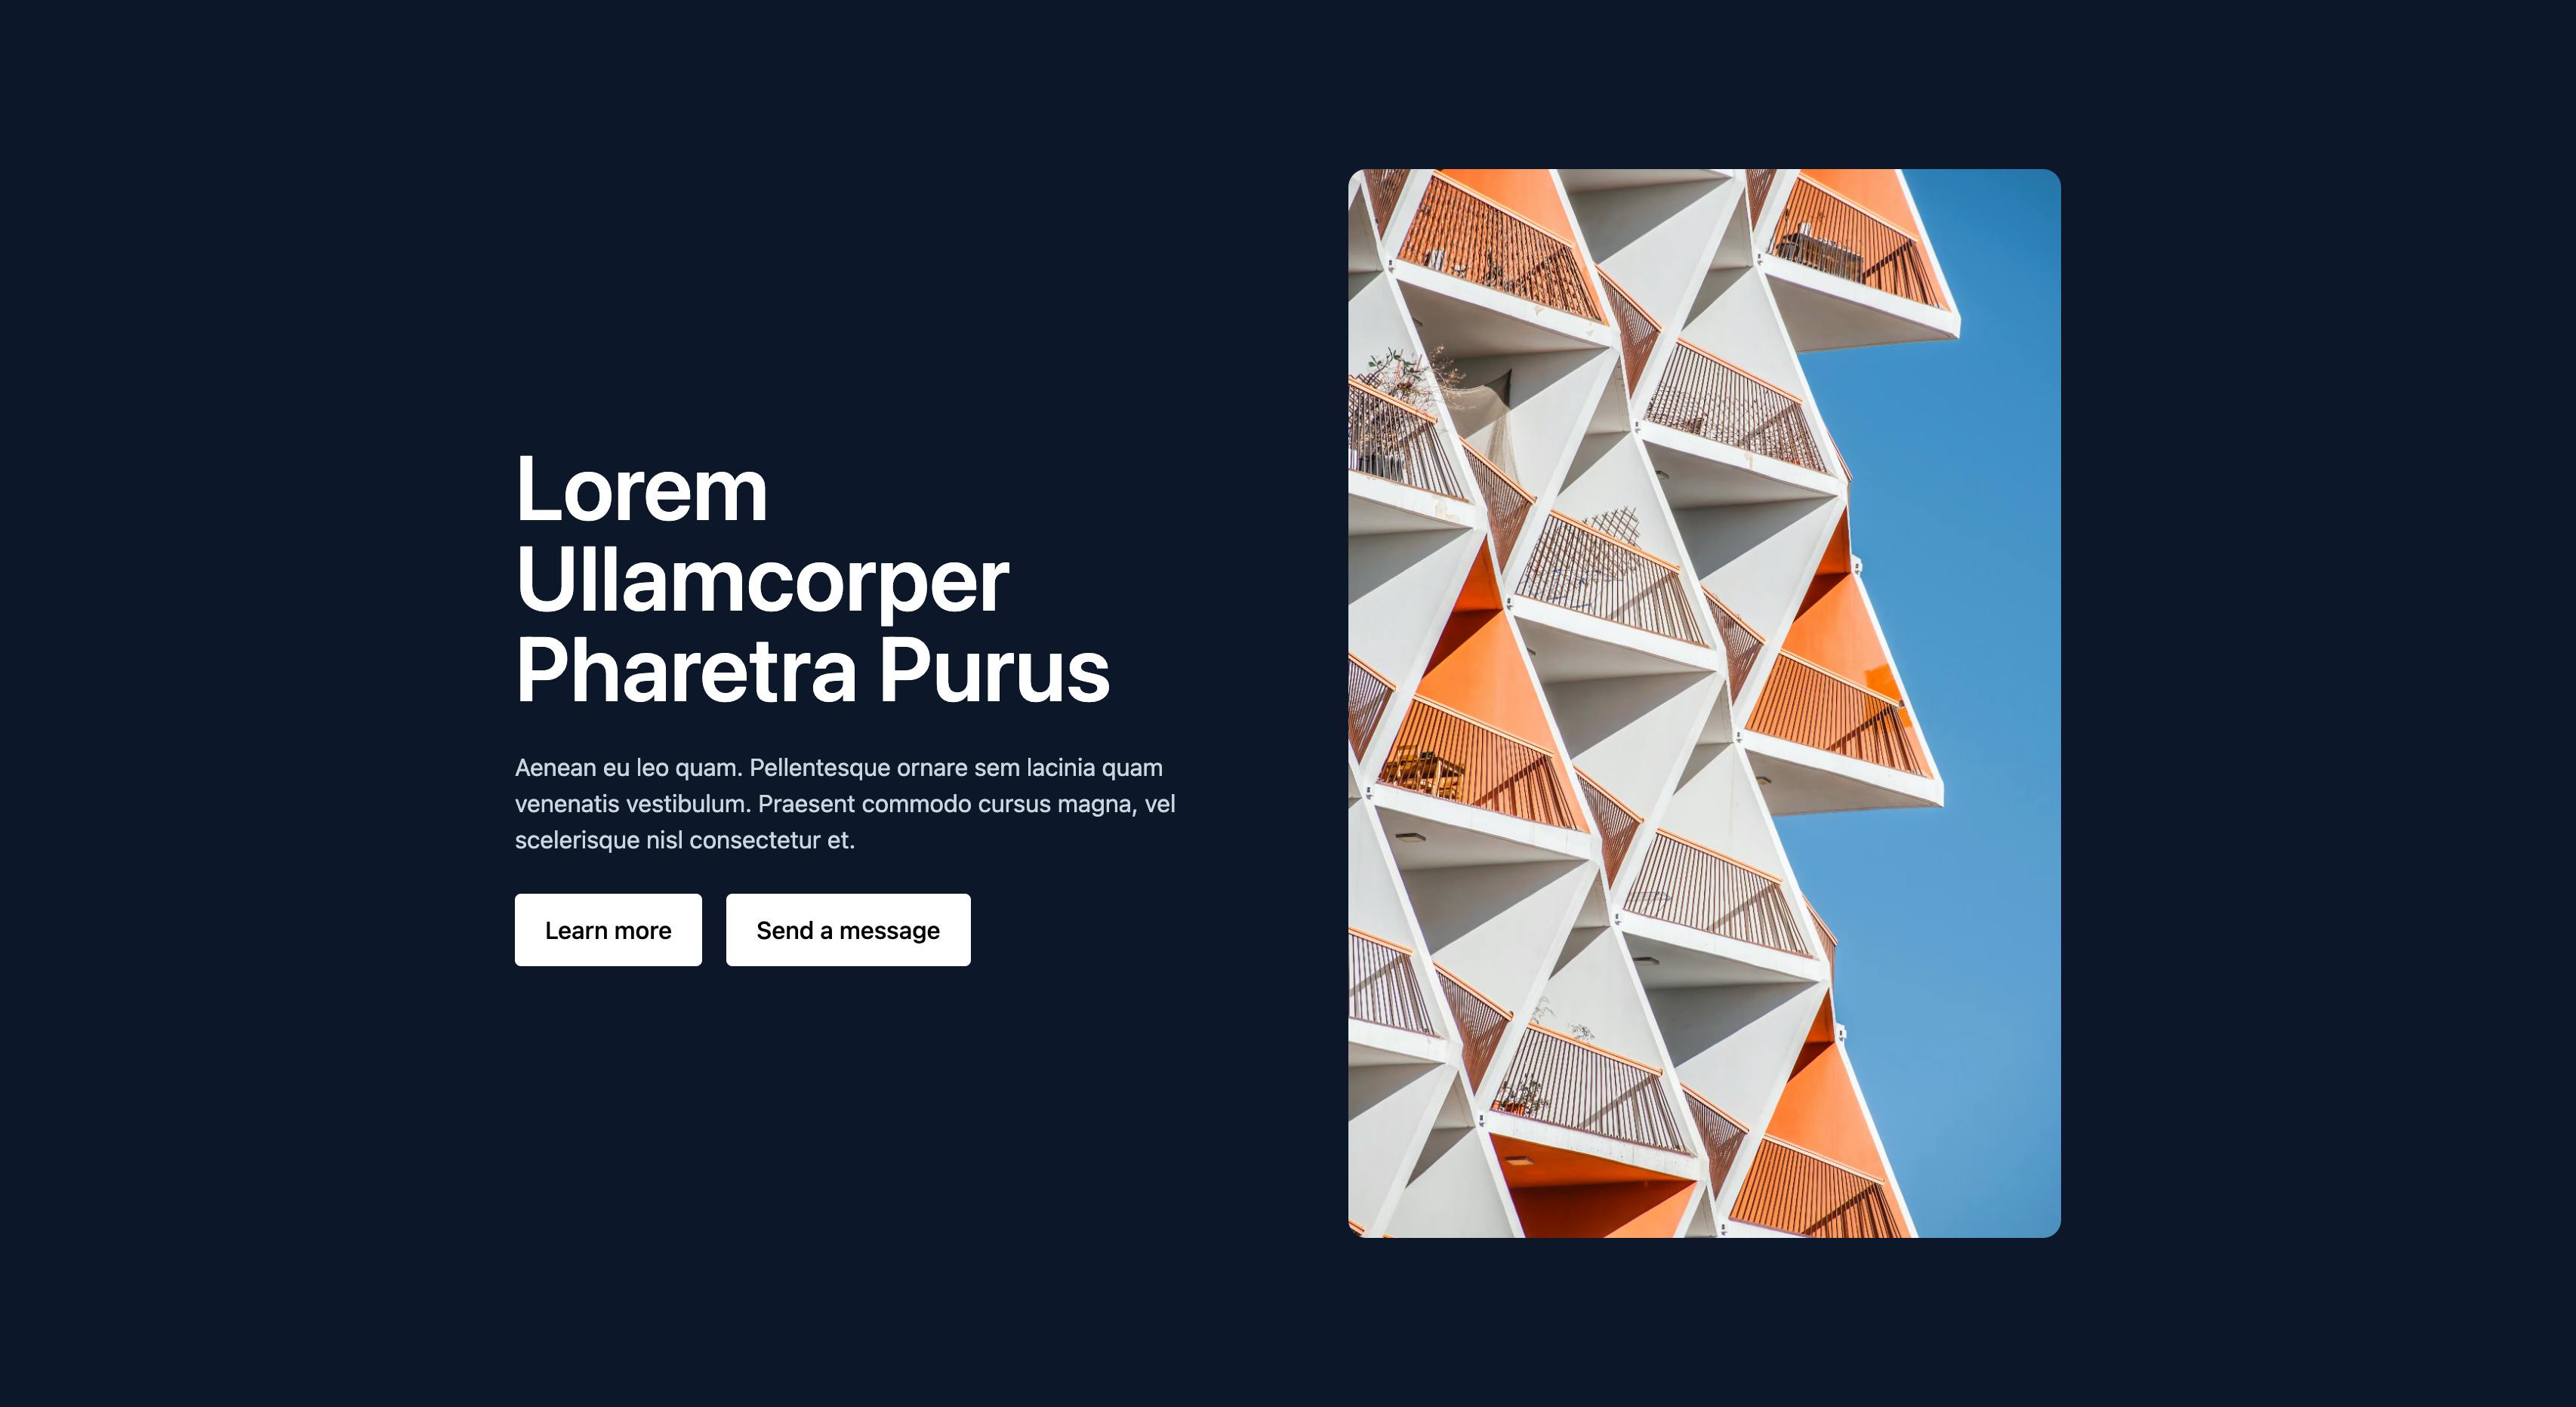
Next, create a couple of Slices that you’ll be using in your website’s pages. Remember, Slices are website sections that can be used interchangeably, like an Image Gallery or Call to Action. You’ll be creating a Hero and Text Slice for this tutorial.
Hero Slice
You can run this script to add the Hero Slice to your project and skip a few steps like before.
npx gist:a38c7f222bb8df40bdeaa91d97c3c916 hero

# Source: https://gist.github.com/a38c7f222bb8df40bdeaa91d97c3c916
Once the script is complete, open src/slices/Hero/index.tsx and paste in the following code.
// src/slices/Hero/index.tsx

import { Content } from "@prismicio/client";
import { SliceComponentProps, PrismicRichText } from "@prismicio/react";
import { PrismicNextImage, PrismicNextLink } from "@prismicio/next";

/**
 * Props for `Hero`.
 */
export type HeroProps = SliceComponentProps<Content.HeroSlice>;

/**
 * Component for "Hero" Slices.
 */
export default function Hero({ slice }: HeroProps): JSX.Element {
  return (
    <section className="bg-slate-900 px-6 py-28 text-slate-300 md:px-10">
      <div className="mx-auto grid w-full max-w-5xl items-center gap-12 md:grid-cols-2 md:gap-20">
        <div className="grid gap-6">
          <PrismicRichText
            field={slice.primary.text}
            components={{
              heading3: ({ children }) => (
                <p className="text-sm font-semibold uppercase tracking-widest text-slate-500">
                  {children}
                </p>
              ),
              heading1: ({ children }) => (
                <h1 className="max-w-lg text-6xl font-semibold text-white">
                  {children}
                </h1>
              ),
            }}
          />
          {slice.items.length > 0 ? (
            <ul className="flex flex-wrap gap-4">
              {slice.items.map((item) => (
                <li key={item.button_label}>
                  <PrismicNextLink
                    field={item.button_link}
                    className="inline-block rounded bg-white px-5 py-3 font-medium text-black"
                  >
                    {item.button_label}
                  </PrismicNextLink>
                </li>
              ))}
            </ul>
          ) : null}
        </div>
        <PrismicNextImage
          field={slice.primary.image}
          sizes="100vw"
          className="w-full rounded-xl"
        />
      </div>
    </section>
  );
};
Notice we’re using components from @prismicio/react and @prismicio/next. Both packages work seamless in the App Router and React Server Components.
<PrismicNextLink>: Renders Prismic link fields usingnext/link.<PrismicNextImage>: Renders Prismic image fields usingnext/image.<PrismicRichText>: Renders Prismic rich text fields as React components.
Text Slice
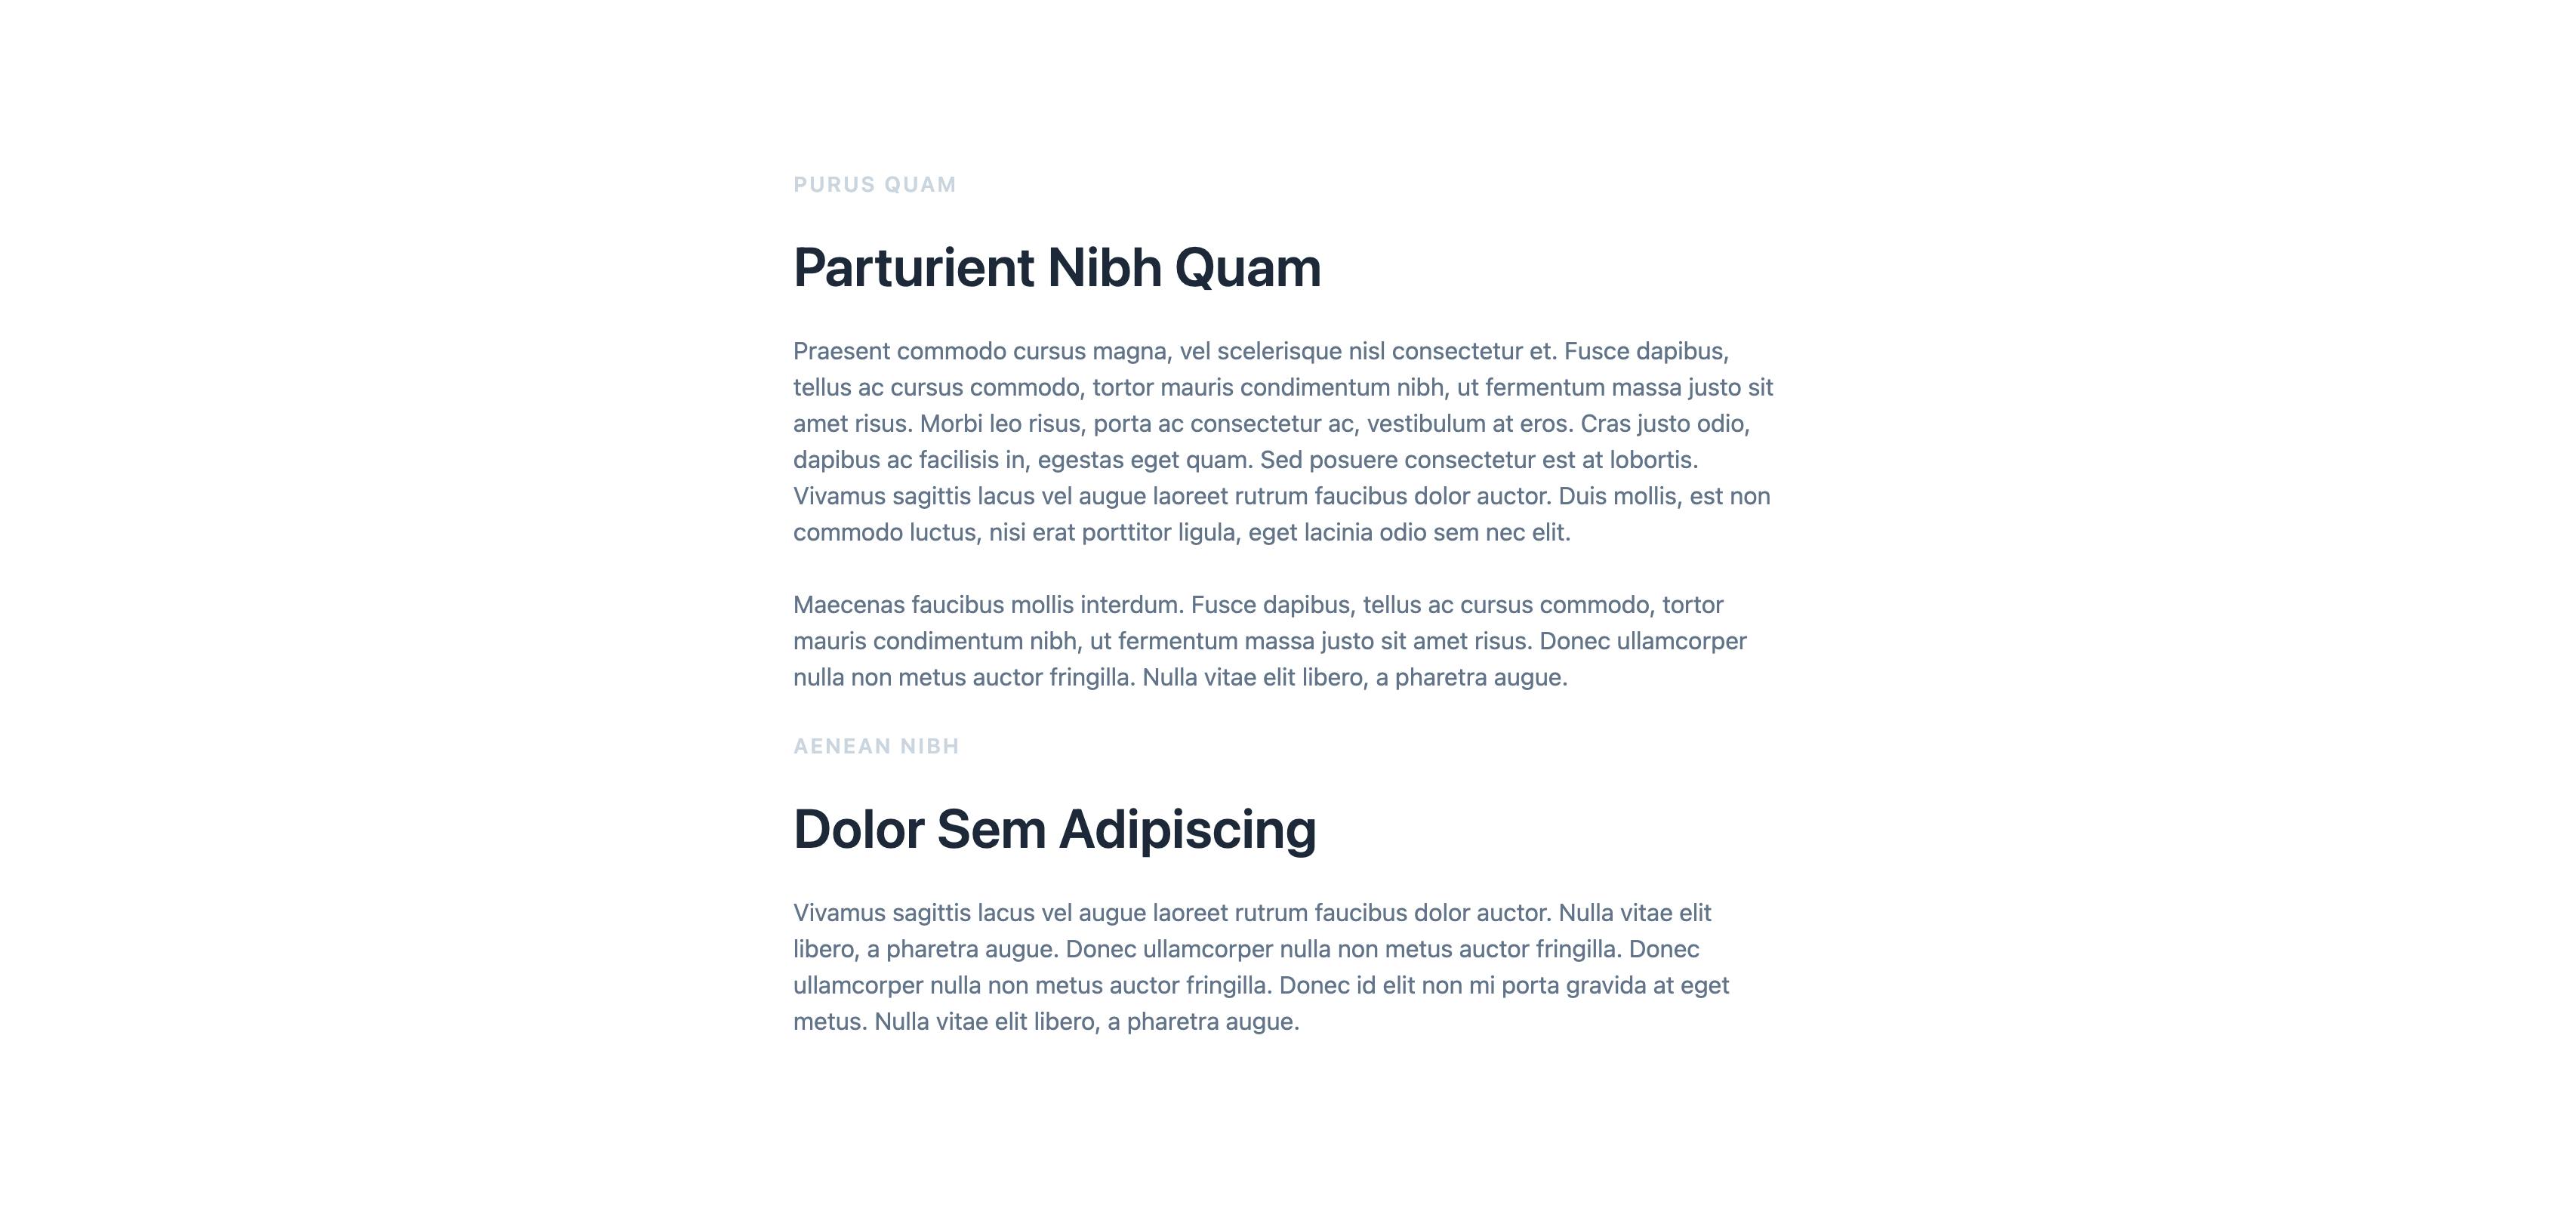
Like the Hero Slice, you can run this script to add the Text Slice to your project and skip a few steps.
npx gist:a38c7f222bb8df40bdeaa91d97c3c916 text

# Source: https://gist.github.com/a38c7f222bb8df40bdeaa91d97c3c916
Once the script is complete, open src/slices/Text/index.tsx and paste in the following code.
// src/slices/Text/index.tsx

import { Content } from "@prismicio/client";
import { PrismicRichText, SliceComponentProps } from "@prismicio/react";

/**
 * Props for `Text`.
 */
export type TextProps = SliceComponentProps<Content.TextSlice>;

/**
 * Component for "Text" Slices.
 */
export default function Text({ slice }: TextProps): JSX.Element {
  return (
    <section className="bg-white px-6 py-28 text-slate-500 md:px-10">
      <div className="mx-auto grid w-full max-w-prose gap-6">
        <PrismicRichText
          field={slice.primary.text}
          components={{
            heading3: ({ children }) => (
              <p className="text-sm font-semibold uppercase tracking-widest text-slate-300">
                {children}
              </p>
            ),
            heading1: ({ children }) => (
              <h2 className="text-4xl font-semibold text-slate-800">
                {children}
              </h2>
            ),
          }}
        />
      </div>
    </section>
  );
};
Add a homepage
Next, you’ll be adding some content in Prismic, creating a route for your homepage, and viewing it in your app.
Add content in Prismic
Before writing code and seeing your homepage on screen, you’ll need to add some content to your Prismic repository.
- Open https://prismic.io/dashboard and select the repository you created.
- Create a new Homepage document and enter some sample content.
- Add a few Slices so you can test out the Slice components you added in the previous step.
- Save and publish the document.
Take a guided tour of the new Page Builder!
The new Prismic Page Builder allows you to drag and drop page sections to build website pages as easily as a slide deck. If you would like a guided tour that walks you through all of the features step-by-step, give the demo a try for yourself!
Create a homepage route
Back in your code, open src/app/page.tsx and paste in the contents below. This file defines the homepage of your app and queries for your Homepage document in Prismic.
// src/app/page.tsx

import { asText } from "@prismicio/client";
import { SliceZone } from "@prismicio/react";

import { createClient } from "@/prismicio";
import { components } from "@/slices";

export async function generateMetadata() {
  const client = createClient();
  const page = await client.getSingle("homepage");

  return {
    title: asText(page.data.title),
    description: page.data.meta_description,
  };
}

export default async function Home() {
  const client = createClient();
  const page = await client.getSingle("homepage");

  return <SliceZone slices={page.data.slices} components={components} />;
}
If you are familiar with developing pages in the Pages Router, you’ll appreciate how much simpler code is in the App Router.
This component uses async/await and @prismicio/client directly in the component. It’s clear exactly where the homepage data is coming from.
It also uses the <SliceZone> component, which takes the Homepage’s Slice Zone and renders its components. Your Slice components can be Server Components for the best performance, or Client Components when interactivity is needed. <SliceZone> handles both.
Lastly, notice the generateMetadata() function. This function sets the page’s title and <meta> tags.
View your homepage
With example content in Prismic and your page coded, you should now be able to access your homepage.
Open your homepage: http://localhost:3000
You should see your homepage content, along with a properly set title and description <meta> element.
Add a layout
Your homepage works well on its own, but most apps will need a global header and a footer around each page’s content. Adding a layout with a global header and footer is simple with the App Router.
Add content in Prismic
Just like you did in the previous step with your Homepage, open Prismic and create a new document—a Settings document this time.
Enter some sample content into each of the fields. Then, save and publish the document.
Create a layout
Back in your code, open src/app/layout.tsx and paste in the contents below. This component will automatically wrap all pages in your app.
// src/app/layout.tsx
import "./globals.css";
import { Metadata } from "next";
import Link from "next/link";
import { asText } from "@prismicio/client";
import { PrismicText } from "@prismicio/react";
import { PrismicNextLink } from "@prismicio/next";
import { createClient, repositoryName } from "@/prismicio";
export async function generateMetadata(): Promise<Metadata> {
const client = createClient();
const settings = await client.getSingle("settings");
return {
title: asText(settings.data.site_title),
};
}
export default async function RootLayout({
children,
}: {
children: React.ReactNode,
}) {
return (
<html lang="en">
<body>
{/* @ts-expect-error Async Server Component */}
<Header />
{children}
{/* @ts-expect-error Async Server Component */}
<Footer />
</body>
</html>
);
}
async function Header() {
const client = createClient();
const settings = await client.getSingle("settings");
return (
<header className="bg-slate-900 p-6 text-slate-300 md:px-10">
<div className="mx-auto flex w-full max-w-5xl flex-col items-baseline gap-4 md:flex-row">
<Link href="/" className="shrink-0 text-2xl font-medium text-white">
<PrismicText field={settings.data.site_title} />
</Link>
<nav className="grow">
<ul className="flex flex-wrap gap-x-6 gap-y-4 md:justify-end md:gap-x-12">
{settings.data.navigation.map((item) => (
<li key={item.label}>
<PrismicNextLink field={item.link}>
{item.label}
</PrismicNextLink>
</li>
))}
</ul>
</nav>
</div>
</header>
);
}
async function Footer() {
const client = createClient();
const settings = await client.getSingle("settings");
return (
<footer className="bg-white px-6 py-10 text-slate-500">
<div className="mx-auto w-full max-w-5xl text-center text-xs">
<PrismicText field={settings.data.site_title} /> — Powered by
Prismic
</div>
</footer>
);
}Notice how you can query for data—the Settings document in this case—directly in the component, just like you did in the homepage. Server Components make it easy to fetch data directly where you need it.
If you’re worried about fetching the same data more than once across your app, don’t be! Next.js automatically detects duplicate network requests and reduces them to one, and then caches them to prevent any future requests.
View your layout
Check out your homepage again to see if everything worked.
Open your homepage: http://localhost:3000
You should see your homepage content surrounded by the layout component you just created. Any pages added in the future will also include the layout.
Support unlimited pages
Prismic is most powerful when it can manage all of a site’s pages. Luckily, that’s easy to accomplish in the App Router.
Create a dynamic route
The App Router supports dynamic routes, which lets you create one file to handle many pages.
- Create a directory at
src/app/[uid]. The[uid]name is what allows us to support unlimited pages. - Within that directory, create a file named
page.tsxand paste in the code below. This file defines the page’s component, just like you did with the homepage’spage.tsxfile.
// src/app/[uid]/page.tsx

import { notFound } from "next/navigation";
import { asText } from "@prismicio/client";
import { SliceZone } from "@prismicio/react";

import { createClient } from "@/prismicio";
import { components } from "@/slices";

type Params = { uid: string };

export async function generateMetadata({ params }: { params: Params }) {
  const client = createClient();
  const page = await client.getByUID("page", params.uid);
  const settings = await client.getSingle("settings");

  return {
    title: `${asText(page.data.title)} — ${asText(settings.data.site_title)}`,
    description: page.data.meta_description,
  };
}

export default async function Page({ params }: { params: Params }) {
  const client = createClient();
  const page = await client
    .getByUID("page", params.uid)
    .catch(() => notFound());

  return <SliceZone slices={page.data.slices} components={components} />;
}
This component looks nearly identical to your homepage, with the exception that it uses the uid parameter from the URL. The uid parameter is used to fetch a specific Page document from Prismic.
This page also serves a 404 Not Found page when a Prismic document for a given uid parameter doesn’t exist.
Add content in Prismic
Now that the app is ready for unlimited pages, go ahead and create some in Prismic.
- Open your Prismic repository again.
- Create a new Page document.
- Give the page a UID. The page’s UID determines its URL, like
/aboutor/contact. - Enter some content into the fields. Remember to add some Slices!
Create at least two pages so you can see that any page you create will work.
View your pages
Each of your pages should be accessible using their UIDs as their URL.
For example, if you created a page with a UID of about, its URL is: http://localhost:3000/about
You should see each page’s content along with the layout you set up previously.
Set up previews
Previewing draft content before publishing is crucial to content management; it lets content writers experiment with and verify content before it becomes public. Luckily, adding support for previews is simple with Prismic and the App Router.
Add <PrismicPreview> to your layout
Prismic Previews require the Prismic Toolbar and a framework integration to work. @prismicio/next provides all the code you need in a simple <PrismicPreview> component.
Add the component to your global layout in src/app/layout.tsx.
// src/app/layout.tsx

+ import { PrismicPreview } from "@prismicio/next";

+ import { repositoryName } from "@/prismicio";

  export default async function RootLayout({
    children,
  }: {
    children: React.ReactNode;
  }) {
    return (
      <html lang="en">
        <body>
          {/* @ts-expect-error Async Server Component */}
          <Header />
          {children}
          {/* @ts-expect-error Async Server Component */}
          <Footer />
+         <PrismicPreview repositoryName={repositoryName} />
        </body>
      </html>
    );
  }
Create preview Route Handlers
A small bridge is needed between Prismic and your Next.js website to support previews. You can connect Prismic and your website by creating two Route Handlers:
/api/preview: Enters Next.js Draft Mode and redirects content writers from Prismic to their previewed document’s webpage./api/exit-preview: Exits Next.js Draft Mode when content writers end their preview session.
First, create the /api/preview Route Handler:
- Create a directory at
src/app/api/preview. - Within that directory, create a file named
route.tsand paste in the code below.
// src/app/api/preview/route.ts

import { redirectToPreviewURL } from "@prismicio/next";
import { createClient } from "@/prismicio";

export async function GET(request) {
  const client = createClient();

  return await redirectToPreviewURL({ client, request });
}
Then, create the /api/exit-preview Route Handler:
- Create a directory at
src/app/api/exit-preview. - Within that directory, create a file named
route.tsand paste in the code below.
// src/app/api/exit-preview/route.ts

import { exitPreview } from "@prismicio/next";

export async function GET() {
  return await exitPreview();
}
Set up previews in Prismic
You’ll need to tell Prismic your app’s URL in order to preview content. Since you are working locally for now, you’ll use http://localhost:3000.
- Go to your Prismic repository.
- Open the settings page using the gear icon in the bottom left corner.
- Select Previews in the sidebar.
- Fill out the fields with these values:
Site Name: Development
Domain:http://localhost:3000
Preview Route:/api/preview - Click “Create my Preview”
Preview some changes
It’s time to try out a preview! Go to one of your pages, edit some of the content, and hit Save.
Before publishing, click the 👁 eye icon to the right of the Publish button.
A new tab should open showing that document’s page, now with your edited content.
You can even edit your content and see it update in your preview as you save. Go back to Prismic, make another edit, and save. You should see your edit appear in your app automatically without refreshing the page.
When you’re done playing with previews, publish your changes.
Set up on-demand revalidation
Your app is configured to cache all Prismic queries indefinitely for the best performance. However, you’ll want to fetch new content after you publish documents in Prismic.
In this last step of this tutorial, you’ll set up on-demand revalidation to do exactly that: Prismic will be configured to call one of your app’s endpoints to clear Next.js’ network cache upon content changes.
On-demand revalidation won’t have an effect until you deploy your app. If you don’t plan to deploy your app, you can skip this section.
Create a /api/revalidate Route Handler:
- Create a directory at
src/app/api/revalidate. - Within that directory, create a file named
route.tsand paste in the code below.
// src/app/api/revalidate/route.ts

import { revalidateTag } from 'next/cache'
import { NextResponse } from 'next/server'

export async function POST() {
  revalidateTag('prismic')

  return NextResponse.json({ revalidated: true, now: Date.now() })
}
Set up on-demand revalidation in Prismic
Once your app is deployed and has a public URL, you’ll need to create a Prismic webhook pointed to the /revalidate endpoint.
- Go to your Prismic repository.
- Open the settings page using the gear icon in the bottom left corner.
- Select Webhooks in the sidebar.
- Fill out the fields with these values:
Name of the Webhook: Next.js on-demand revalidation
URL: Your app’s deployed URL + /api/revalidate (example: https://example.com/api/revalidate)
Triggers: Only check “A document is published” and “A document is unpublished” - Click “Add this webhook”.
You can test everything is working by publishing an edit to a document and viewing its page on your deployed website. You should see your changes reflected practically immediately after publishing.
Let's recap the benefits of using Prismic with the Next.js App Router
We covered all of the basics you need to use Prismic with the Next.js App Router in this tutorial. With the App Router, it’s never been simpler to create fully-featured Next.js websites with Prismic:
- Querying content is as easy as creating a Prismic client and calling a query.
- Rendering content is streamlined using components from
@prismicio/reactand@prismicio/next. - Supporting content previews and query caching are just a couple of files away.
Developing websites with the App Router is not only a simpler experience but a more powerful one as well when compared to the Pages Router. In addition to what you learned in this tutorial, the App Router and React Server Components allow you to:
Note
We recommend using the App Router over the Pages Router when building new Next.js websites to take advantage of these new possibilities.
If you have any questions, please do not hesitate to post in the Prismic Community forum. See you there! 🙂


