
Three.js can be one of the most fun and interesting frameworks to work with. While it’s suitable for professional work, just as many people play with it for a hobby.
It can be tough to get started with it though. There’s no set way to work with Three.js, and the setup can be complicated. In this issue of the Optimized Dev, we’re going to give you a simple setup that tries to stay out of your way so you can have fun with Three.js. Whether you’ve never done a Three.js tutorial before or tried one and gotten stuck, you should be able to work with this setup.
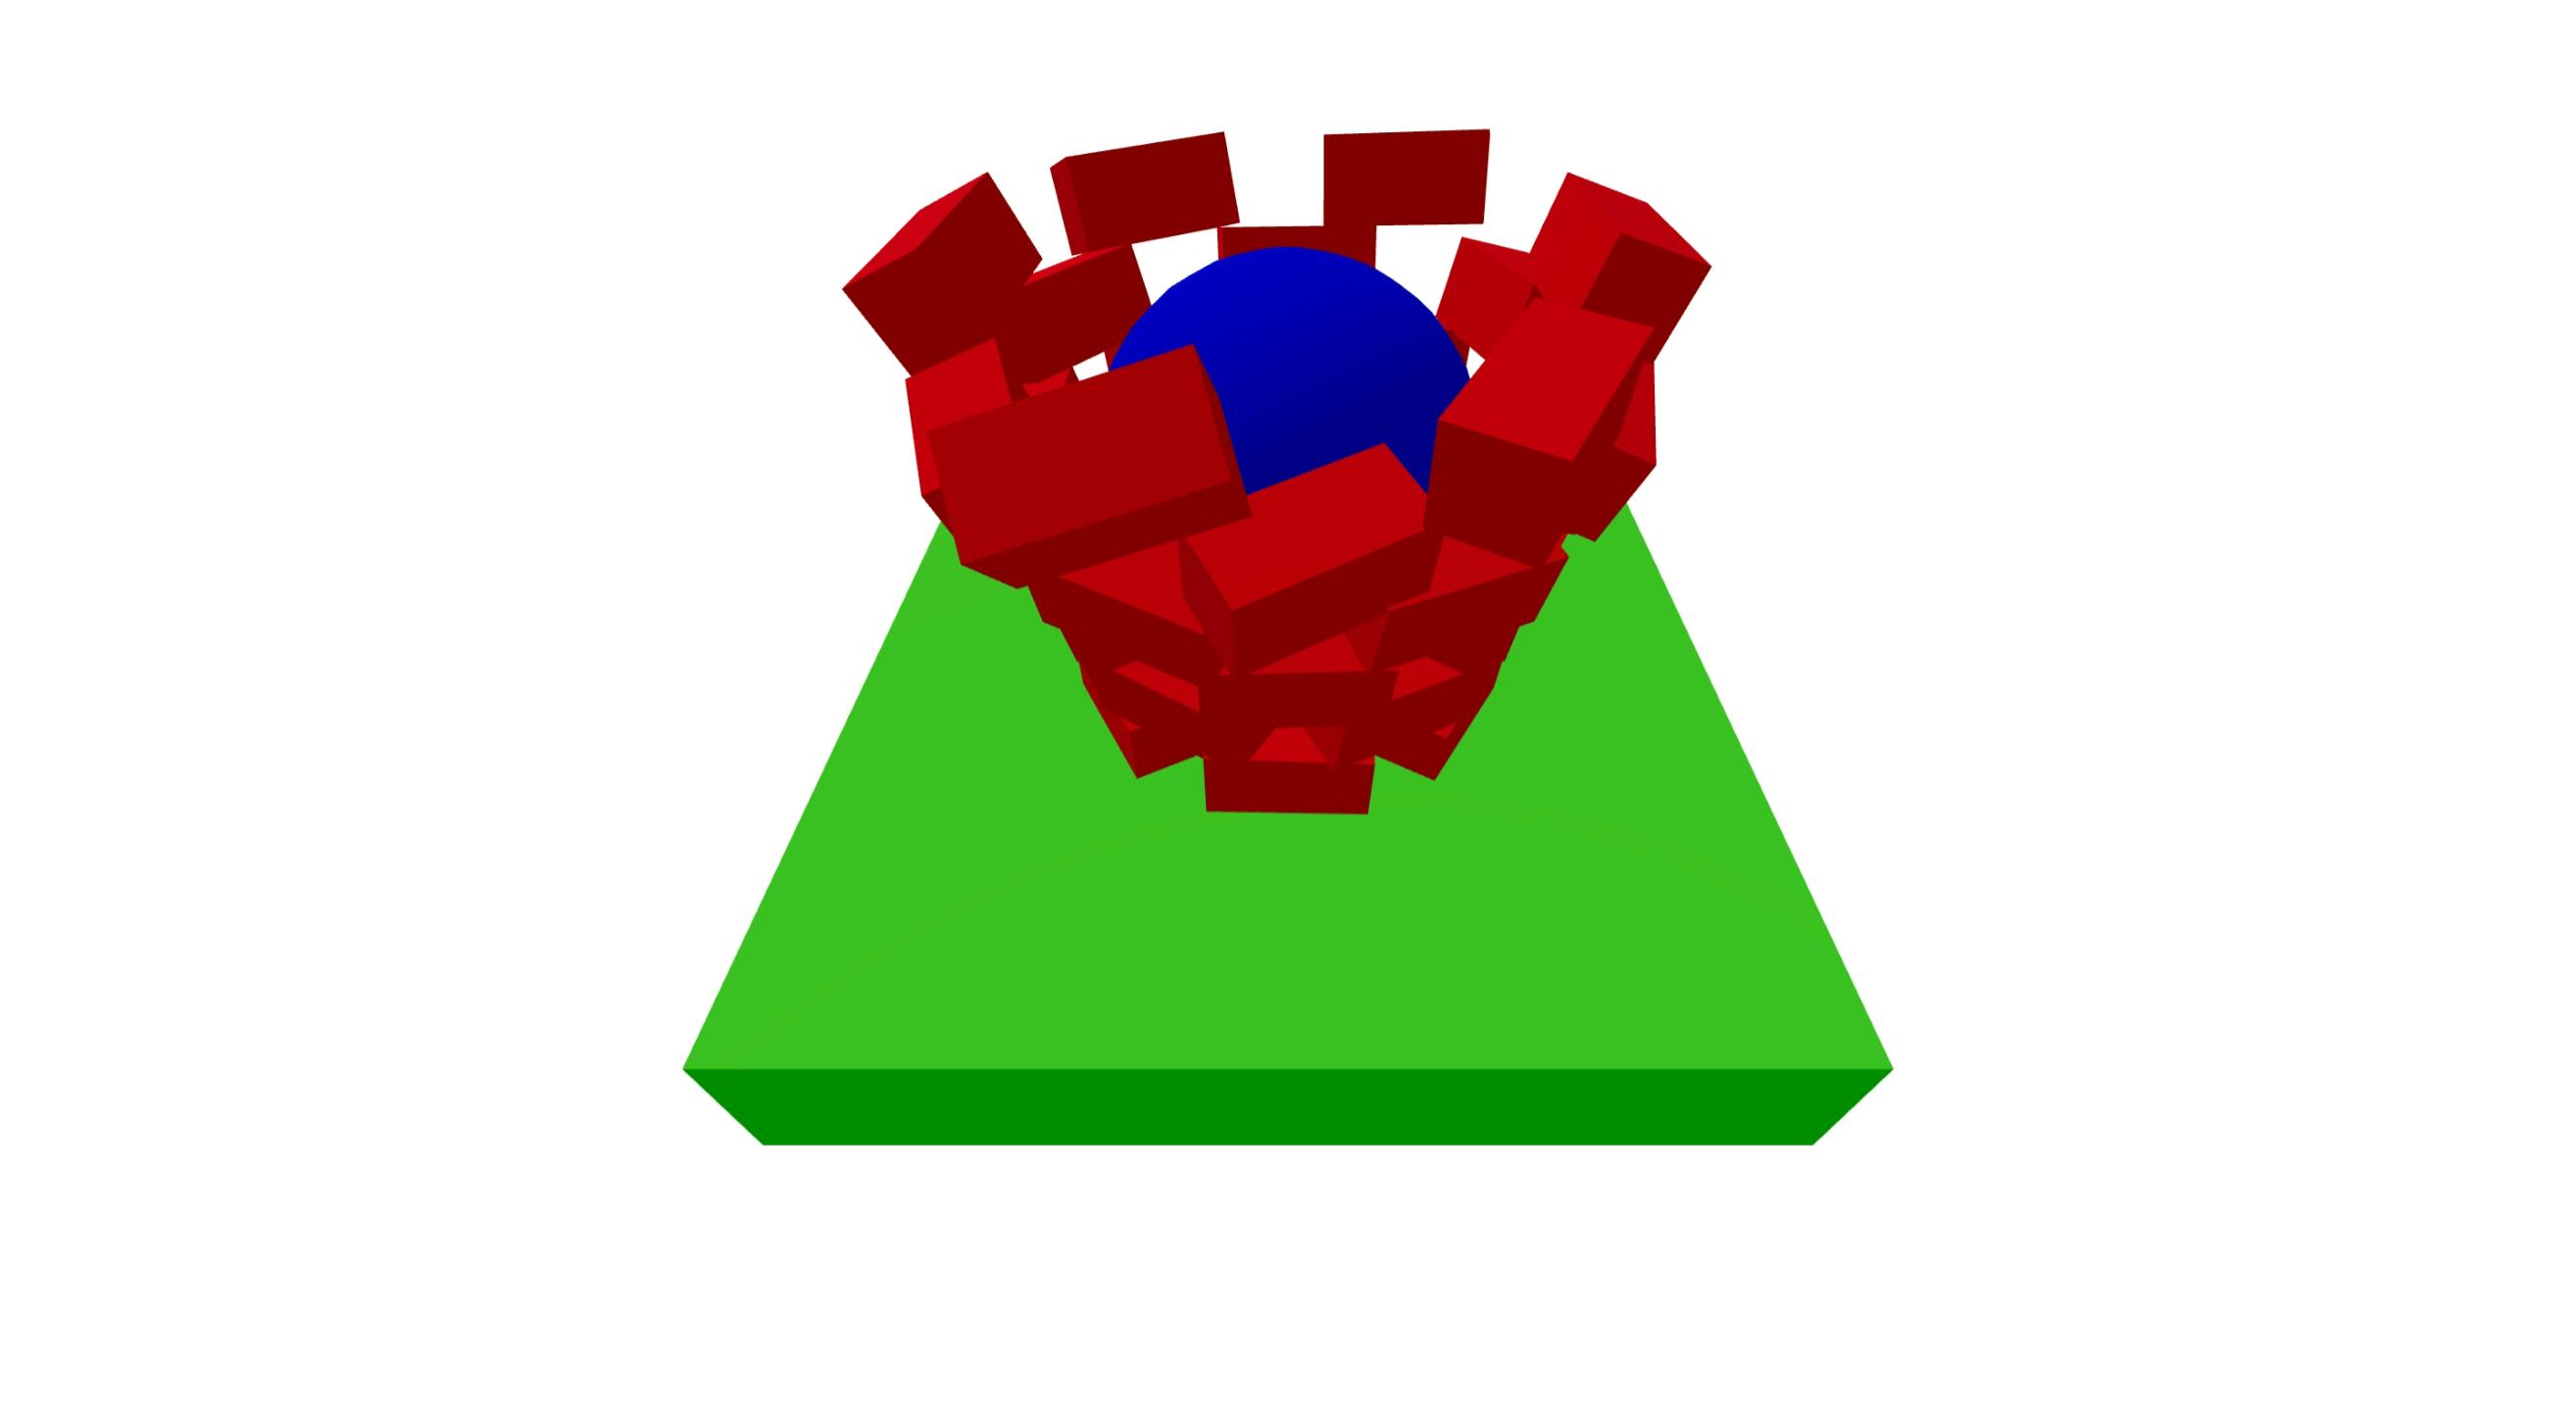
What we’re going to build together is a tower of blocks, adding physics to each object as we go (which will allow each object to move and respond to others). We’re then going to drop a ball into the center of the tower to destroy it! Here’s a quick video of how it’ll look:

To make this we’re going to use two libraries. We’ll need one to keep track of the physics for each object (Oimo.js site | docs | examples) and another to be able to draw those objects on the screen (Three.js site | docs | examples).
What you’re going to learn through this tutorial is:
- How to make an Oimo.js
body - How to make a Three.js
Mesh - How to keep both of these working together
Challenge overview
This month, there are two parts to our challenge. However, you won’t find specific challenge steps to solve in this tutorial. That’s because this month, the first challenge is for you to think and code in 3D, but we want to support you along the journey. The second challenge is to take the time at each step where there are suggestions to play around with settings and to explore how all of them interact in our app. By exploring these elements, you’ll see how 3D thinking in these libraries connects to the resulting app.
Project tour and setup
We’re going to run our whole app in a class called Sketch. By using the encapsulation of a class, we can share some variables with the different components we’re going to add. By using the same variables across our components, we’ll end up with a cohesive-looking scene.
You can check out the repo on GitHub or use this StackBlitz as a starter!
Once you open up the codebase you’ll find a Vite setup. All your work is going to happen in the following files:
js/app.jsis where you’ll initialize your components, and add them to the animation loop (more on that later). We’ve tried to tidy away as much of the Three.js setup as possible for you, so you’ll just need to work in theconstuctorandanimatefunctions in theSketchclass.js/components/Floor.jsis already prepared for you. It’s an example of an Omio body keeping track of physics, while Three.js is showing it to us on the screen.js/components/Ball.jsis going to be a ball that will destroy your tower using physics!js/components/Brick.jsis going to represent one of the bricks in the tower.
You’ll notice that in the constructor function of js/app.js we have set up some variables to be shared across the Sketch class.
// js/app.js

// SKETCH VARIABLES
// the width of one of our blocks
this.blockWidth = 20
// how many blocks we want around each level of the tower
this.count = 6
// how many levels we want in the tower
this.levels = 6
// the size of the gap we want between each block
this.mitreGap = 1.2
// the circumference of the tower
this.circumference = this.blockWidth * this.count * this.mitreGap
// the radius of the tower
this.radius = this.circumference / (Math.PI * 2)
blockWidth describes the width of a block. We’ll use this as a reference for the height and depth of the block, the size of the Floor, and in figuring out the radius of the Ball.
Because all sizes are worked out from this, you can also change this variable to change the overall size of the scene. This means that later if you play with other settings lower down and can't see your scene, you could change the blockWidth to “zoom” in and out!
count lets us know how many blocks we want around each level of our tower. It’s possible to make a tower so wide that the Ball may not touch the blocks! We can change that with the next variable.
levels tells us how tall the tower is going to be by defining how many levels of blocks there will be. You could make a really tall tower with this number! If you make one too tall it might even collapse under its own weight before the Ball falls!
mitreGap if we put all our blocks too close together, they’ll knock the tower over before the Ball ever falls on them! This can be fun on its own, so do play with this number, but we’re going to use it to push the blocks a little apart to keep the tower stable.
circumference this will let us know the circumference of the tower, taking into account the blockWidth, count, and mitreGap.
From the circumference we can calculate the radius. This is not only the tower's radius, but we will use it as the radius of the Ball so that it will fit perfectly inside the tower, knocking it over.
Need help along the way?
You can find the finished project on GitHub, or on StackBlitz.
Getting started
To start this tutorial, you’ll be at the branch 00-begin. This will show you the app in its default starting state.
To get started, you’ll need to install the required node modules. If you’re following along with StackBlitz, this will be done for you, but if you’ve downloaded the repo from GitHub, run npm i in the root of the project.
To make sure that we keep things clear, we’ve already got all the imports set up for you in each file, but let's explain what each module is.
- Oimo.js - this is the physics engine we’re going to use. It keeps track of a
body’s position, rotation, and collisions with other bodies. It does not draw anything on the screen though. - Three.js - this is a rendering framework. It lets us describe a
Mesh, which has a shape (geometry) and a look (material), and then render these on a<canvas>. We’ll ask Oimo.js where its body is, and use Three.js to show it on the screen. Vite- this is our web server.
StackBlitz will start the project automatically, but if you’re working from GitHub, to start the project, run npm run dev.
Creating the ball
There are two main tasks when creating each component. We need to add it to the main app. Then we need to describe how it’ll work and look within the app.
Add the ball to the app
We have already created the Floor in js/components/Floor.js for you, and imported it. We’ll need to copy the setup for that with the Ball.
What we’re going to do here is add the Ball component to the lifecycle of our app. First, we’ll create an instance of the Ball component in app.js, and then run an update() function with it on each frame inside the animate() function. This setup will serve us well for 95% of components you might want to ever make.
When we run the animate() function, you’ll see that in completeFrame() we use requestAnimationFrame() to call animate() again recursively.
What are frames?
Your browser is constantly redrawing the <canvas> that Three.js is rendering to. You’ll see that every time we create a Three.js Mesh, we pass it to the scene. The scene is what Three.js paints on the <canvas>. Using requestAnimationFrame, we run the animation function once in every frame.
You’ll see there’s already an instantiating function for this.floor, so we just need to copy that for the Ball, so that part of app.js should now look like this.
// js/app.js

// instantiate components
this.floor = new Floor(this)
this.ball = new Ball(this)
We also need to make sure that we update the Ball on every frame. In the animate function, just like with the Floor, we can run the update function for the Ball.
// js/app.js

this.floor.update()
this.ball.update()
Creating the Three.js Mesh for the Ball
Next, we’re going to set up our Three.js mesh. Open up /js/components/Ball.js and under the comment // setup add the following code:
// js/components/Ball.js

this.material = new THREE.MeshStandardMaterial({ color: 0x0000ff })
this.geometry = new THREE.SphereGeometry(sketch.radius)
this.mesh = new THREE.Mesh(this.geometry, this.material)
sketch.scene.add(this.mesh)
A Mesh is made of two things, a material which is what it looks like, and a geometry which is what shape it is.
The color we’re setting on this.material is 0x0000ff. This might look funny, but it’s almost identical to setting a color in CSS as a hex, like #0000ff. So our Ball is going to be blue! Play with this color if you’d prefer something else. There are lots of options in a MeshStandardMaterial, so check out the docs to see what else you could change, and remember there are lots of other materials too!
To make our Ball a sphere, we’re using a SphereGeometry (docs). We’re passing in the radius that we created in app.js, so we know the Ball will be the right size.
Finally, we bring our material (the look of the component) and our geometry (the shape of our component) together in a Mesh. Once we have our Mesh, we add it to the scene.
Key Three.js concepts
The three things that most Three.js apps need are a Scene, a Camera and a Renderer.
A Scene (docs) can be thought of like a stage in a theater.
If we look at how this has all turned out, we’ll see our blue Ball stuck in the middle of the Floor.
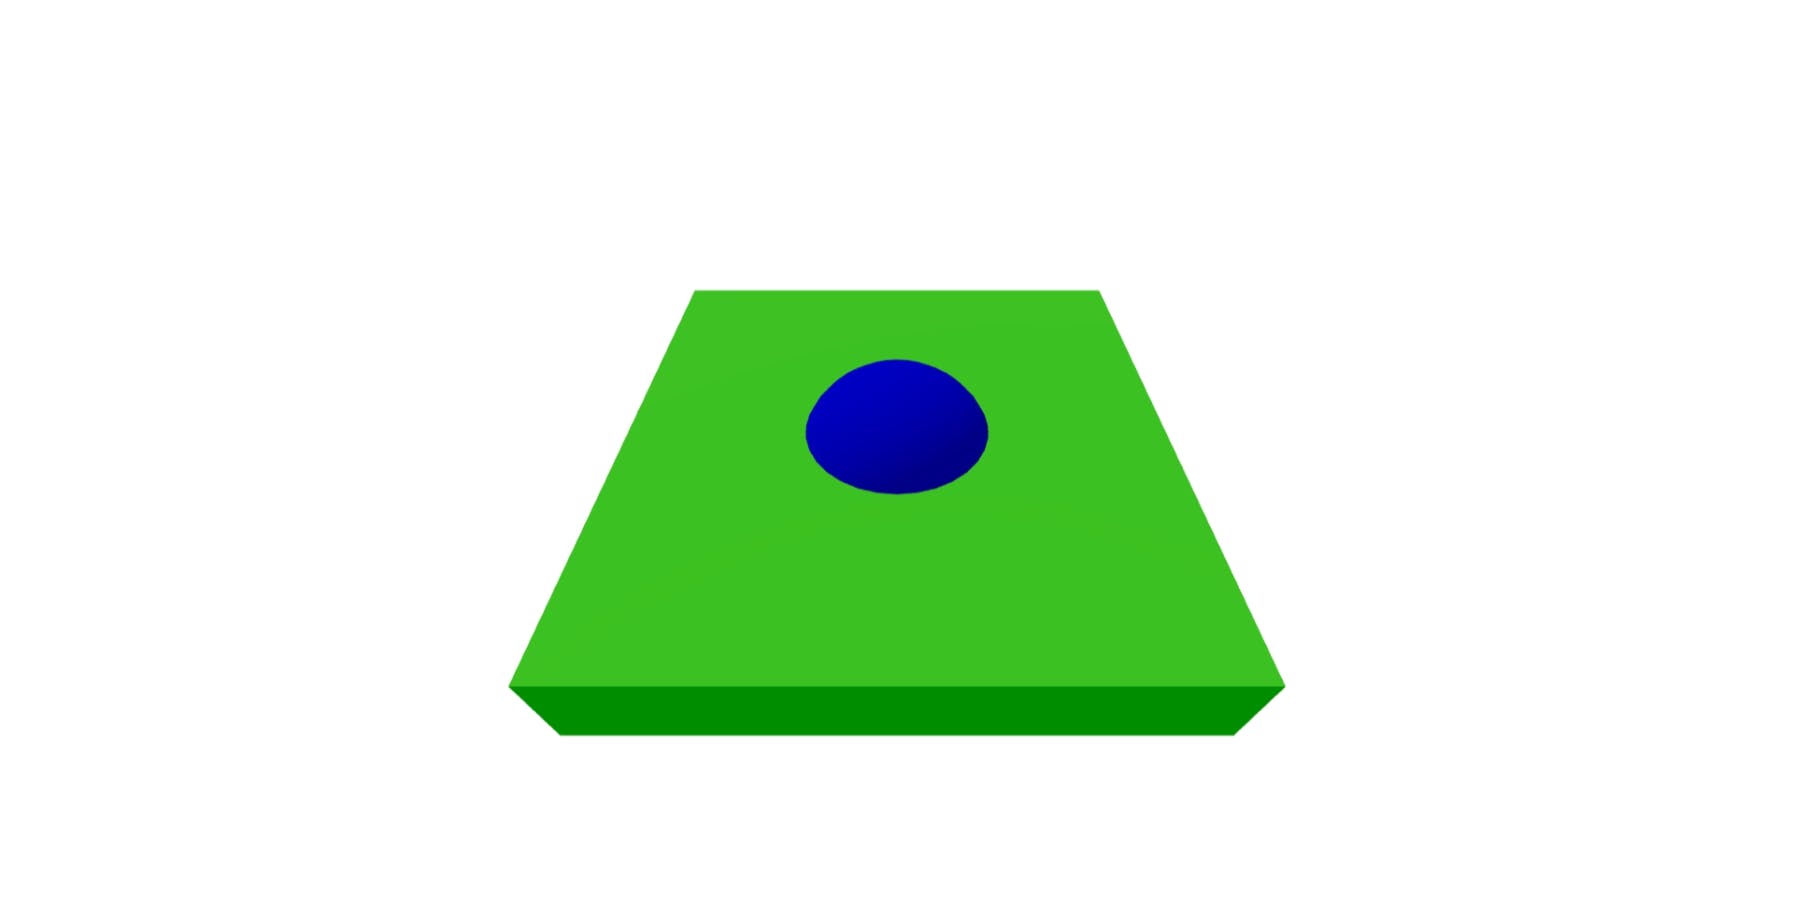
This is great progress! We have the Ball all set up in Three.js; we just need to get the physics hooked up!
Note: if you’re stuck at this point, you can check out the repo on Github at 01-add-threejs-ball or on StackBlitz.
Adding the Oimo.js body to the Ball
It can be a little tough to understand exactly what Oimo.js, or any physics engine, is doing. I think this is because we can never see what Oimo is doing, which makes it feel really abstract.
Let’s add the body to the script. This is what Oimo is going to use to keep track of where our Ball is. In /js/components/Ball.js, just after where we wrote sketch.scene.add(mesh) let's skip a line or two and add this code.
// js/components/Ball.js

const y = sketch.levels * sketch.blockWidth * 2
this.body = sketch.world.add({
  type: 'sphere',
  size: [sketch.radius],
  pos: [0, y, 0],
  move: true,
  friction: 0.5,
  restitution: 0.5,
})
There are a lot of things happening here, so let’s go through them one by one.
In 3D programs, we use x, y, and z to talk about the position of an object. We always want our Ball to start above our tower, so to do that we’re going to create a y variable and make it twice the height of the tower. We’ll pass this y value to the Oimo body shortly.
A body is something that is added to the Oimo world. Once in the world, the position and rotation of the body will be updated on every frame. It might feel a bit repetitive, but we need to tell Oimo the same information about the shape of our body. This is because Three.js and Oimo are actually totally separated; there is no default overlap between the two systems, so we need to provide that. We will link these later in the update function.
We give the body a type of 'sphere' (docs). This could also be a box, capsule, or cylinder. We pass the radius we calculated earlier in app.js for the size.
We’re also updating the pos (position). These are our x, y, and z values. The way our camera is set up, x is left and right, y is up and down, and z is towards and away from the camera. We want our Ball to start high in the air, so we use our y value here that will be twice the height of the tower.
Then it gets interesting. move:true tells Oimo that we want this body to move, fall, and collide with other bodies. In Floor.js, we have this set to false, so it will be fixed in space, and never budge no matter how hard something hits it. It will however collide with other bodies.
friction is a number between 0 - 1 where 0 means slippery like ice, and 1 means super grippy.
restitution to me is a fancy word for “bouncy”. It’s a number between 0 - 1 where 0 means solid like a brick, and 1 means bouncing castle!
At this point, if you run the app, you’ll see that the Ball is still stuck in the Floor, even though we just did all that work! This is actually totally expected. We have set up our Three.js Mesh, and started our physics body in Oimo, but as mentioned before, there’s no link between these. Our physics are updating, but we haven't told Three.js where the Mesh should be now.
This is a quick fix, in the update function of the Ball, add these two lines.
// js/components/Ball.js

this.mesh.position.copy(this.body.getPosition())
this.mesh.quaternion.copy(this.body.getQuaternion())
The first line is saying, “Change the position of our mesh, and to get the new value, copy the position of the Oimo body.” This way, we’re updating where the mesh is on the Three.js stage on each frame, updating what we see. You should now see the Ball falling and bouncing a little on the Floor!

Note that at this point you can zoom in and out with your mouse, and if you click and drag you can look around your Floor.
Note: If you’re having any trouble, we’re now at 02-add-oimo-ball on GitHub or on StackBlitz.
Creating the Tower
Creating the tower can be slightly complicated, especially when you’re not used to thinking in 3D space. We’re going to take this slow and go step by step.
Creating a single Block
Eventually, we’re going to have many blocks on the screen at once. To manage these, we’re going to use an array. First, let's just create that array and put one block in there, to see how the array will work.
Adding the array to App.js
Below where we have initialized the Floor and Ball, let's add the code for the array, and initializing a Block in that array.
// js/app.js

this.floor = new Floor(this)
this.ball = new Ball(this)

this.blocks = []
this.blocks.push(new Block(this))
blocks is going to store all of our Block instances. When we want to add an instance to the array, we push it into the array.
As always, we want to update our instance in the animate function. So we’ll update that like this.
// js/app.js

animate() {
  // your code here!
  this.floor.update()
  this.ball.update()

  this.blocks.forEach(block => block.update())

  this.completeFrame()
}
You can see that we’re looping over the blocks with a forEach function, and then running this update on each Block. This means that we can now focus on js/components/block.js to add it to the screen.
Updating Block.js
This should look pretty familiar at this stage to your Ball.js file, but let's talk through what’s different this time around with in our Block.js file.
// js/app.js

constructor(sketch, settings) {
  // setup
  const width = sketch.blockWidth
  const height = sketch.blockWidth * 0.5
  const depth = sketch.blockWidth * 0.5

  this.material = new THREE.MeshStandardMaterial({ color: 0xff0000 })
  this.geometry = new THREE.BoxGeometry(width, height, depth)
  this.mesh = new THREE.Mesh(this.geometry, this.material)
  sketch.scene.add(this.mesh)

  this.body = sketch.world.add({
    type: 'box',
    size: [width, height, depth],
    pos: [0, 20, 0],
    rot: [0, 0, 0],
    move: true,
    friction: 1,
    restitution: 0.1,
  })

  return this
}
update() {
  this.mesh.position.copy(this.body.getPosition())
  this.mesh.quaternion.copy(this.body.getQuaternion())
}
You’ll see we’re passing through, not only sketch, but also settings to the constructor. This will let us customize each instance of a Block later.
We’ve set our width, height, and depth to create a Block shape.
For now, just to see something happening, we’ve hardcoded pos: [0, 20, 0], just so we can see the Block fall onto the Floor.
We’ve introduced a rot[0,0,0] which describes the body’s rotation. We’re going to use in the next step to rotate our Block around a circle.
You should now be seeing the Block fall onto the Floor, and then the Ball fall and move the Block a little before rolling off the Floor.
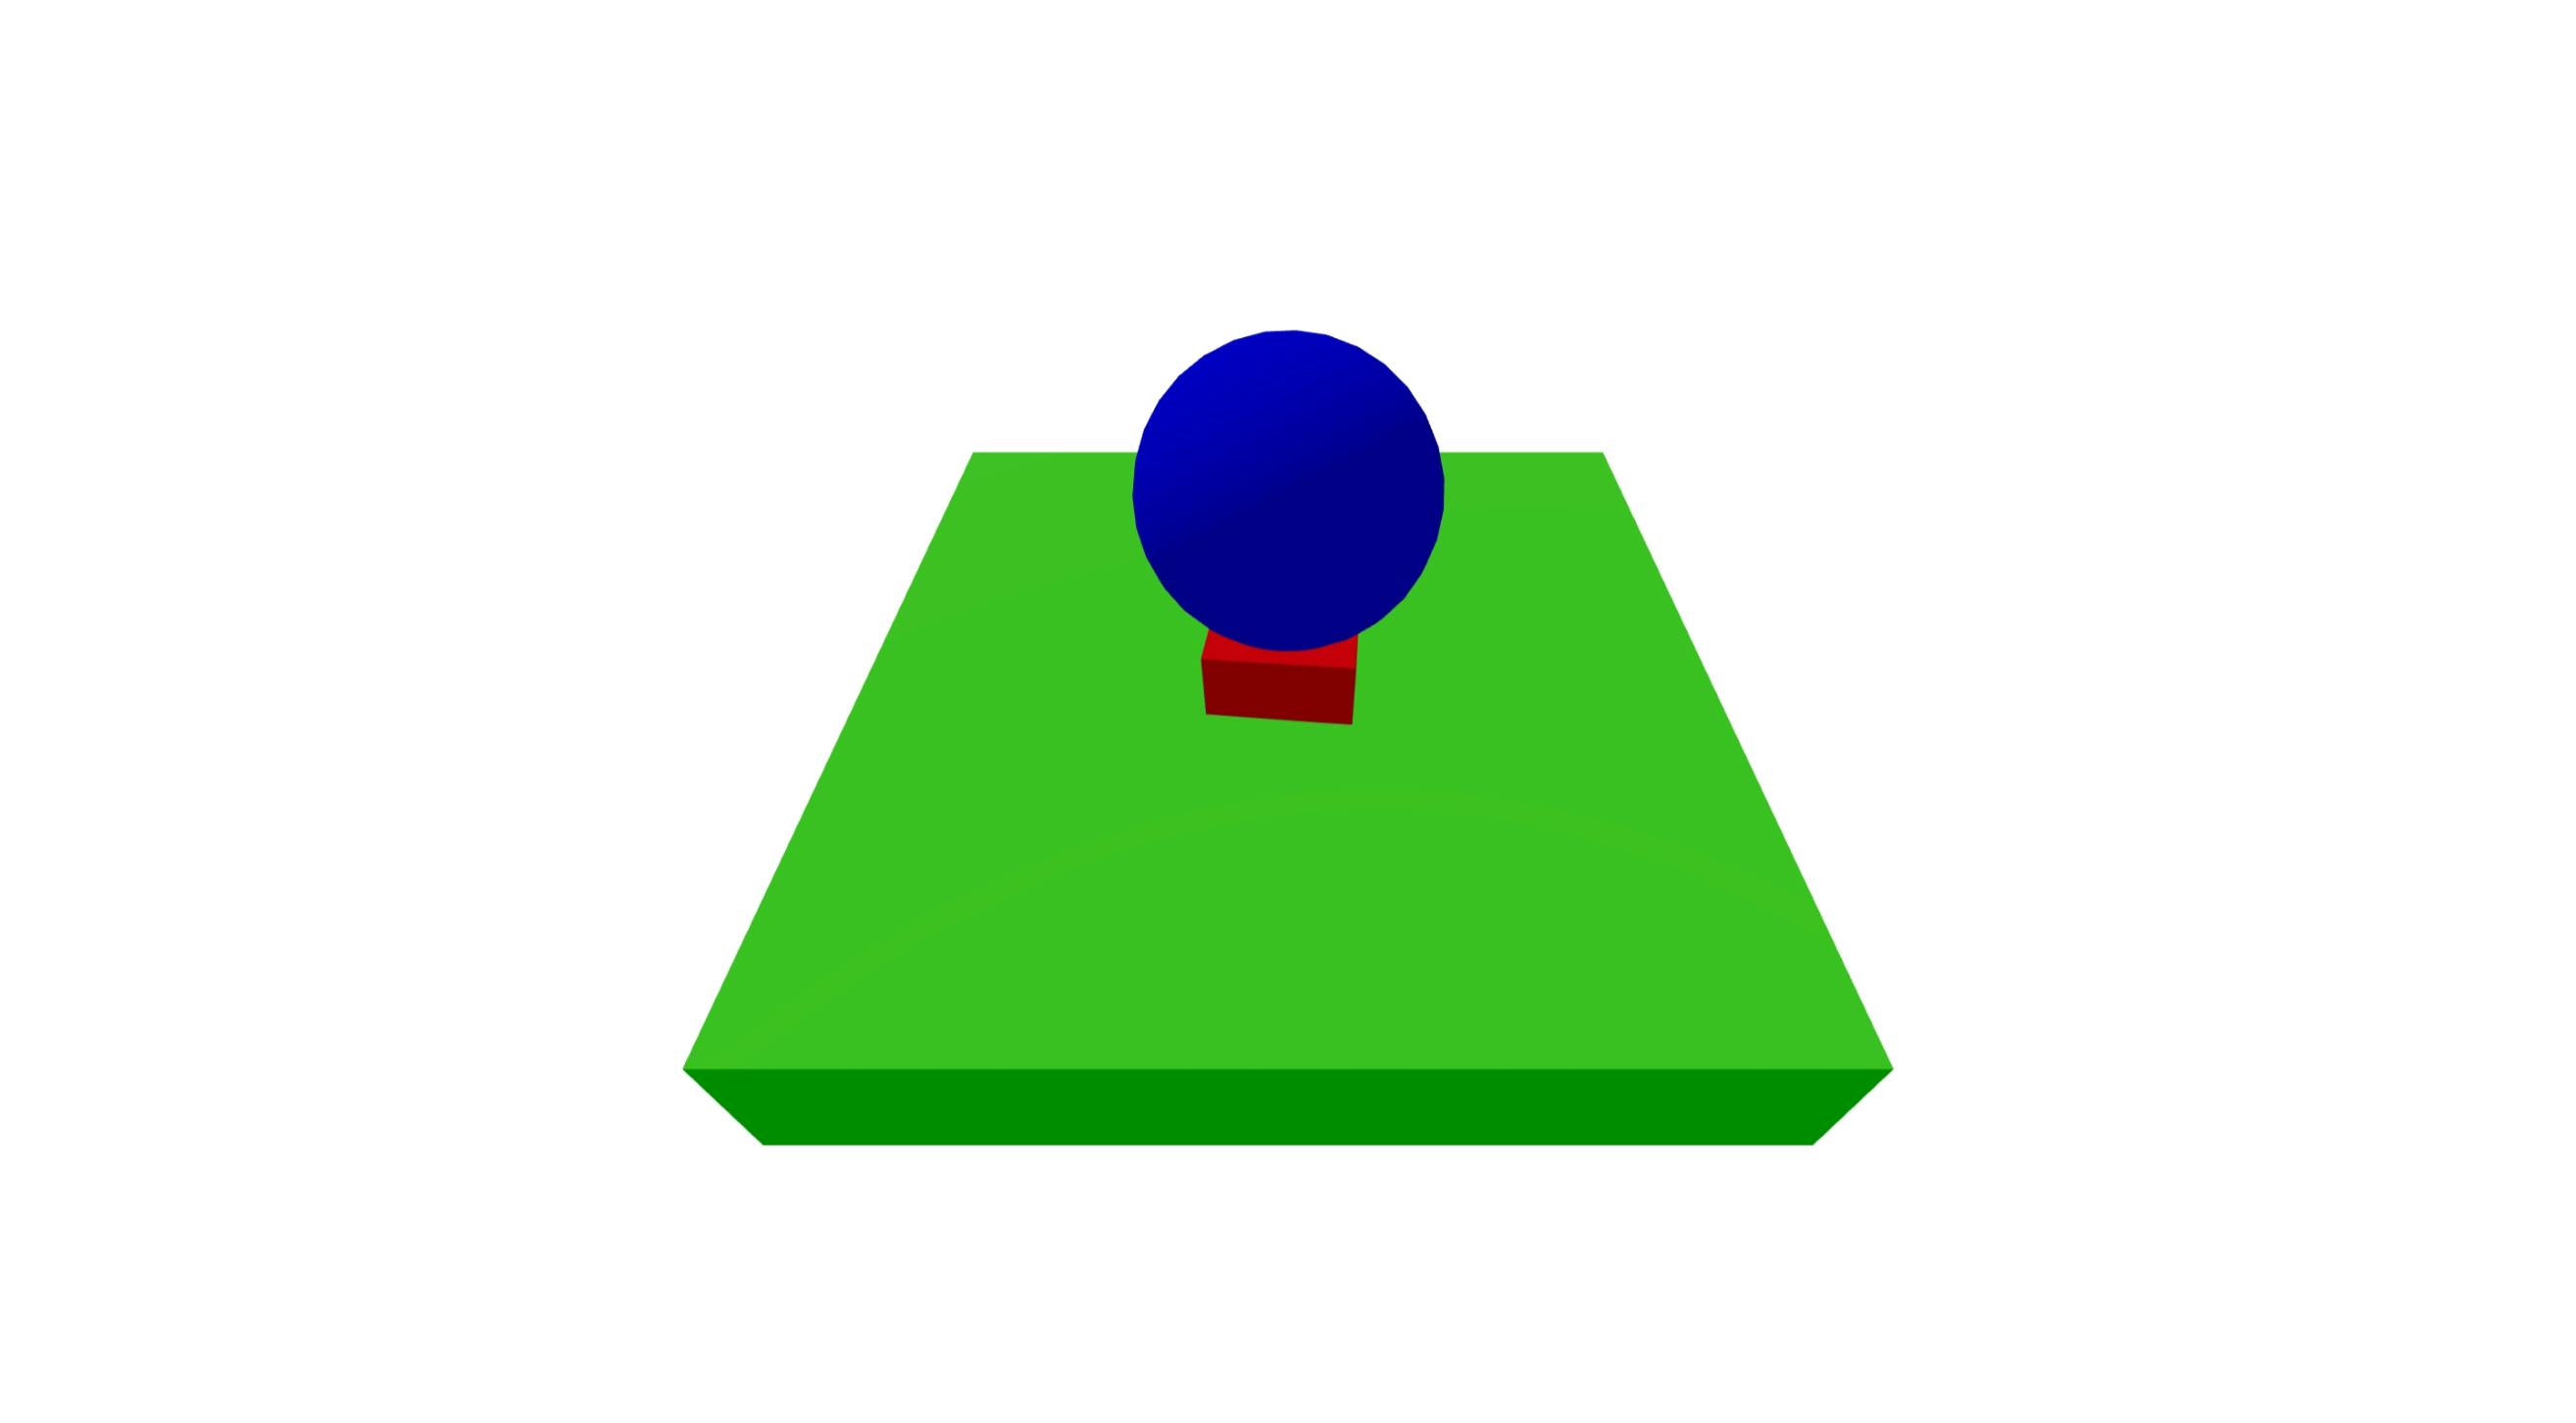
Note: If you’re stuck at this point, you can check out the repo at 03-add-single-block or on StackBlitz.
Create a ring of Blocks
Now we’re going to create a circle of Blocks. Later we will add layers of rings to create our Tower, but to keep things clear, let's start with one.
Update App.js
You’re starting to get to know the drill at this point. First, let's update app.js so that we can create multiple Blocks. We’re going to create a loop, adding Blocks around a circle. The amount of blocks is defined by, this.count that we set up earlier.
// js/app.js

this.blocks = []
const angleSize = (Math.PI * 2) / this.count
for (let i = 0; i < this.count; i++) {
  let angle = angleSize * i

  const x = Math.sin(angle) * this.radius
  const z = Math.cos(angle) * this.radius

  this.blocks.push(new Block(this, { x, z }))
}
First, we need to know the size of the angle to rotate around the circle for each block. We get this by dividing Math.PI * 2 (the circumference of a circle), by this.count. Now we have an angle in radians.
This is an important point. Three.js works in radians, but Oimo works in degrees. We’ll deal with that later, but when working with two different frameworks it’s good to know small differences like this. Otherwise, it could be almost impossible to achieve some of the effects you want.
Next we set up a loop, multiplying the angle by how far through the loop we are, and then getting our x and z position using some trigonometry.
Why x and z, and not y? Remember that in Three.js, y is up and down, z is forward and back.
Update Block.js
And now to update the Block.js.
// js/components/Block.js

const width = sketch.blockWidth
const height = sketch.blockWidth * 0.5
const depth = sketch.blockWidth * 0.5

const x = settings.x
const y = 20
const z = settings.z

this.material = new THREE.MeshStandardMaterial({ color: 0xff0000 })
this.geometry = new THREE.BoxGeometry(width, height, depth)
this.mesh = new THREE.Mesh(this.geometry, this.material)
sketch.scene.add(this.mesh)

this.body = sketch.world.add({
  type: 'box',
  size: [width, height, depth],
  pos: [x, y, z],
  rot: [0, 0, 0],
  move: true,
  friction: 1,
  restitution: 0.1,
})
The changes are small here, but really important as we progress. We’re using the x and z that we got from the settings we passed through to our Block instances from app.js. We still have y hard coded to 20, just to see things working.
If we run the app now you’ll see we’re getting bricks in a circle, but their angles are all the same. It doesn't look like how bricks in a tower would be laid out.
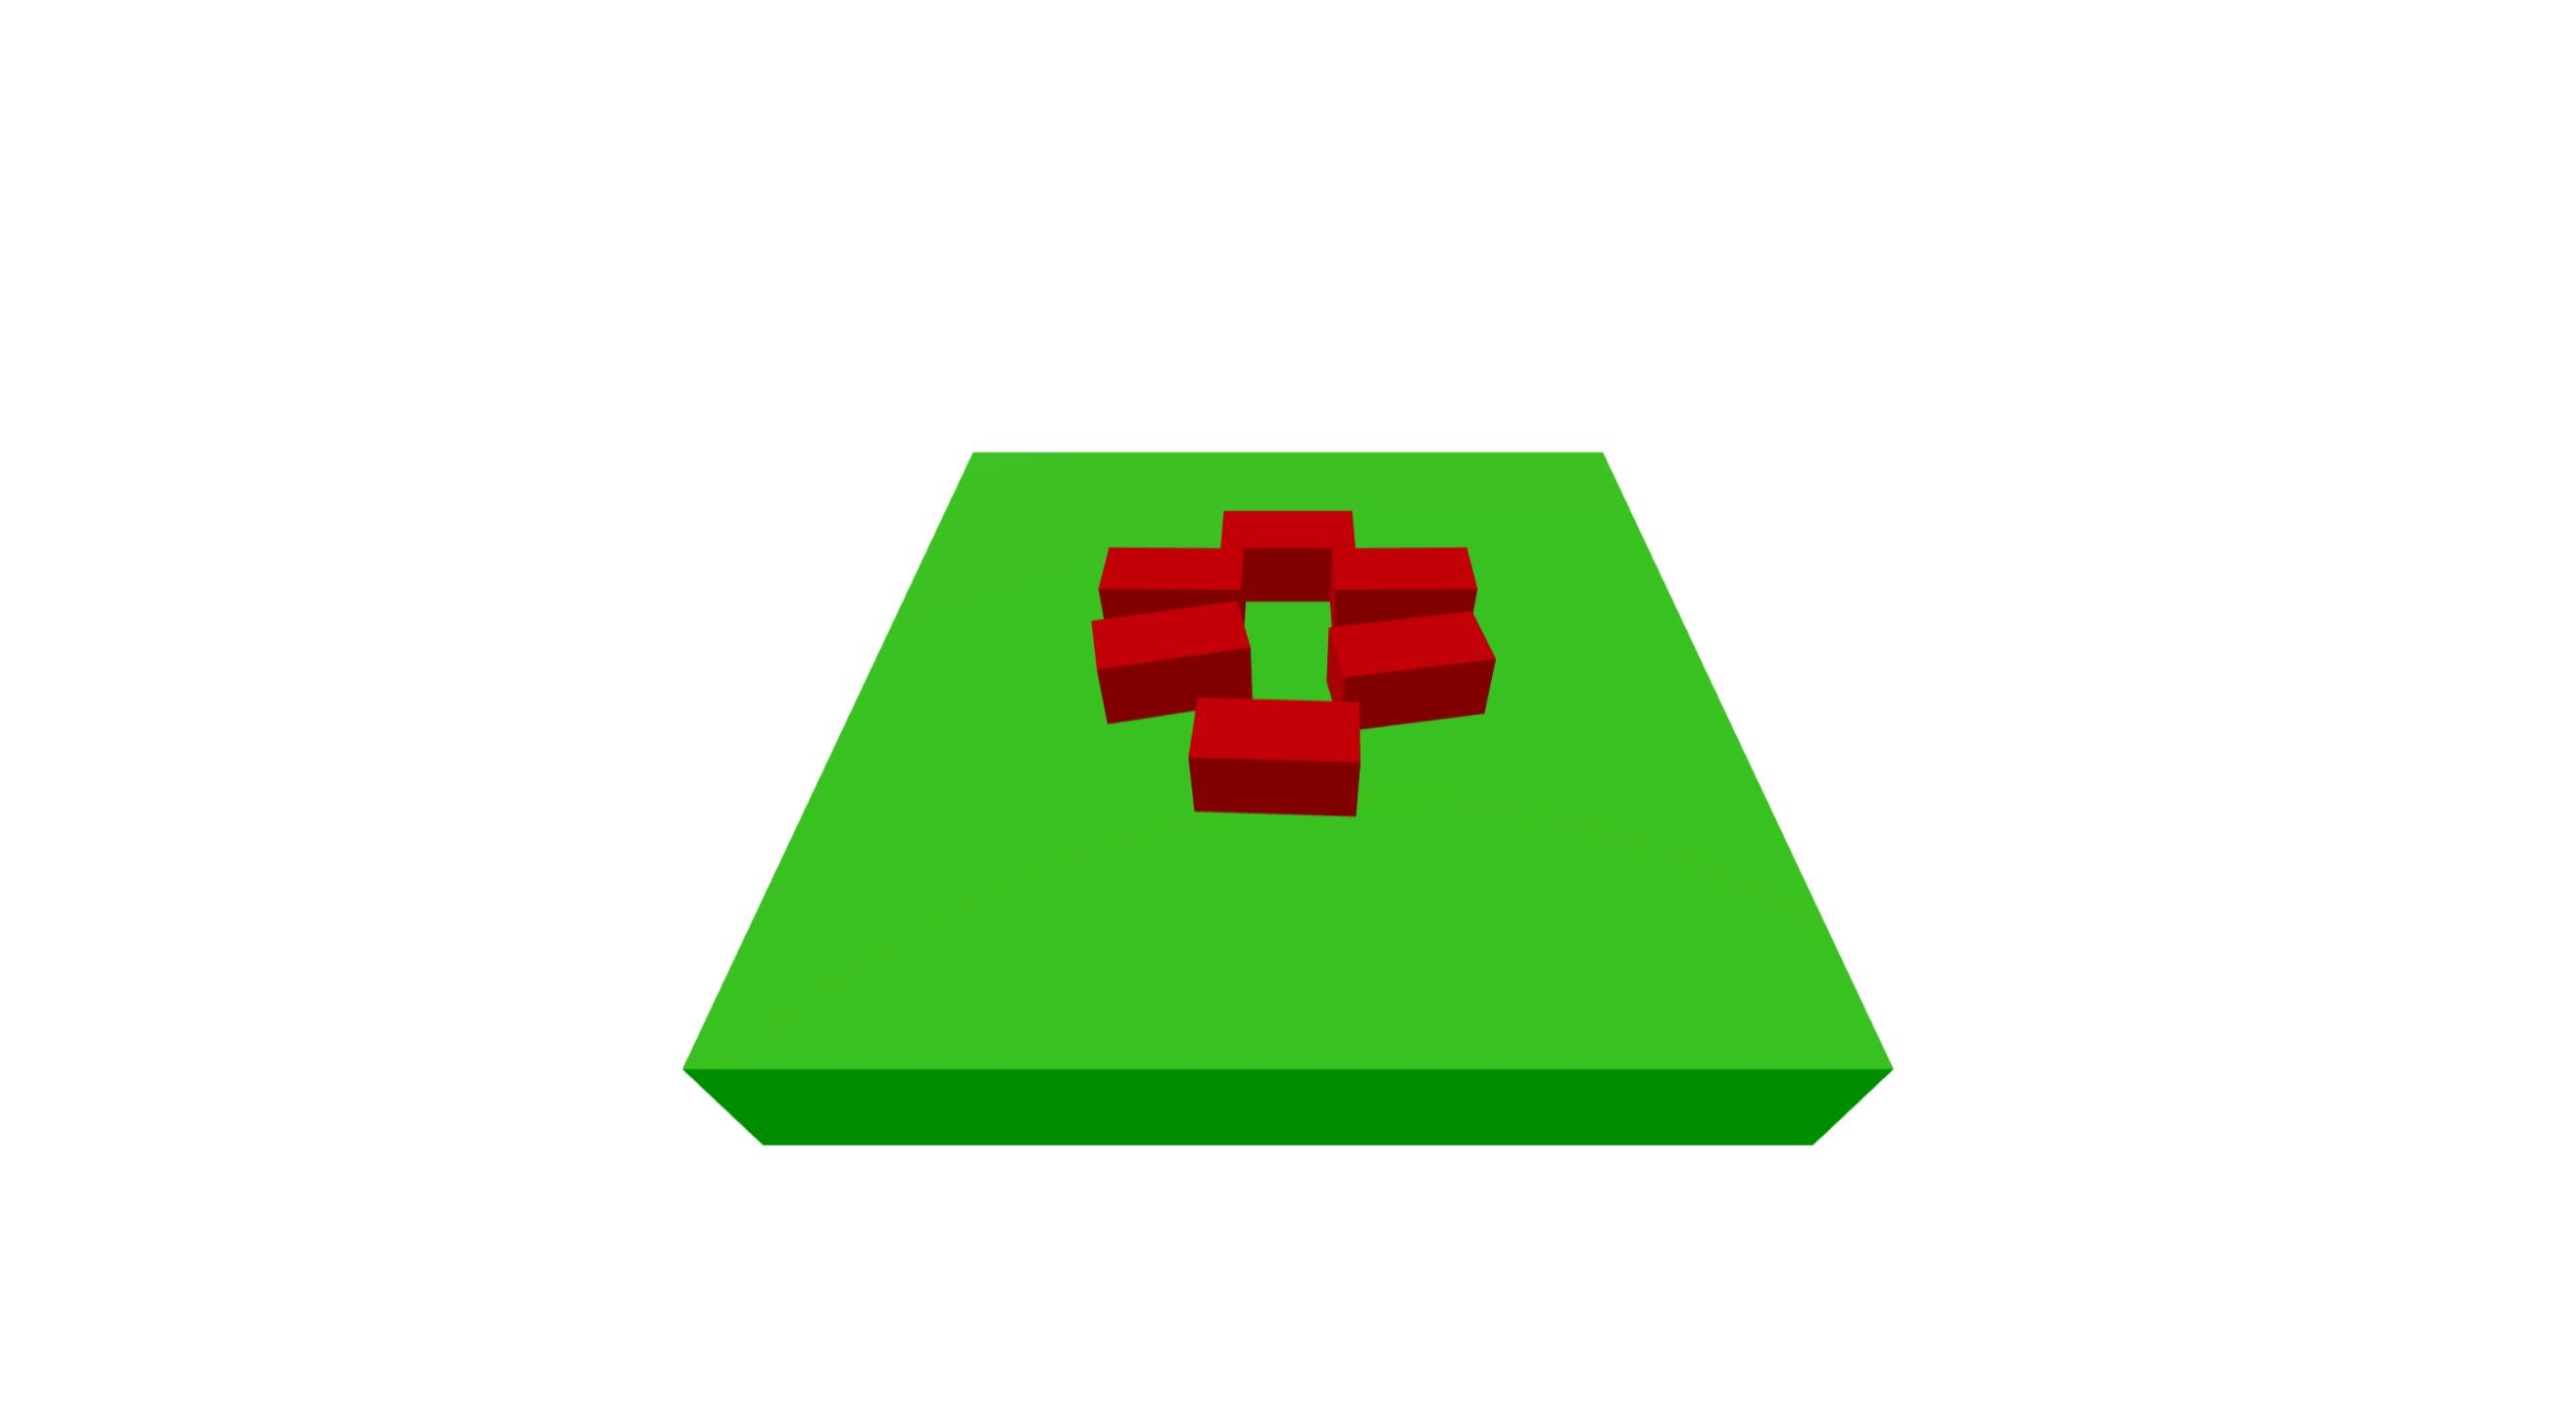
To fix this we’re going to make another small set of changes to our Block.
Note: if you’re stuck here, catch up on GitHub at 04-create-ring-of-blocks or on StackBlitz.
Rotating the Blocks
This is the trickiest update that we’re going to make, I promise you. And once we’re done with this step, we’re almost finished!
// js/components/Block.js

constructor(sketch, settings) {
  // setup
  const width = sketch.blockWidth
  const height = sketch.blockWidth * 0.5
  const depth = sketch.blockWidth * 0.5

  const x = settings.x
  const y = sketch.blockWidth
  const z = settings.z

  this.material = new THREE.MeshStandardMaterial({ color: 0xff0000 })
  this.geometry = new THREE.BoxGeometry(width, height, depth)
  this.mesh = new THREE.Mesh(this.geometry, this.material)

  this.mesh.position.set(x, y, z)
  this.mesh.lookAt(0, y, 0)

  sketch.scene.add(this.mesh)

  this.body = sketch.world.add({
    type: 'box',
    size: [width, height, depth],
    pos: [x, y, z],
    rot: [
      this.radToDeg(this.mesh.rotation.x),
      this.radToDeg(this.mesh.rotation.y),
      this.radToDeg(this.mesh.rotation.z),
    ],
    move: true,
    friction: 1,
    restitution: 0.1,
  })

  return this
}
radToDeg(num) {
  return (num * 180) / Math.PI
}
We’re doing two things here that we haven't done before.
First, we’re setting the mesh.position on the Three.js mesh. So far we’ve only been updating these in the update functions of our components. Then we’re calling mesh.lookAt(0,y,0).
What this does is point our Blocks to the center of the Floor (x = 0, z = 0), but at the right height by using y, which is set to blockWidth. We’ll work on this more later when we’re creating the full tower, but this has the Blocks look at the right height, otherwise, they would look directly at the floor. Try swapping y for just a 0 and you’ll see what happens in that case!
Now Three.js knows where the mesh should be pointing, but Oimo doesn't. That’s why we want to set the rot property on the body. Unlike the pos though, we can't just copy anything from Three.js, because as mentioned before, Three.js uses radians for rotation, where Oimo uses degrees. That’s why we have a new helper function radToDeg().
With this in place, we should now have a ring of blocks!
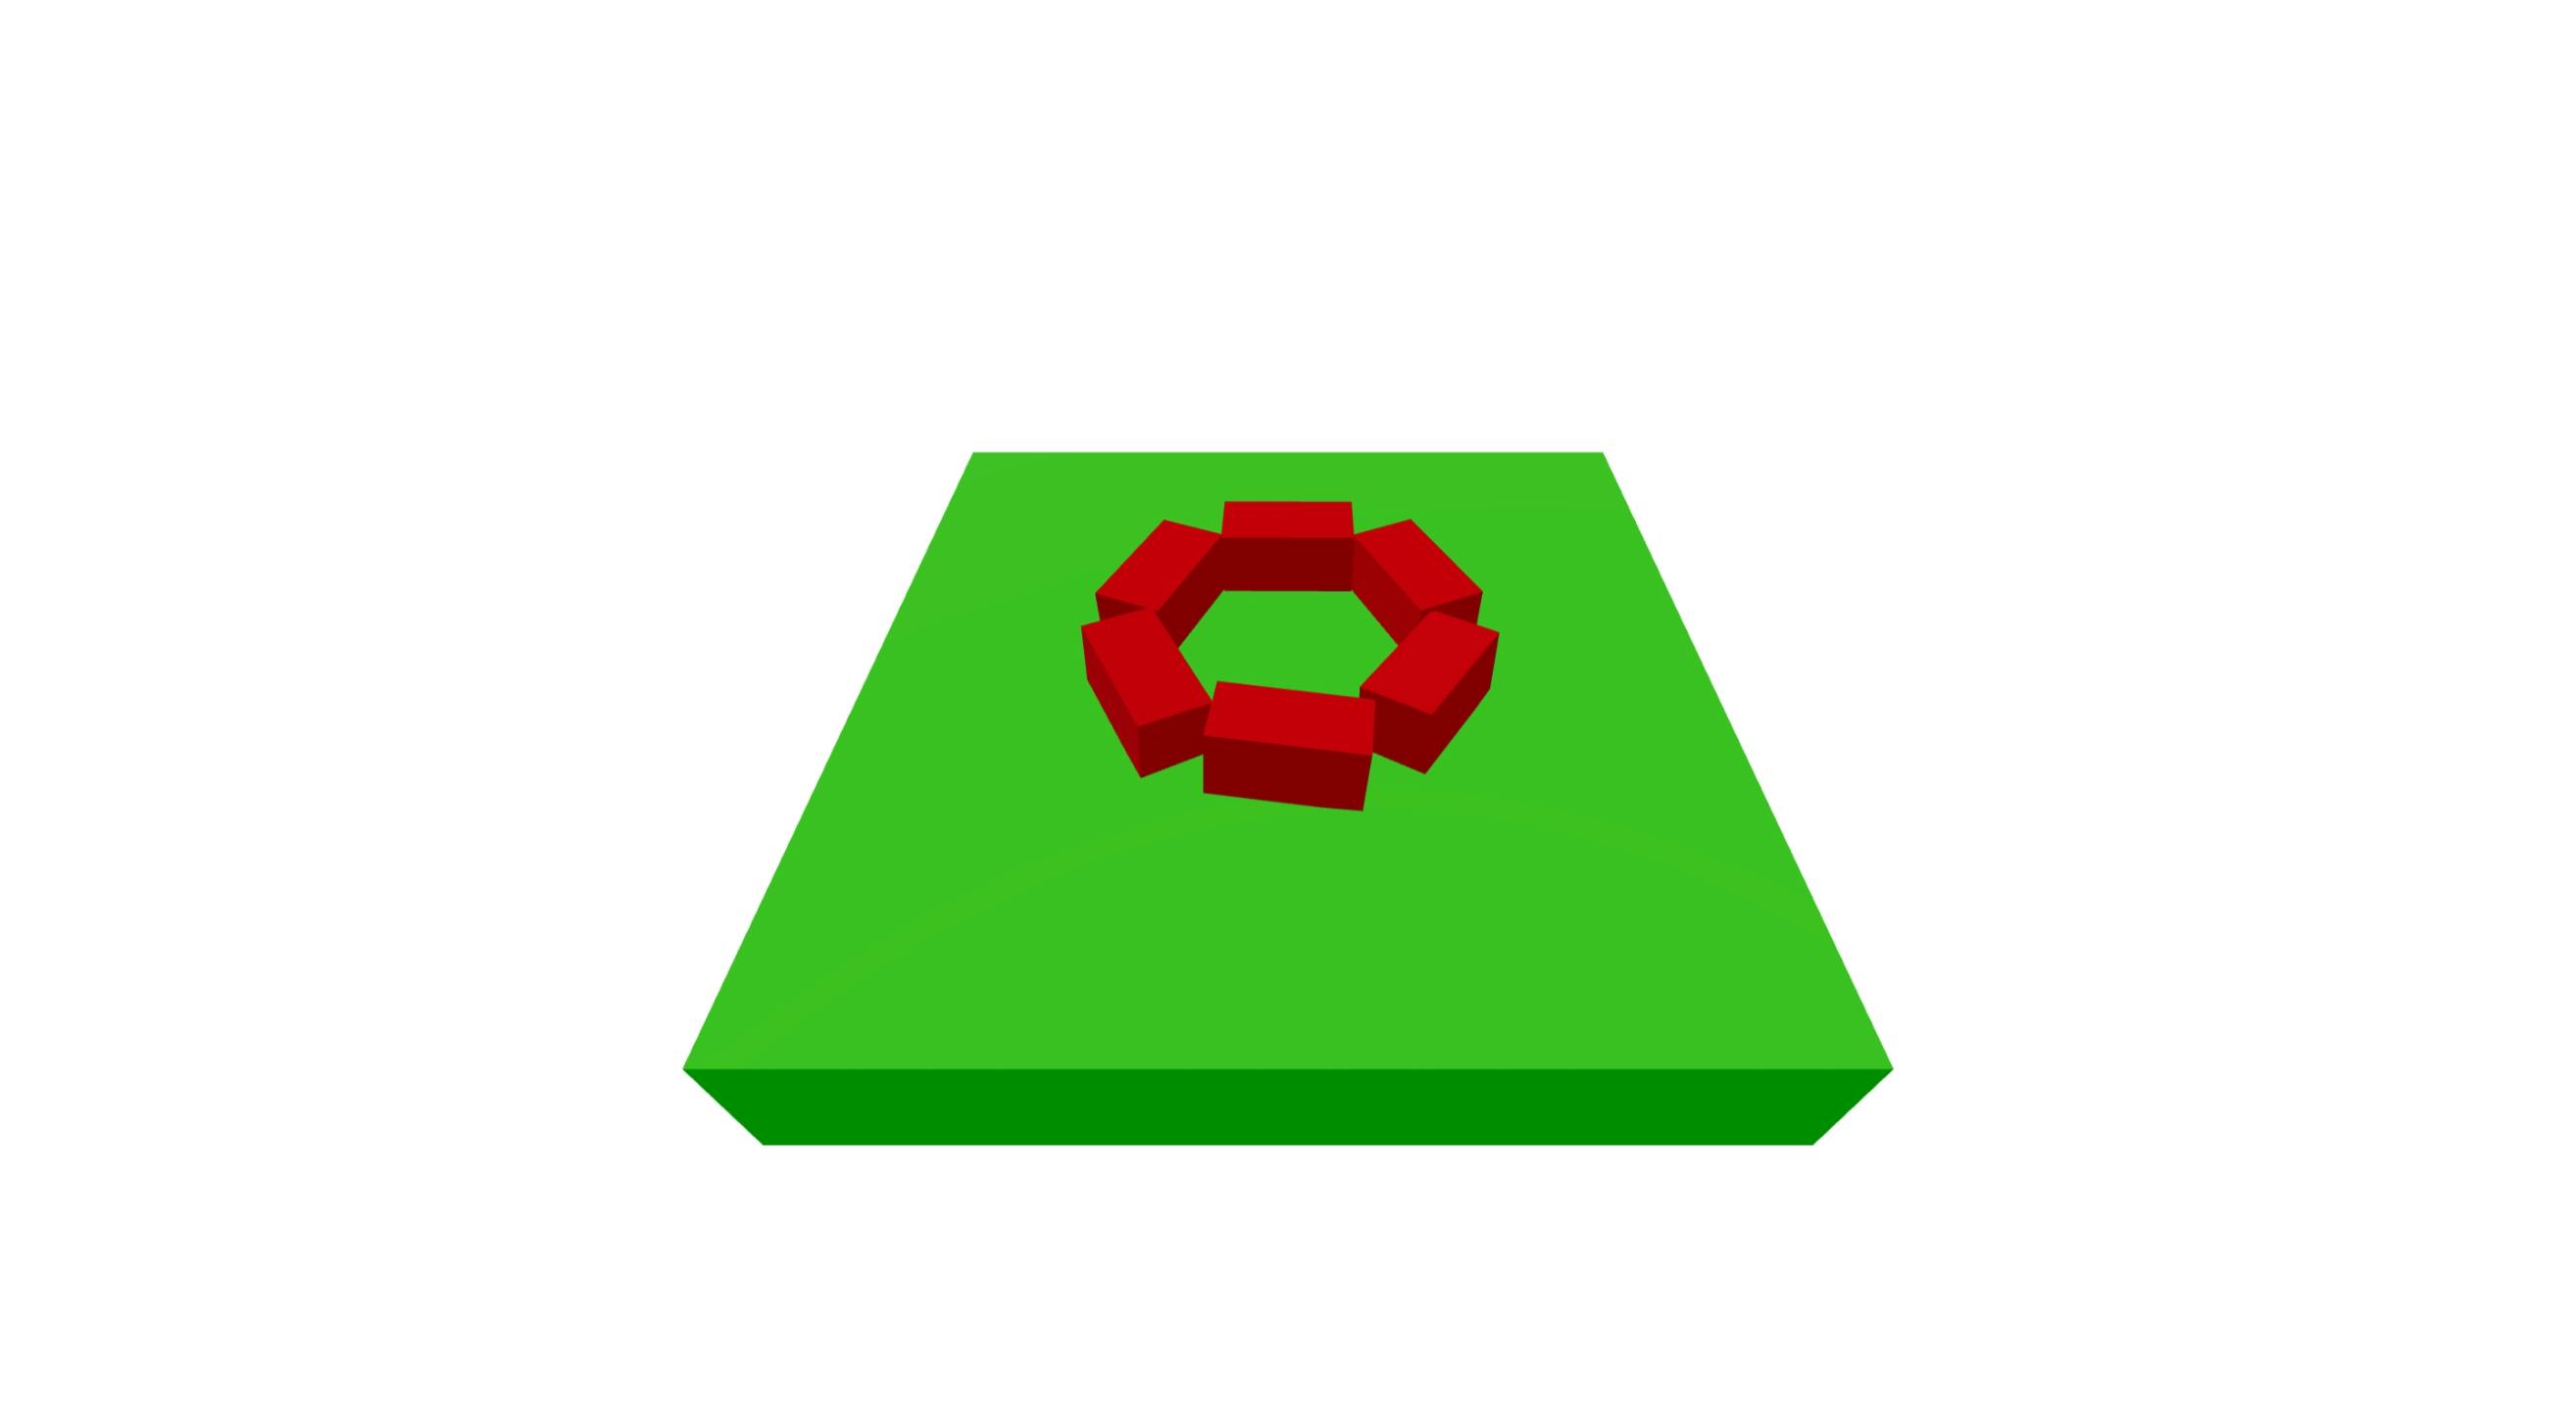
Note: if you’re having trouble, you can catch up with the code at 05-create-rotated-ring-of-blocks or on StackBlitz.
Stack the blocks
Ok, we’re almost there! These are the last changes we need to make to have our tower!
Update Block.js
This time we’re going to start with Block.js. All we need to do here is adjust our y variable correctly.
// js/components/Block.js

const y = settings.y * height + height
We’re using the level that we’re at (settings.y) and multiplying it by the height of a block. By default, this would mean some blocks are starting in the Floor because it’s starting at the same height, so we add an extra height to get our Block sitting nicely on the Floor.
Update app.js
Back in app.js our aim now is to carefully place several rings of Blocks on top of one another in a nice stable pattern.
// js/app.js

this.blocks = []
const angleSize = (Math.PI * 2) / this.count
for (let y = 0; y < this.levels; y++) {
  for (let i = 0; i < this.count; i++) {
    const angle = angleSize * i
    let additionalAngle = 0
    if (y % 2) {
      additionalAngle = angleSize * 0.5
    }

    const x = Math.sin(angle + additionalAngle) * this.radius
    const z = Math.cos(angle + additionalAngle) * this.radius

    this.blocks.push(new Block(this, { x, y, z }))
  }
}
First, we’ve added looping for each of the levels that we want to create. We’re going to use these levels to determine how high up the tower a block should be.
We’ve also added in some additionalAngle here. Try commenting out the if statement, and you’ll see that all the blocks are placed right on top of each other. Like a real tower, this makes our structure unstable! We want to try and align them so that on every second level, we rotate our Blocks by half of the angleSize. To do that, we initially set additionalAngle to 0. Then we check if y is an even or odd number with the modulo operator. When it is even, we will add half of our angleSize so that we rotate the bricks around by half a brick.
Congratulations, you should now have a lovely stable tower getting destroyed by the ball!
Note: you can check out the finished code at on GitHub at 06-complete or on StackBlitz.
Things to try
Change settings
First, play with the count and levels variables in app.js! If you make the numbers too high, your computer might struggle, but try a count of 32 and levels of 12! Remember if you scroll with the mouse, you’ll be able to zoom out so you can see all the action. Or make the blockWidth smaller to fake zooming in!
Change shapes and materials
Could you make something other than red Blocks? What if the item that fell wasn't a sphere? You can learn about changing materials in Three.js in their docs.
Remember if you want to change the shape of a component you’ll need to update the Three.js geometry AND the Oimo shape. Check out the Three.js geometries and the Oimo geometries and see what you can make!
Change physics
Try and play with the physics. What if the blocks we really slippery and bouncy? Remember these are controlled by friction (slipperiness) and restitution (bounciness). Change the friction on the Floor and Blocks to 0, and watch everything fall off the Floor like they’re made of butter!
Change the shape of the Tower
Could you make an oval-shaped tower? Try this instead of the calculation for x and z in app.js:
// js/app.js

const x = Math.sin(angle + additionalAngle) * this.radius * 1.5
const z = Math.cos(angle + additionalAngle) * this.radius * 0.75
The shape of the tower is all based on math. Could you make a square one?
Throw the ball
If you’re more familiar with Three.js, could you change the app so that the ball gets fired at the tower depending on where you click your mouse on the screen? (Hint, you’ll need to use the Three.js raycaster.) The results should look something like this Oimo demo!


