
Adding a content management system (CMS) to Next.js is easy. All it requires is a CMS with some content and an API call to fetch that content.
The benefits of using a CMS are huge, even for personal sites. You can use one to manage content for small parts of a site like banner messages or to power whole sites with complete content flexibility.
This guide introduces the easiest way to add a CMS to Next.js. There are just three key parts to this tutorial:
You'll be prepared to explore all the benefits a CMS offers in a Next.js app by the end of this guide.
Let's get started!
1. Create a new Next.js app
We're going to keep things simple by using Next.js's create-next-app. Just follow the "Setup" section of their Getting Started guide and stop when you reach "Manual Setup."
Open the guide: Next.js - Getting Started
Once you start the development server, you can access your app at http://localhost:3000. You'll be greeted with a "Welcome to Next.js!" home page that looks just like this:
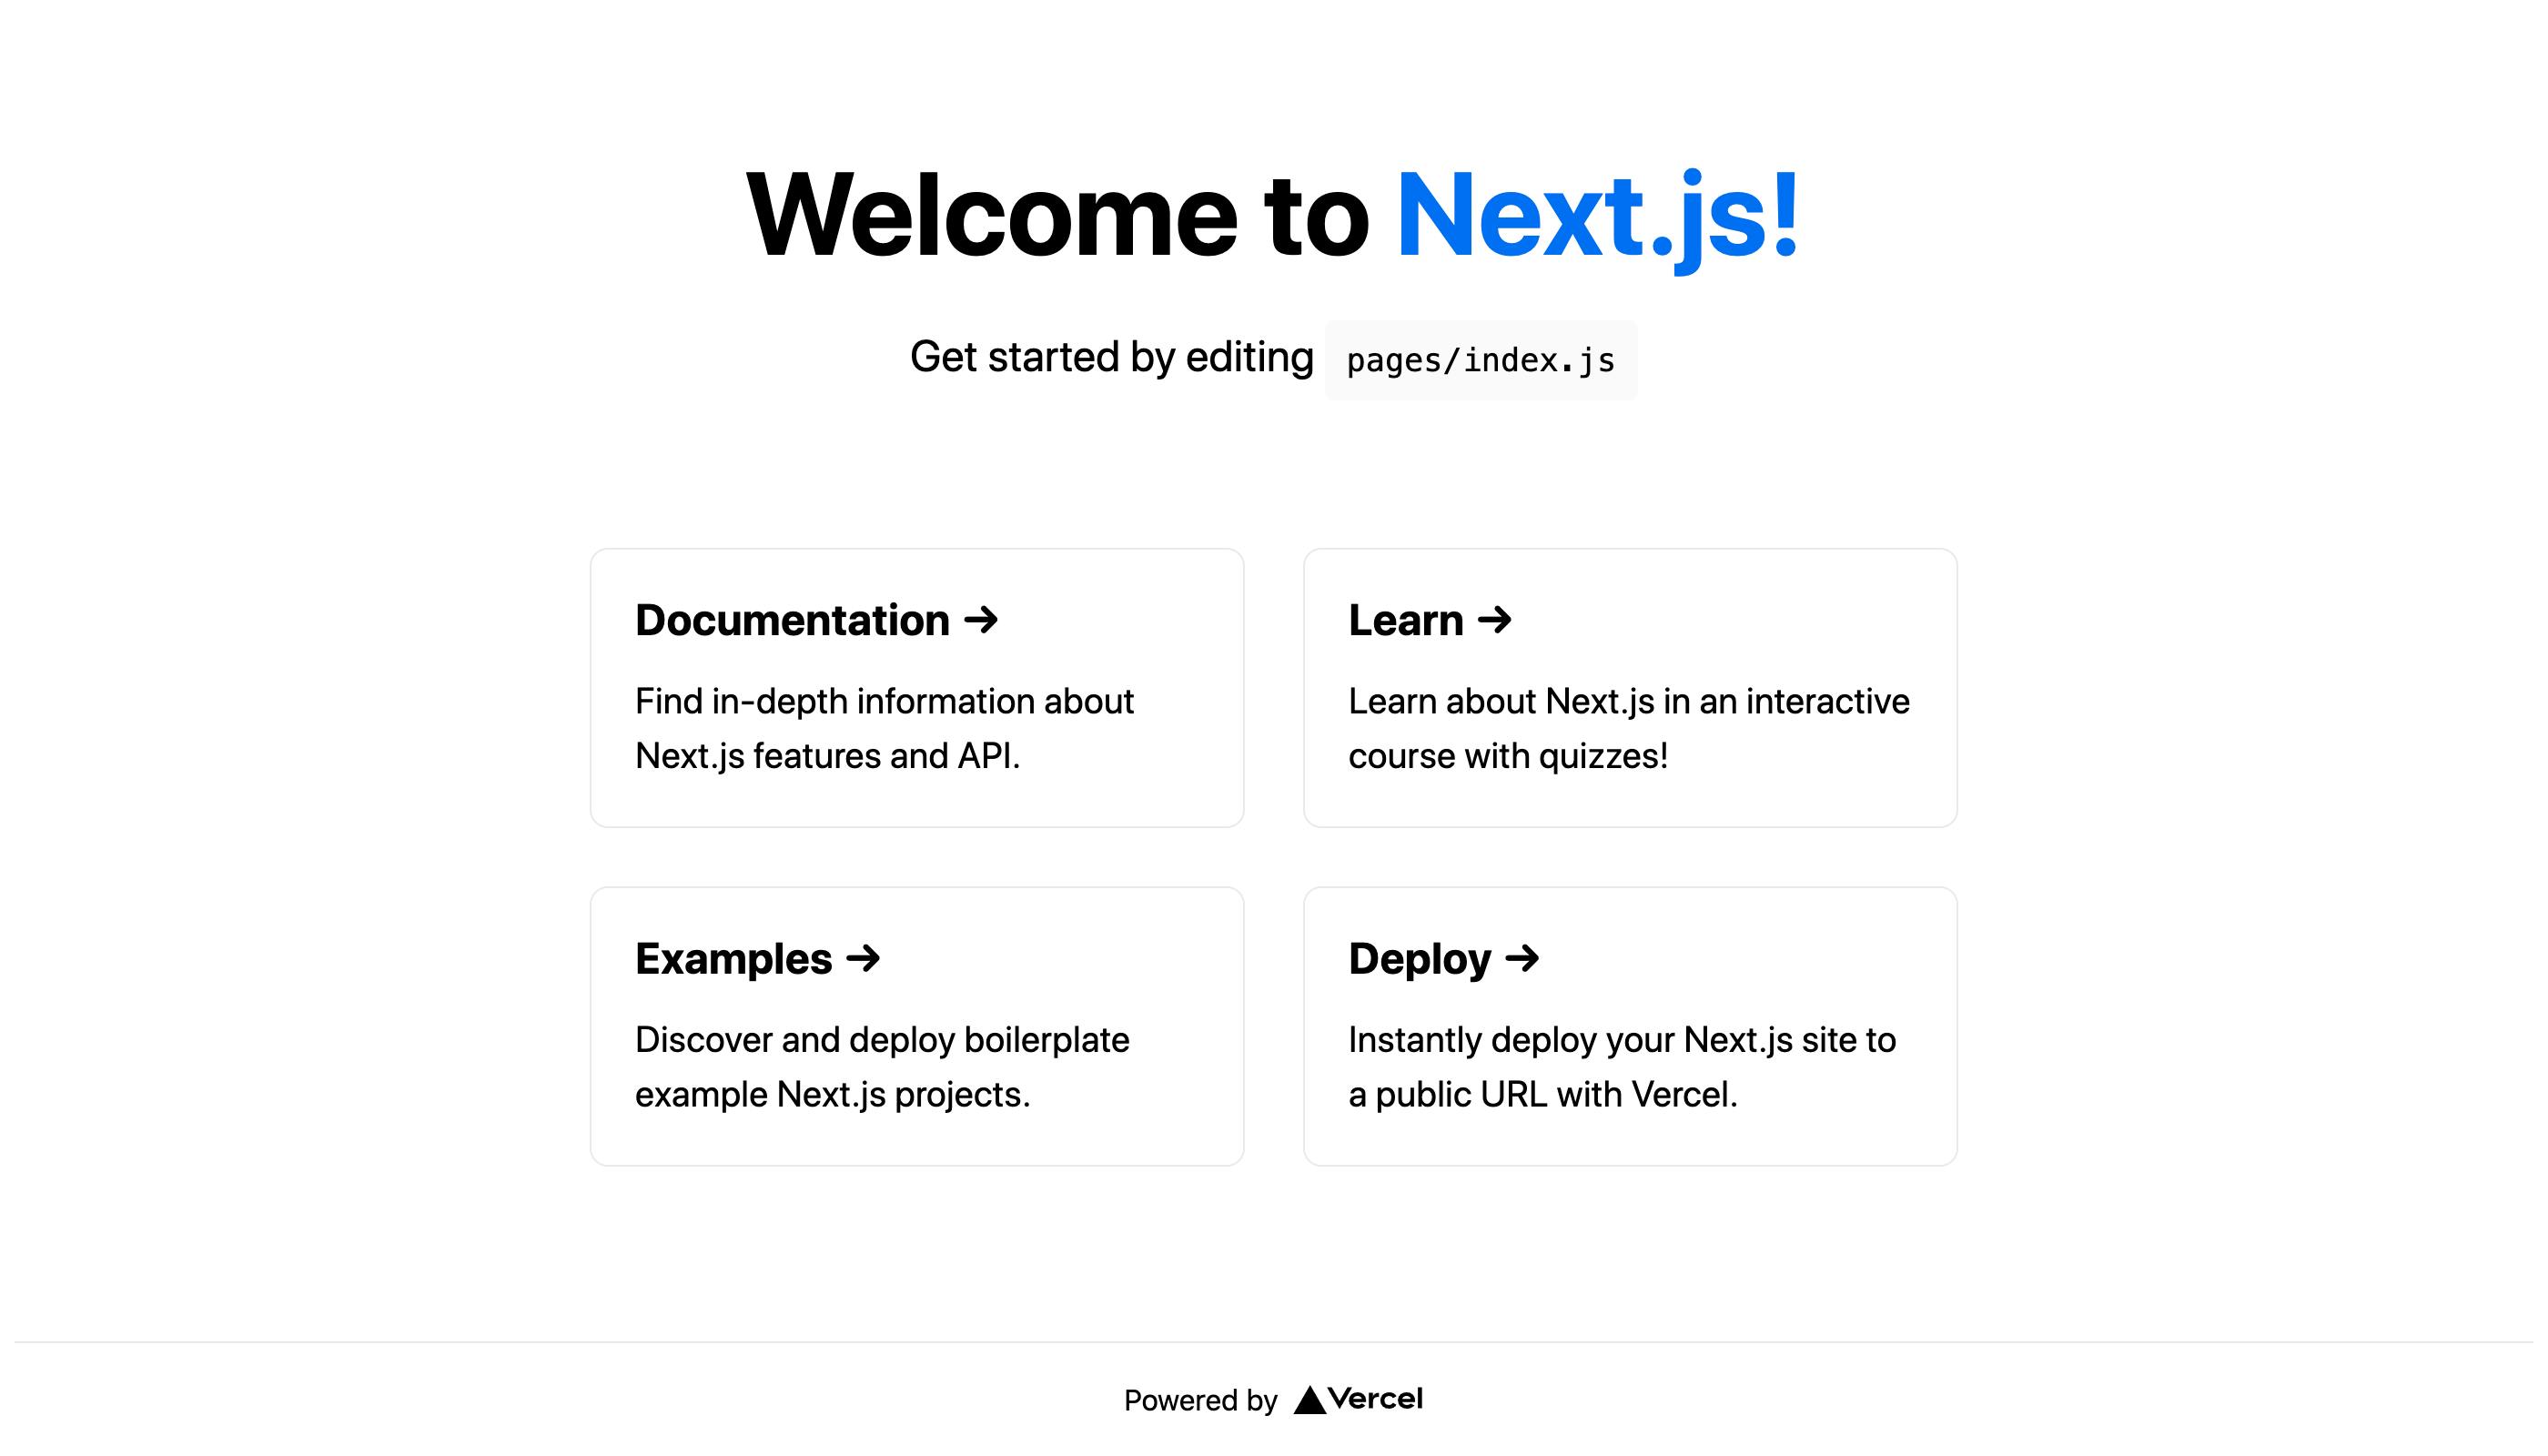
This is where things get interesting — you're going to replace the static content on this page with content from a CMS. To do that, you'll first need to prepare your CMS.
2. Set up the CMS for Next.js
You're going to use Prismic as your CMS for this demo. Prismic is a headless, API-first CMS that lets you model your pages exactly as you want them. This means you can build a custom set of content fields for each page on your site. Prismic is the secret sauce that makes it easy to add a CMS to Next.js!
2.1. Create a CMS repository with Slice Machine
Creating a CMS repository on Prismic, where all of your content will be stored, can be done right in your terminal. You’re going to use a tool from Prismic called Slice Machine to do this.
First, open a new terminal window in your Next.js app and run the following command:
npx @slicemachine/initYou’ll be asked to log in to Prismic after running the command. If you don’t already have an account, you can create one on the page that opens.
Next, you’ll be asked to connect your Next.js app to a Prismic repository. Select Create a new repository to create a fresh and empty repository. Enter a name for your repository (something like your-name-prismic-demo) and wait for everything to install.
Now, you can begin setting up your CMS by defining your pages' content fields.
2.2. Model your content
The command you ran earlier not only created a Prismic repository but also installed a local tool to configure it. This tool, called Slice Machine, is what you’ll use to customize your CMS with the exact fields and content types needed for your app.
To begin, start Slice Machine with the following command in your Next.js app:
npm run slicemachineOnce the server starts, open Slice Machine by going to http://localhost:9999 in your browser.
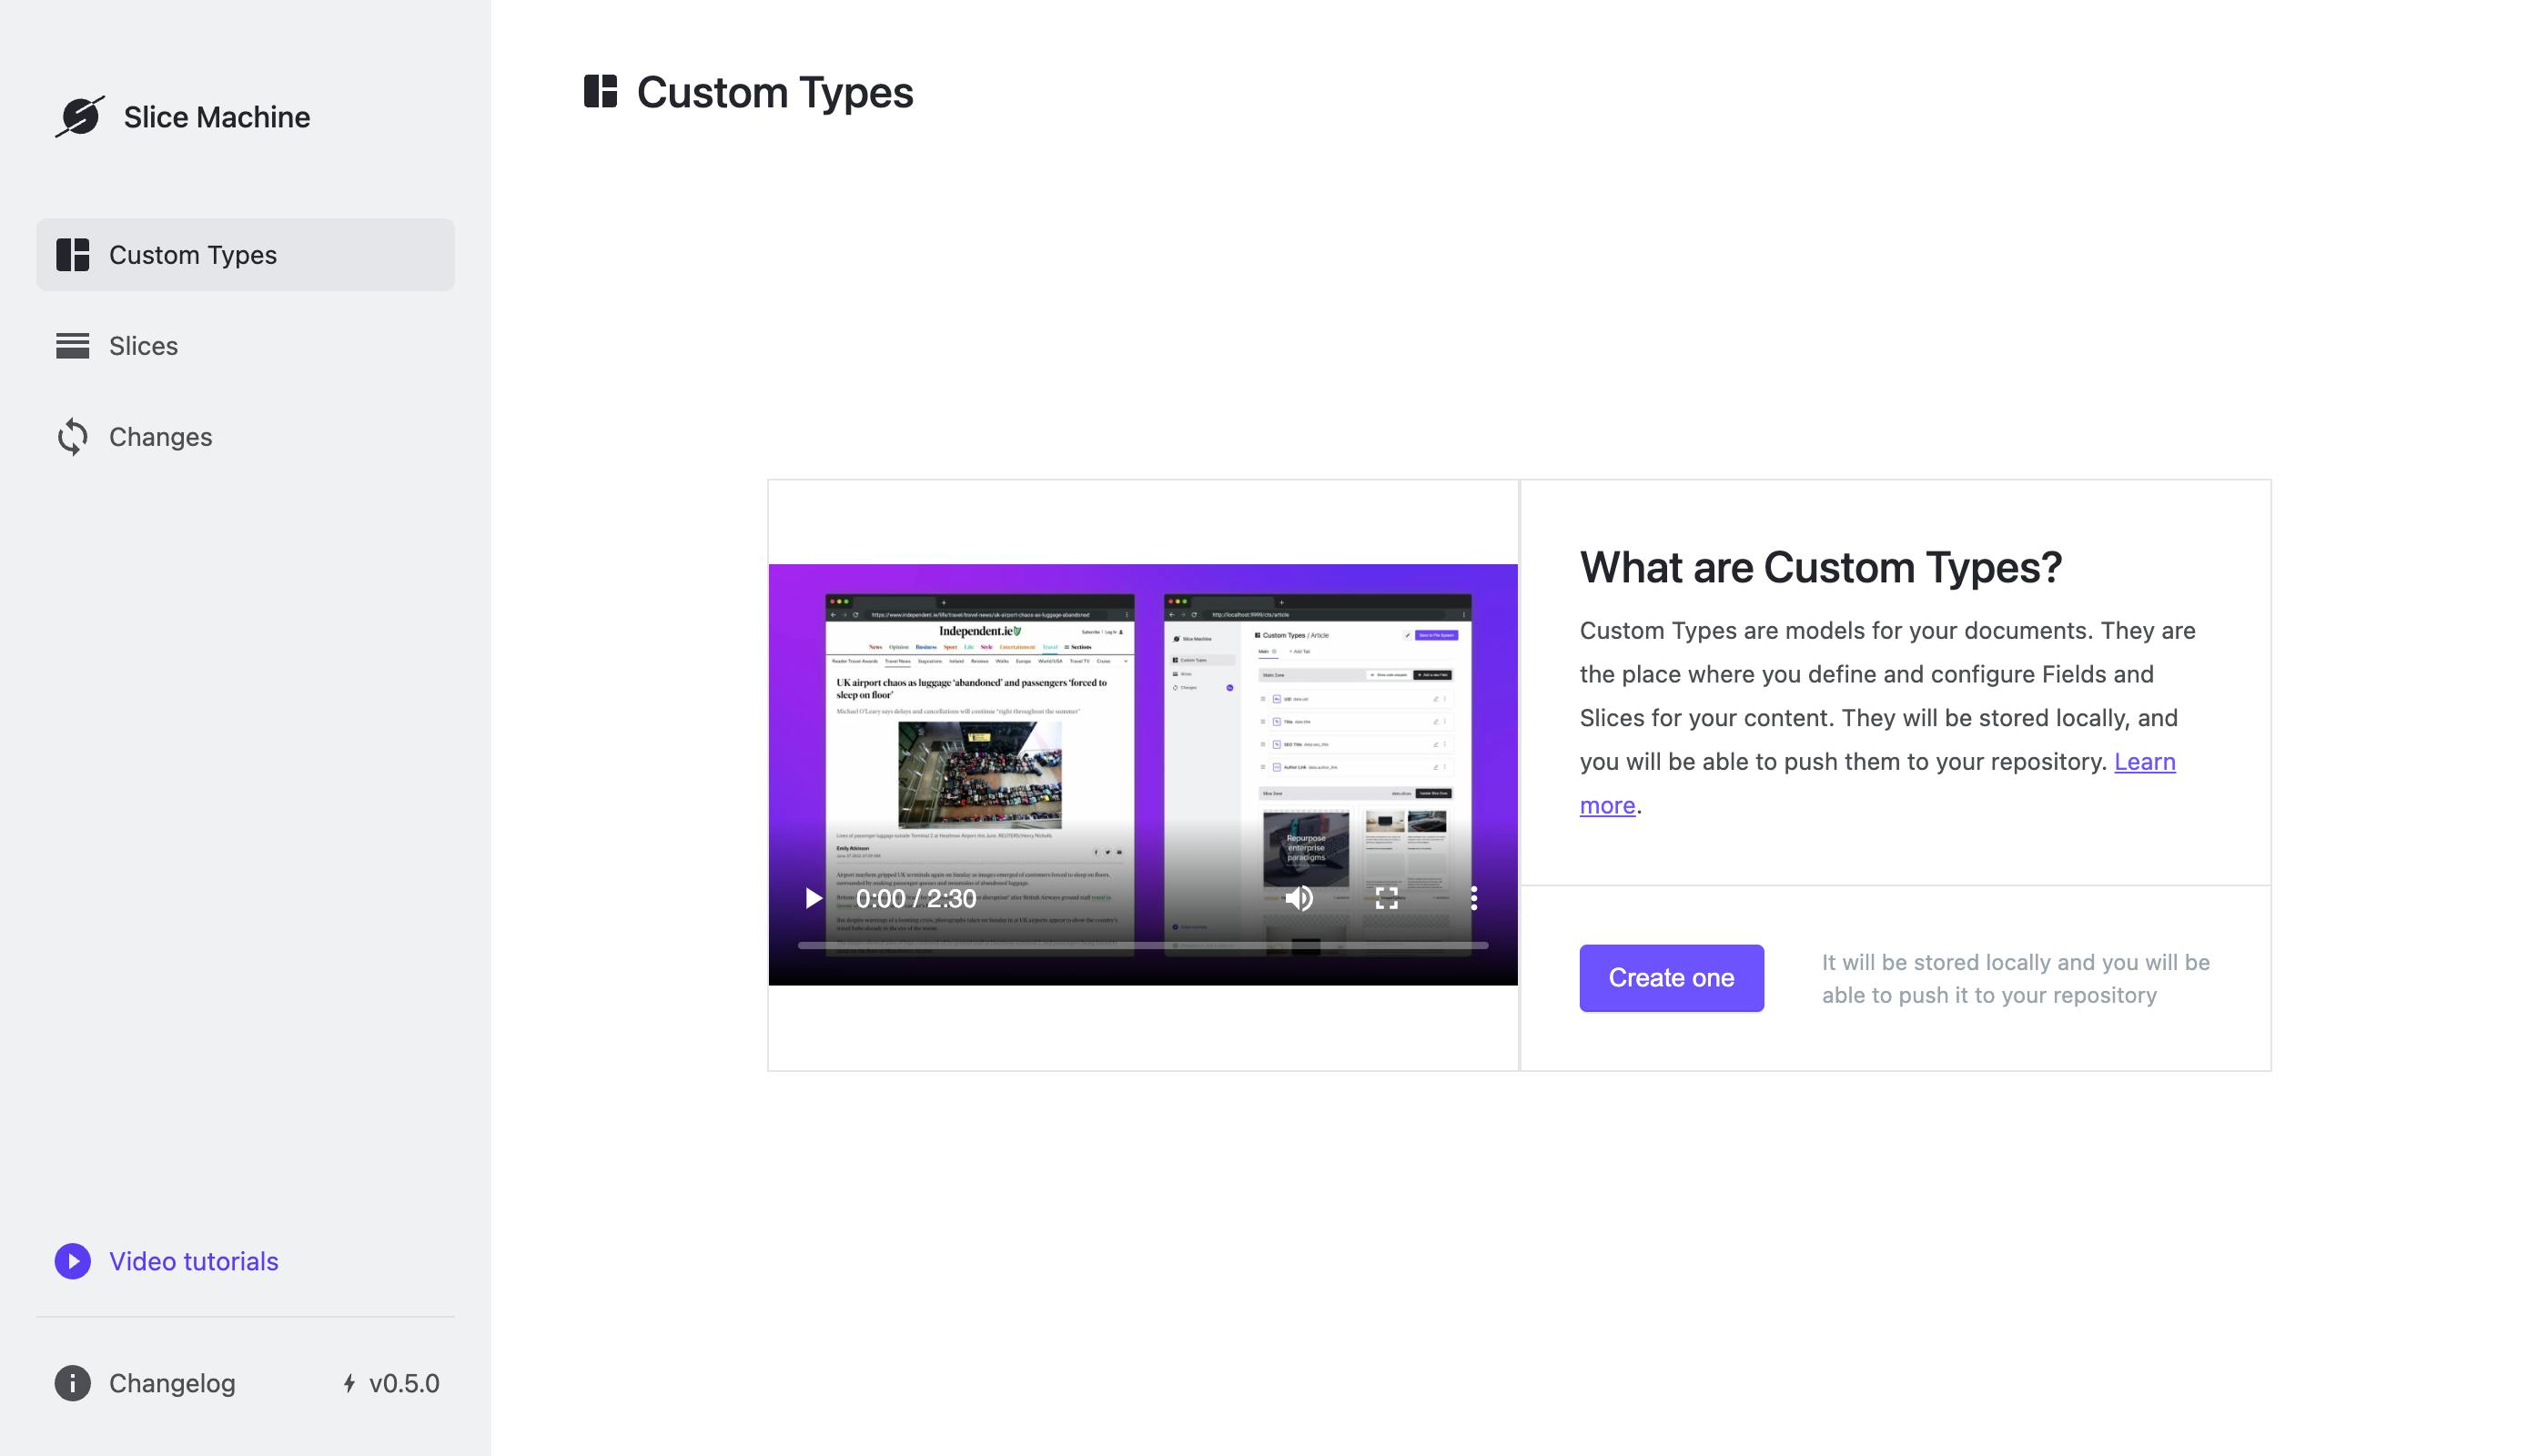
To model your content in Slice Machine, you'll build something called a Custom Type. A Custom Type defines the fields you want in your CMS to hold your content, and you can have as many of them as you want. Think of them as templates for your content. A page or a blog post, for example, could each be Custom Types. You're going to make a Custom Type for your Next.js app's homepage.
Under "What are Custom Types," click the purple Create one button, and name it “Page.” The “Custom Type ID” field should automatically fill with page.
Above the name field, you'll see an option for "Repeatable Type" and "Single Type." You can leave that option on "Repeatable Type" since you could have multiple pages on your site managed in Prismic.
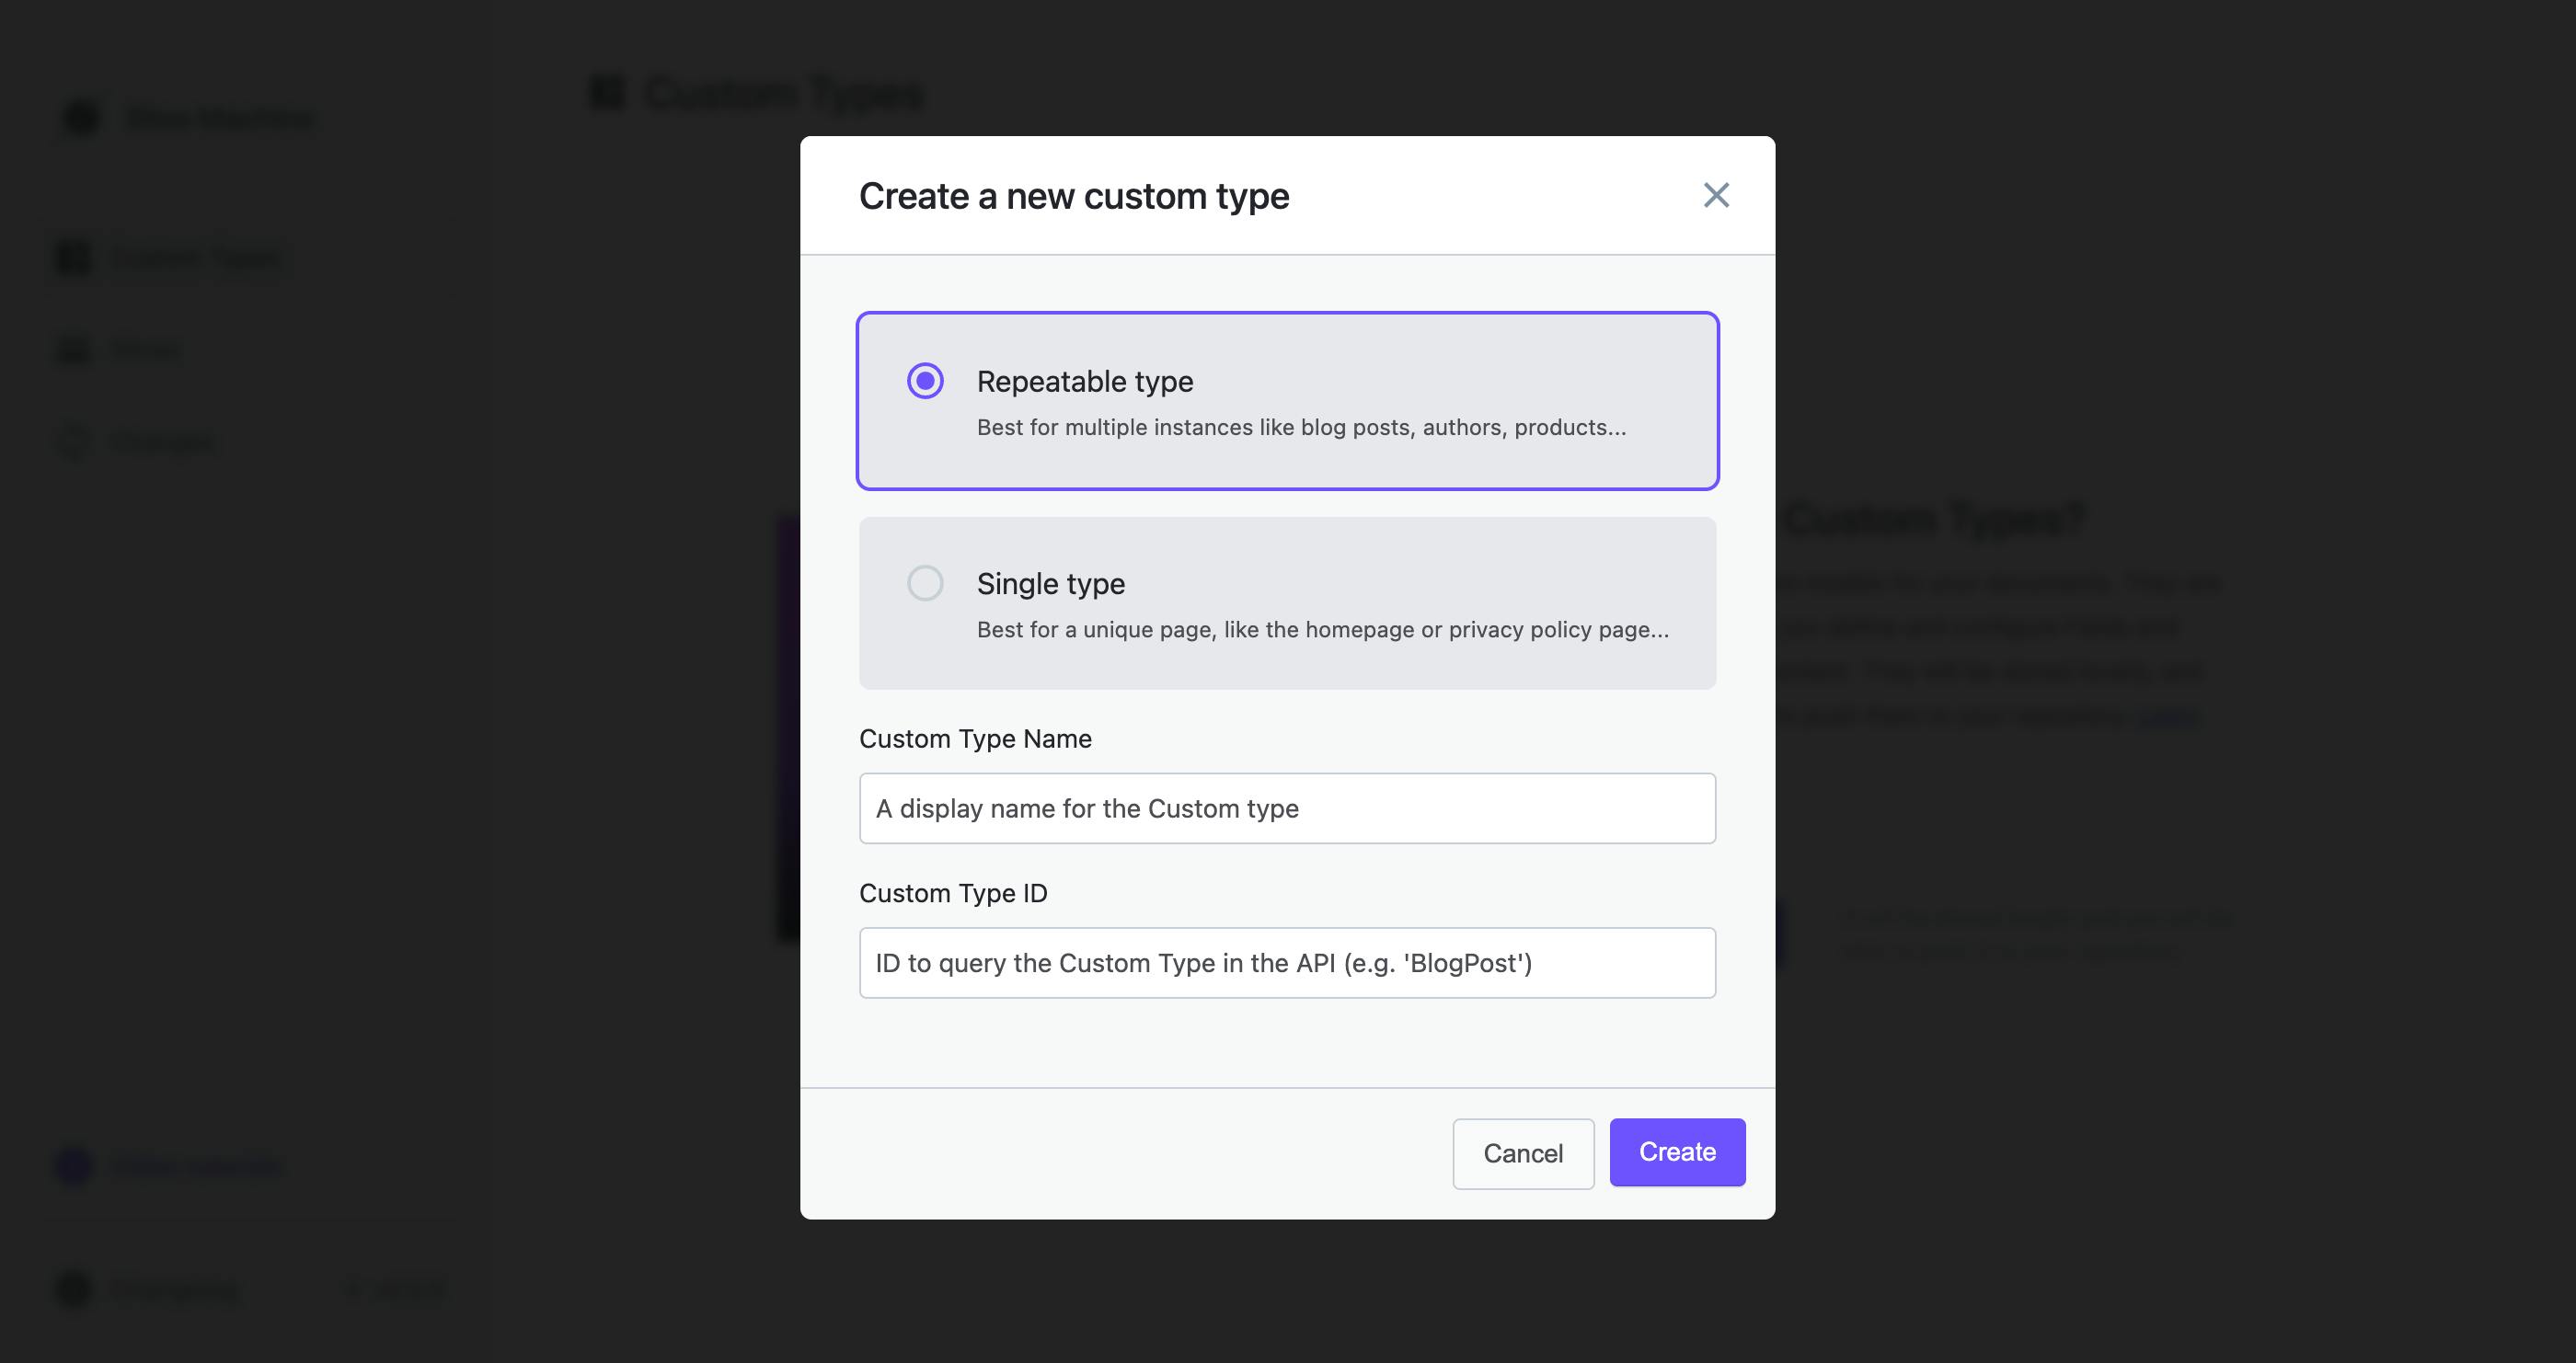
Once everything looks good, click the purple Create button. Next, you can add fields to the Page Custom Type.
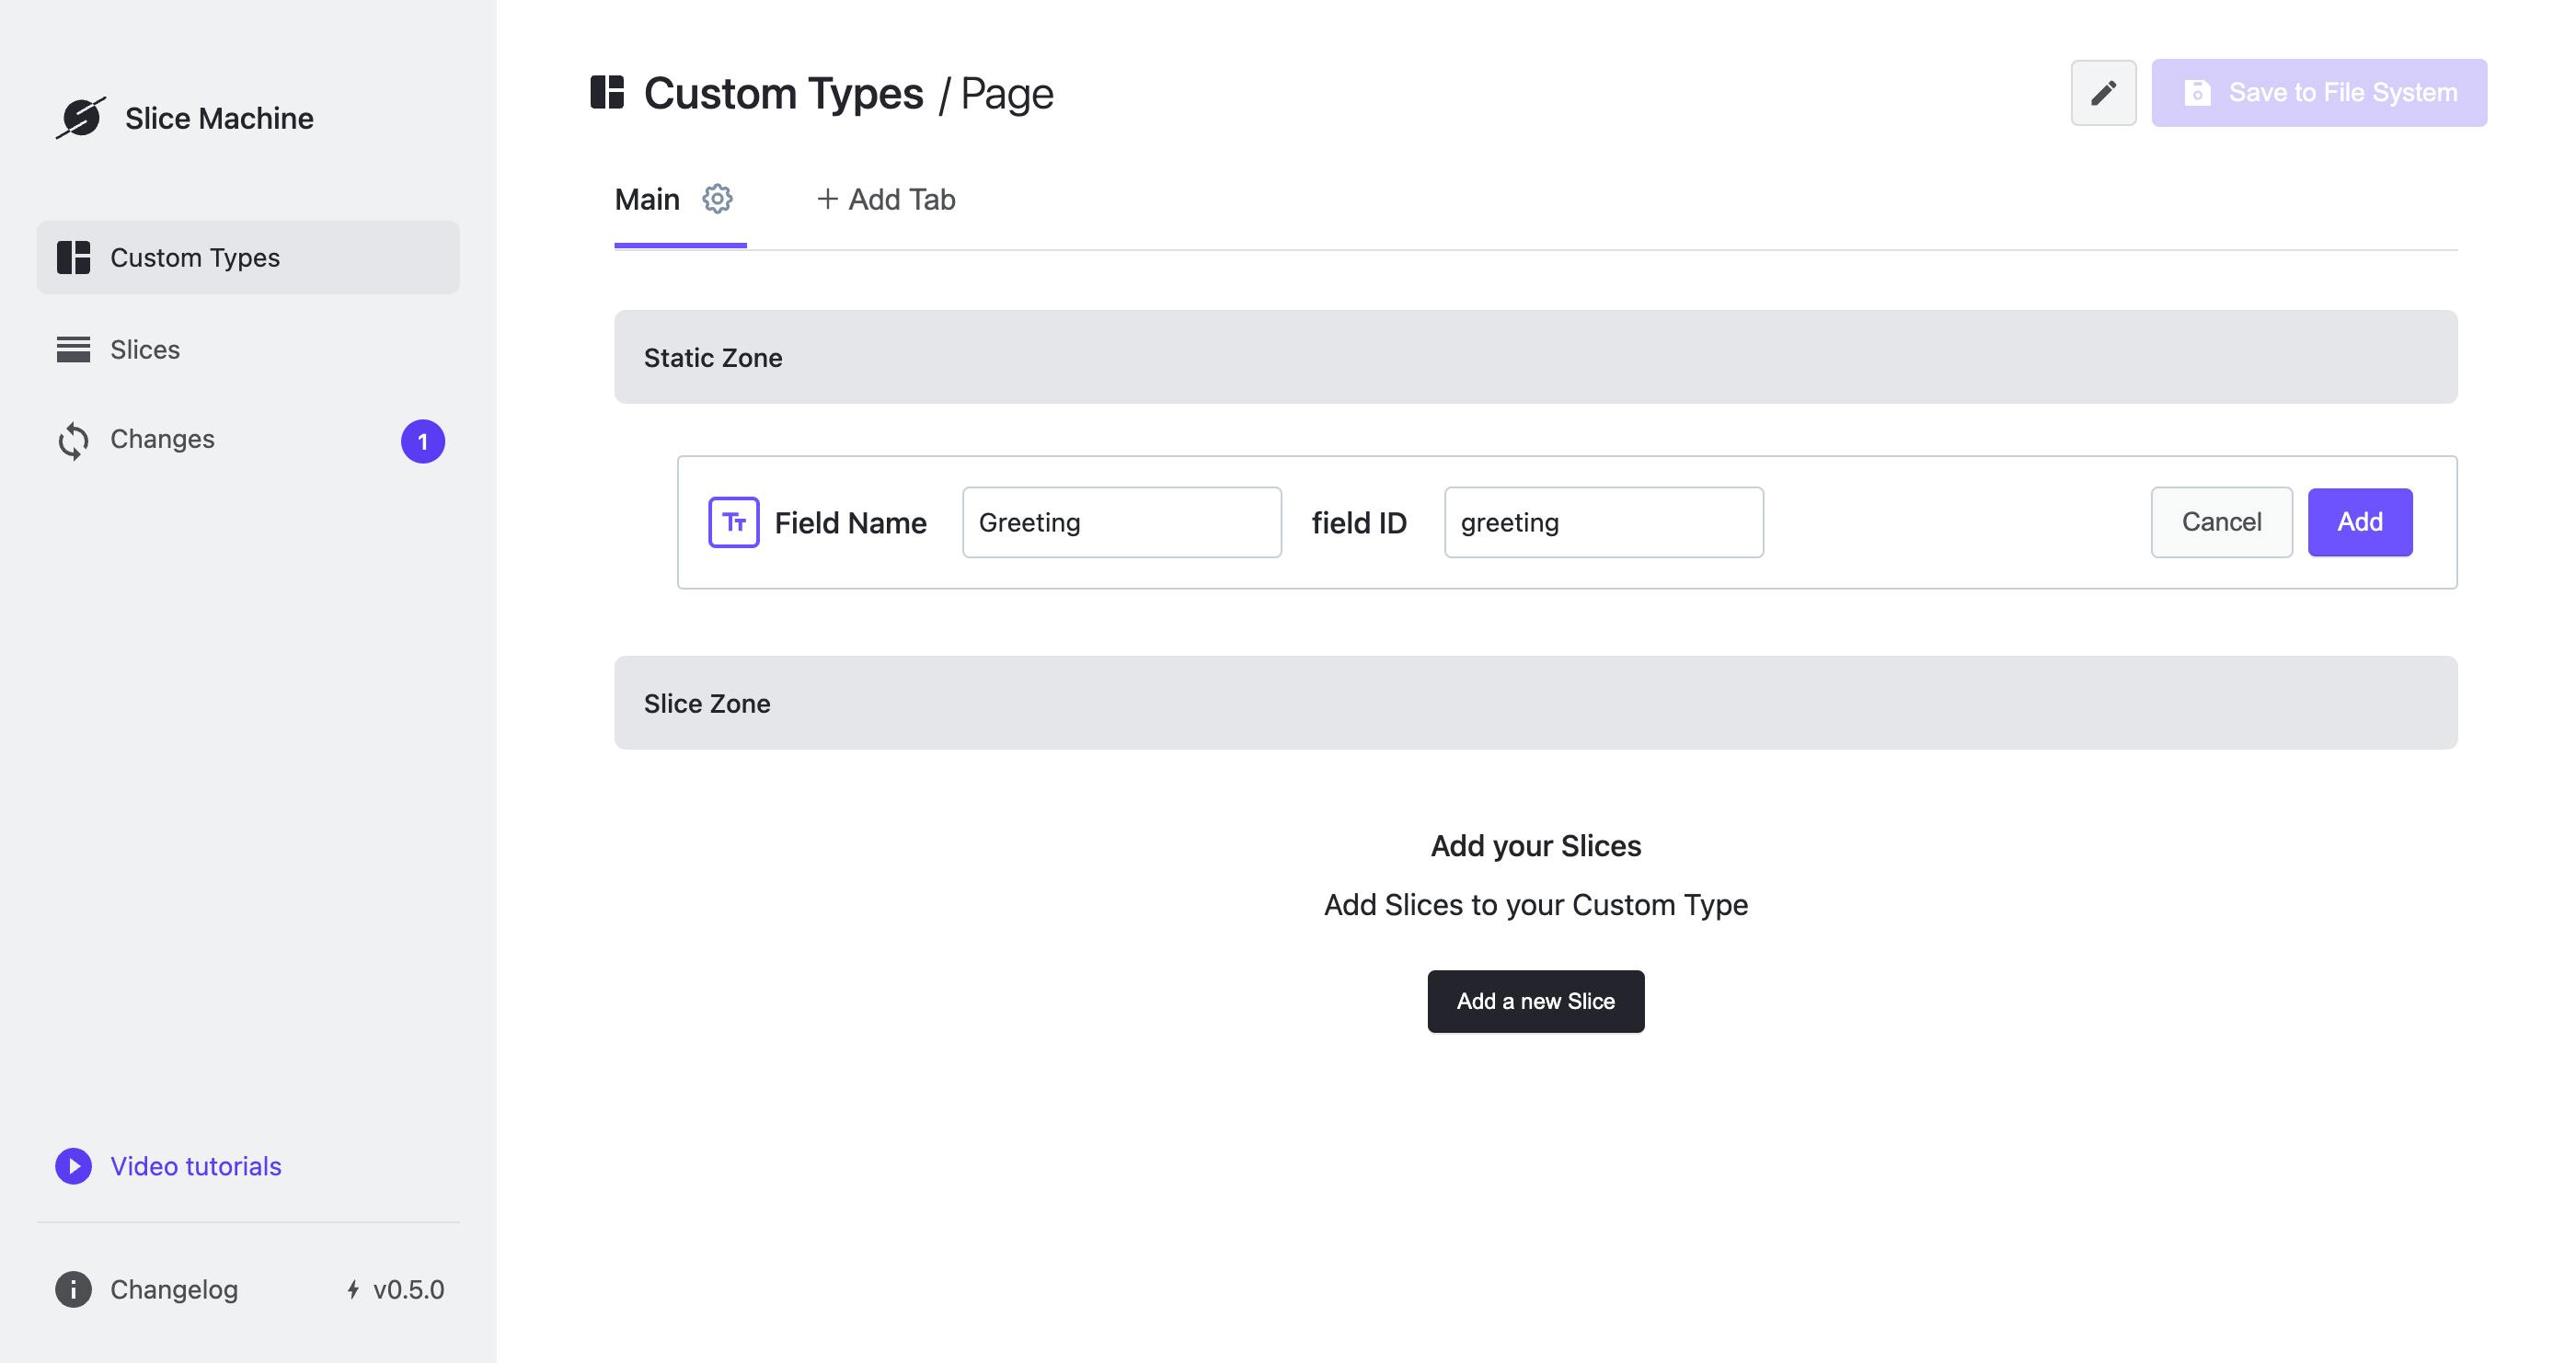
In the middle of the screen, you’ll see a “Static Zone” and a “SliceZone.” You can ignore the “SliceZone” section for now (it enables a powerful feature your content writers will love, but don’t worry; we cover that in the follow-up blog post 😉). You’re going to add a few fields to this Custom Type in the “Static Zone.” Feel free to add more after this walkthrough if you’re feeling adventurous.
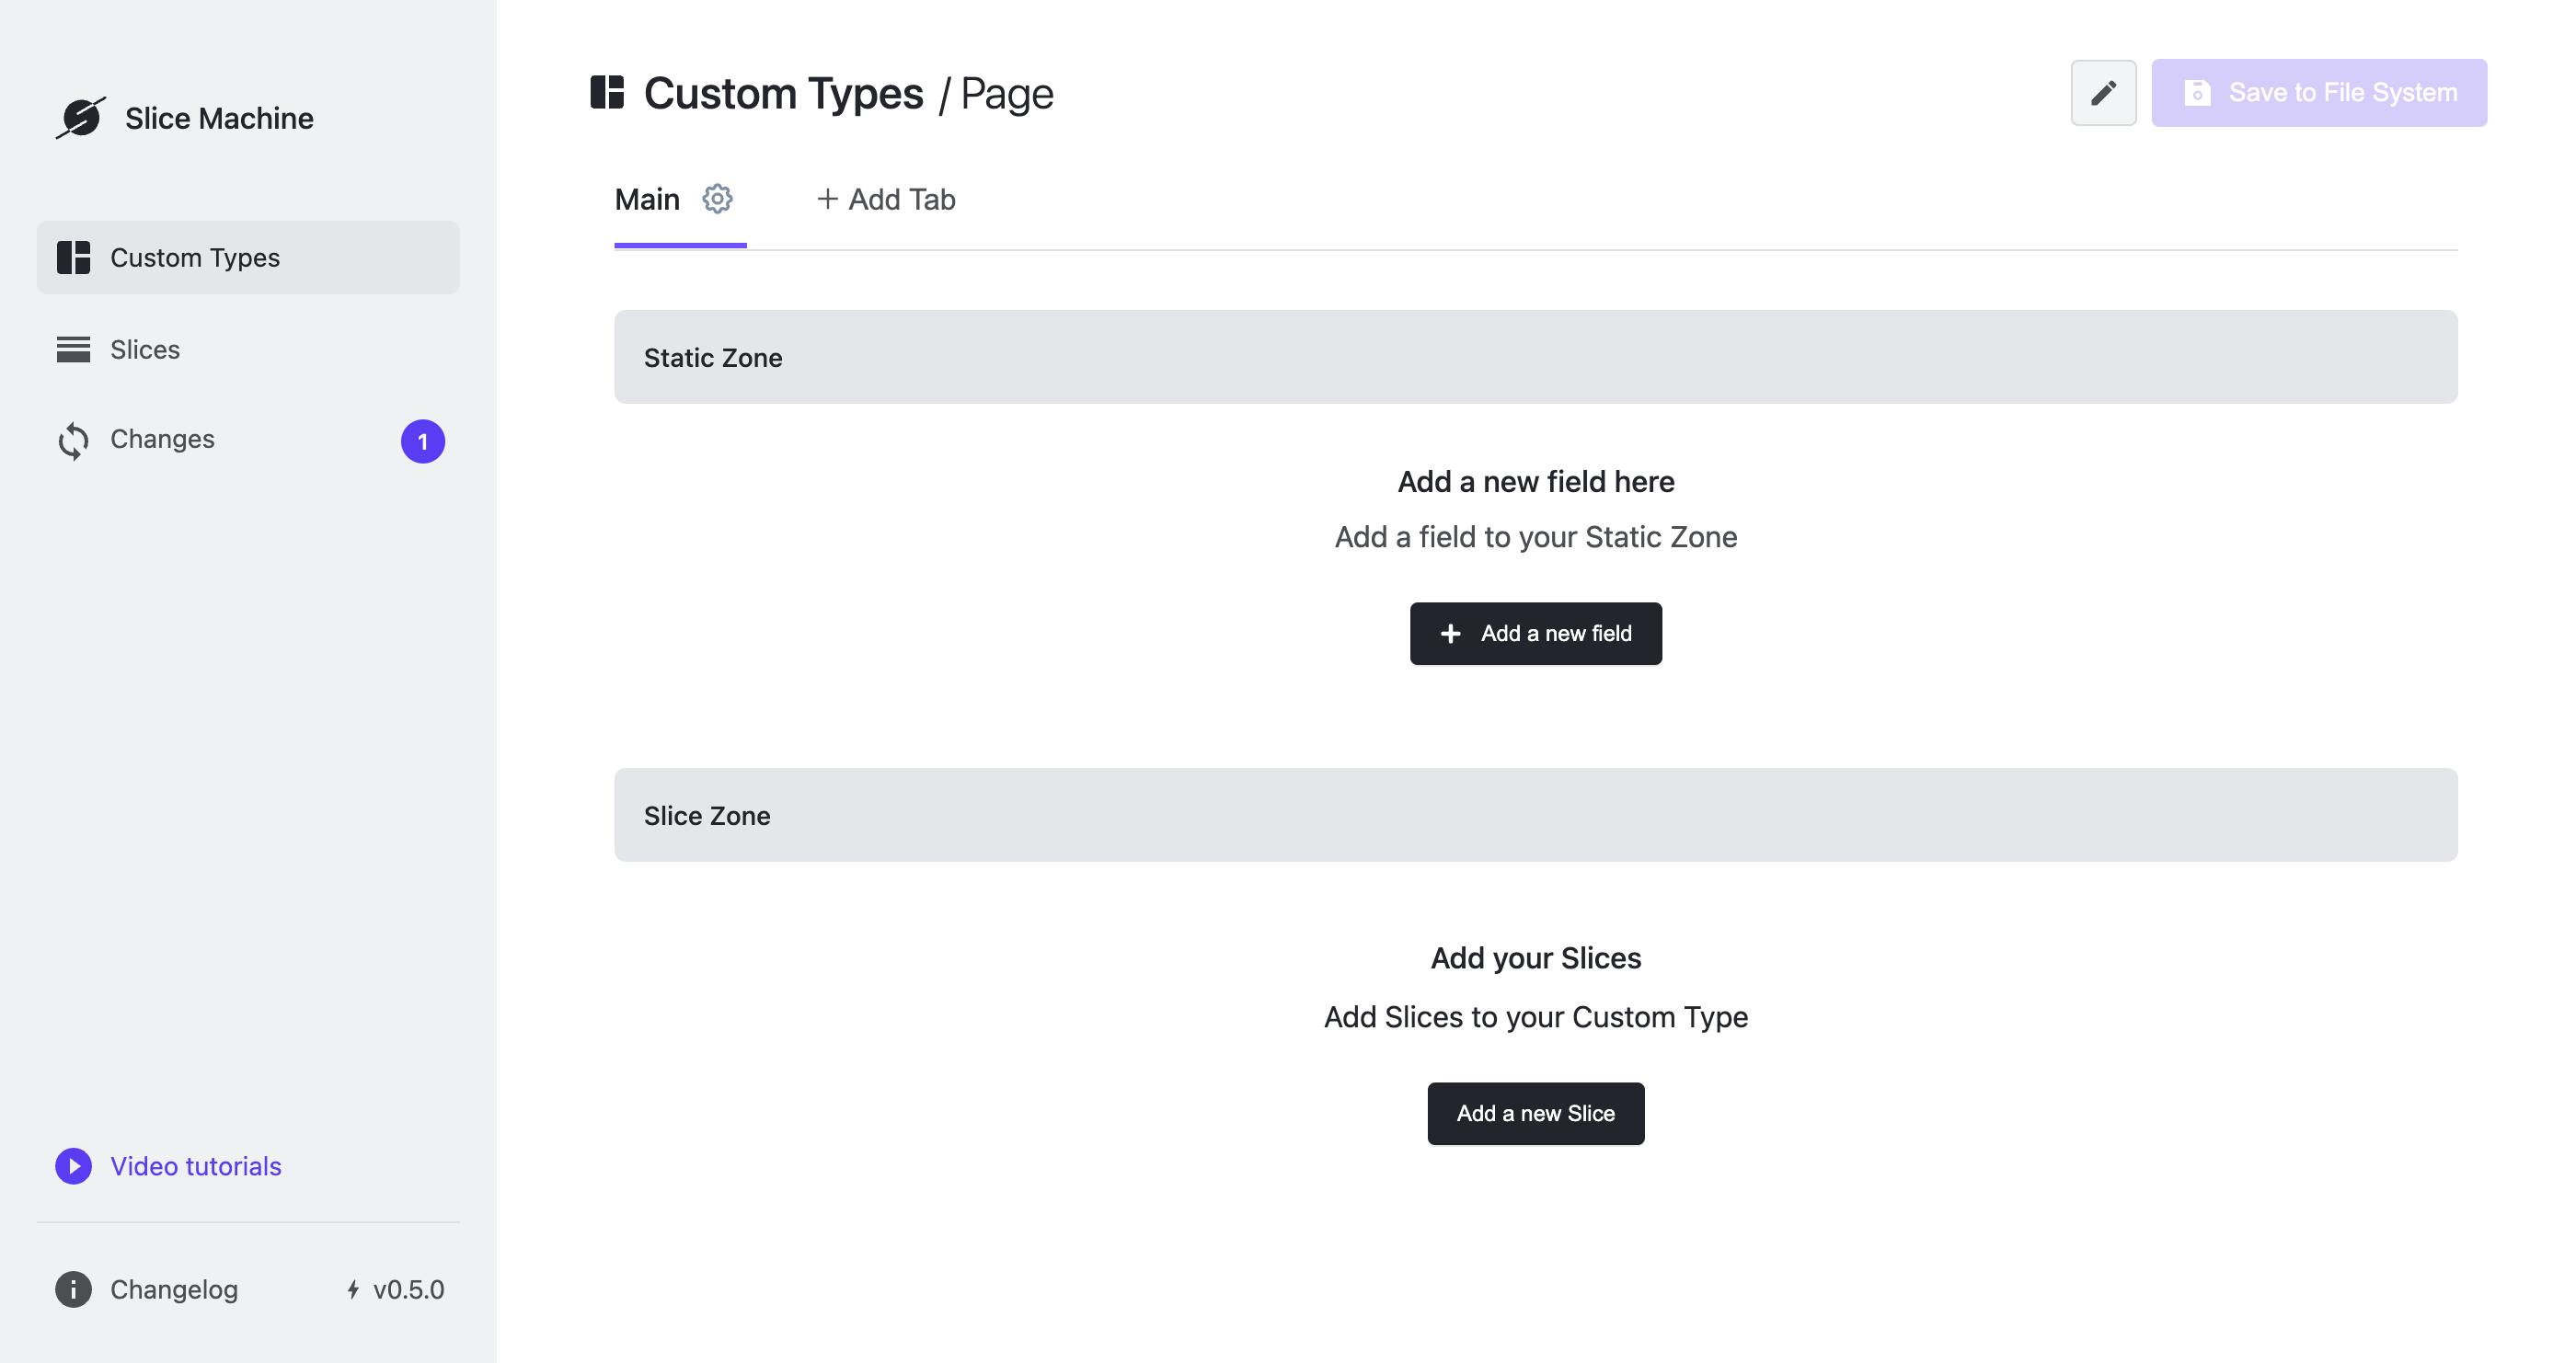
First, you’re going to add a field for your homepage's "Welcome to Next.js!" heading. Click the Add a new field button in the center of the page and select a "Rich Text" field. After adding the field, you’ll be prompted to name it. Enter "Greeting" into the "Field Name" field and hit Enter.
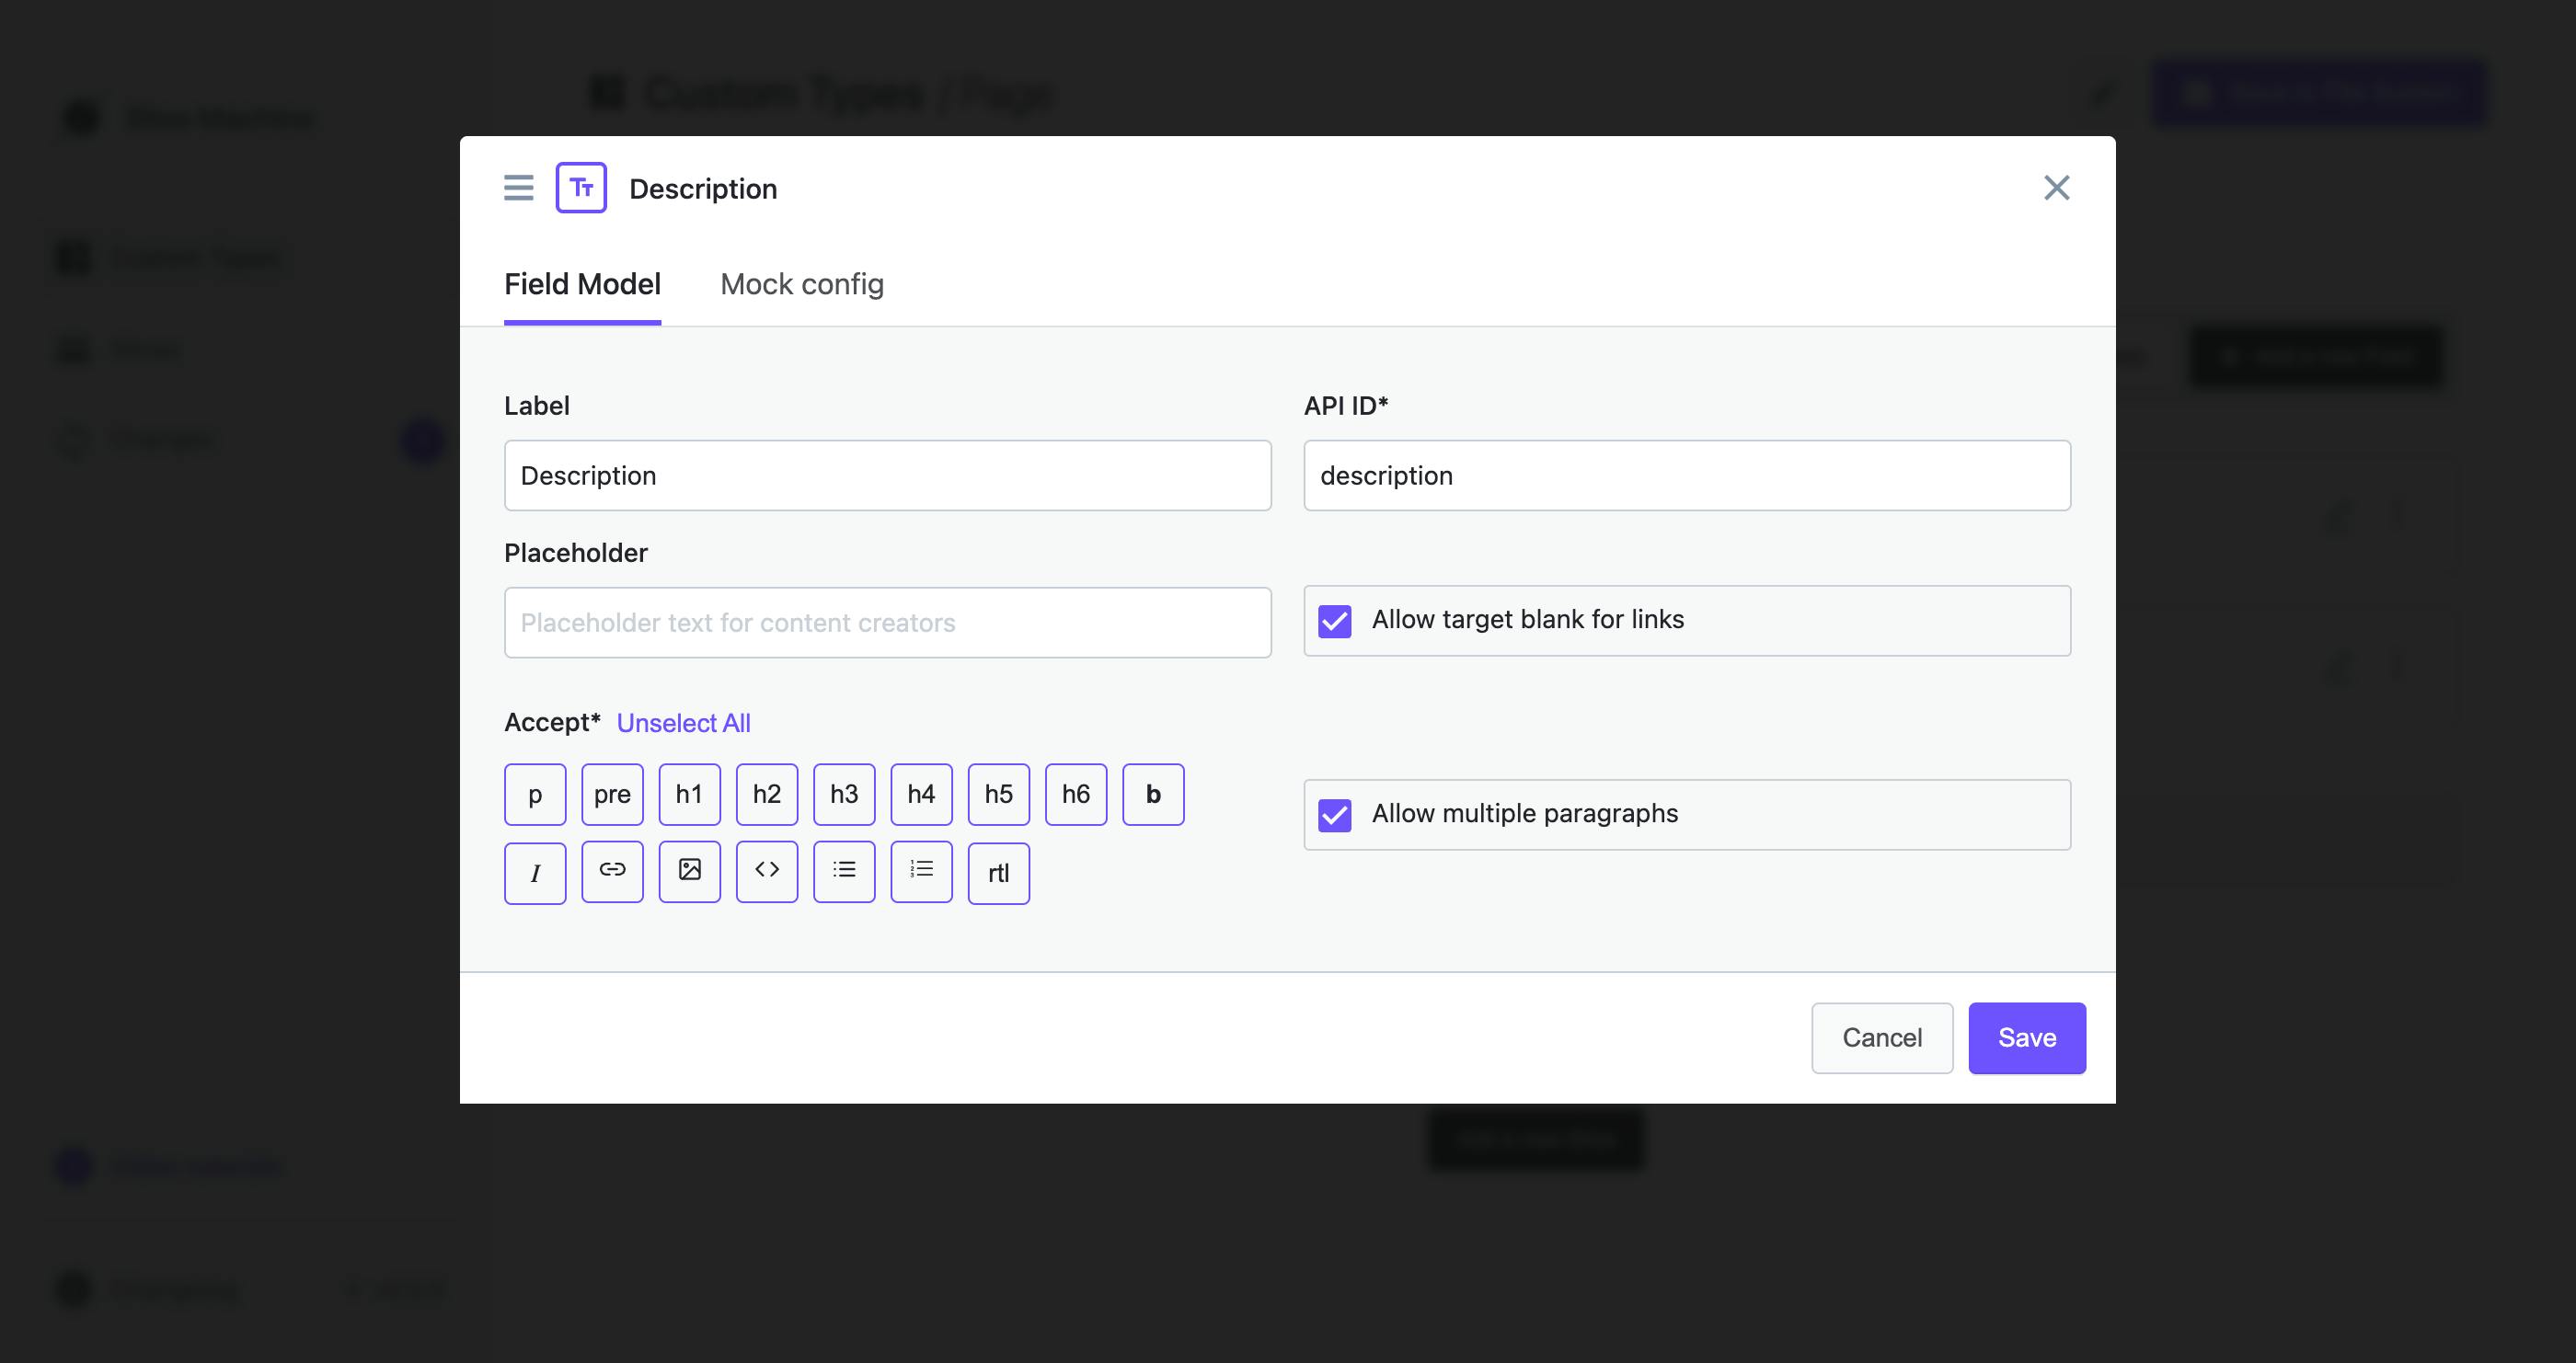
Next, add a field for some text below the greeting. Click the Add a new field button and add another "Rich Text" field. This field can be named "Description". Once it is added, you’ll need to change some settings. By default, a Rich Text field only accepts one block of content, such as a single heading or single paragraph. To allow multiple blocks, click the field’s pencil icon to the right of its ID, check the “Allow multiple paragraphs” checkbox, and click Save.
The last field you'll add is a special one that lets you distinguish pages from each other. For example, you may want to label a page as "home" to identify it as the homepage. This kind of field is called a UID, or unique identifier. Click the Add a new field button again and select a UID field. Enter "UID" into the "Field Name" field and hit Enter.
Click the Save to File System button in the top right corner of the page to save your new Custom Type to your Next.js app. Your Custom Type is now saved locally, but you also need to push it up to your Prismic repository. If all of the fields in your Custom Type look good, click the Changes tab in the left sidebar and click the Push Changes button to send it to your Prismic repository.
Congratulations! You just built your first Custom Type! It's simple, but it will allow you and your content team to edit your homepage content with ease. And because you configured it as a "Repeatable Type," editors can use this Custom Type to manage other pages, too.
2.3. Write your content
At this point, you've created a Prismic repository and a Custom Type for your homepage. You’re done with Slice Machine for now. Next, you can write some content for your app.
Writing content is done within your Prismic repository at https://prismic.io. From the Prismic homepage, log in to your account and select the repository you created with Slice Machine.
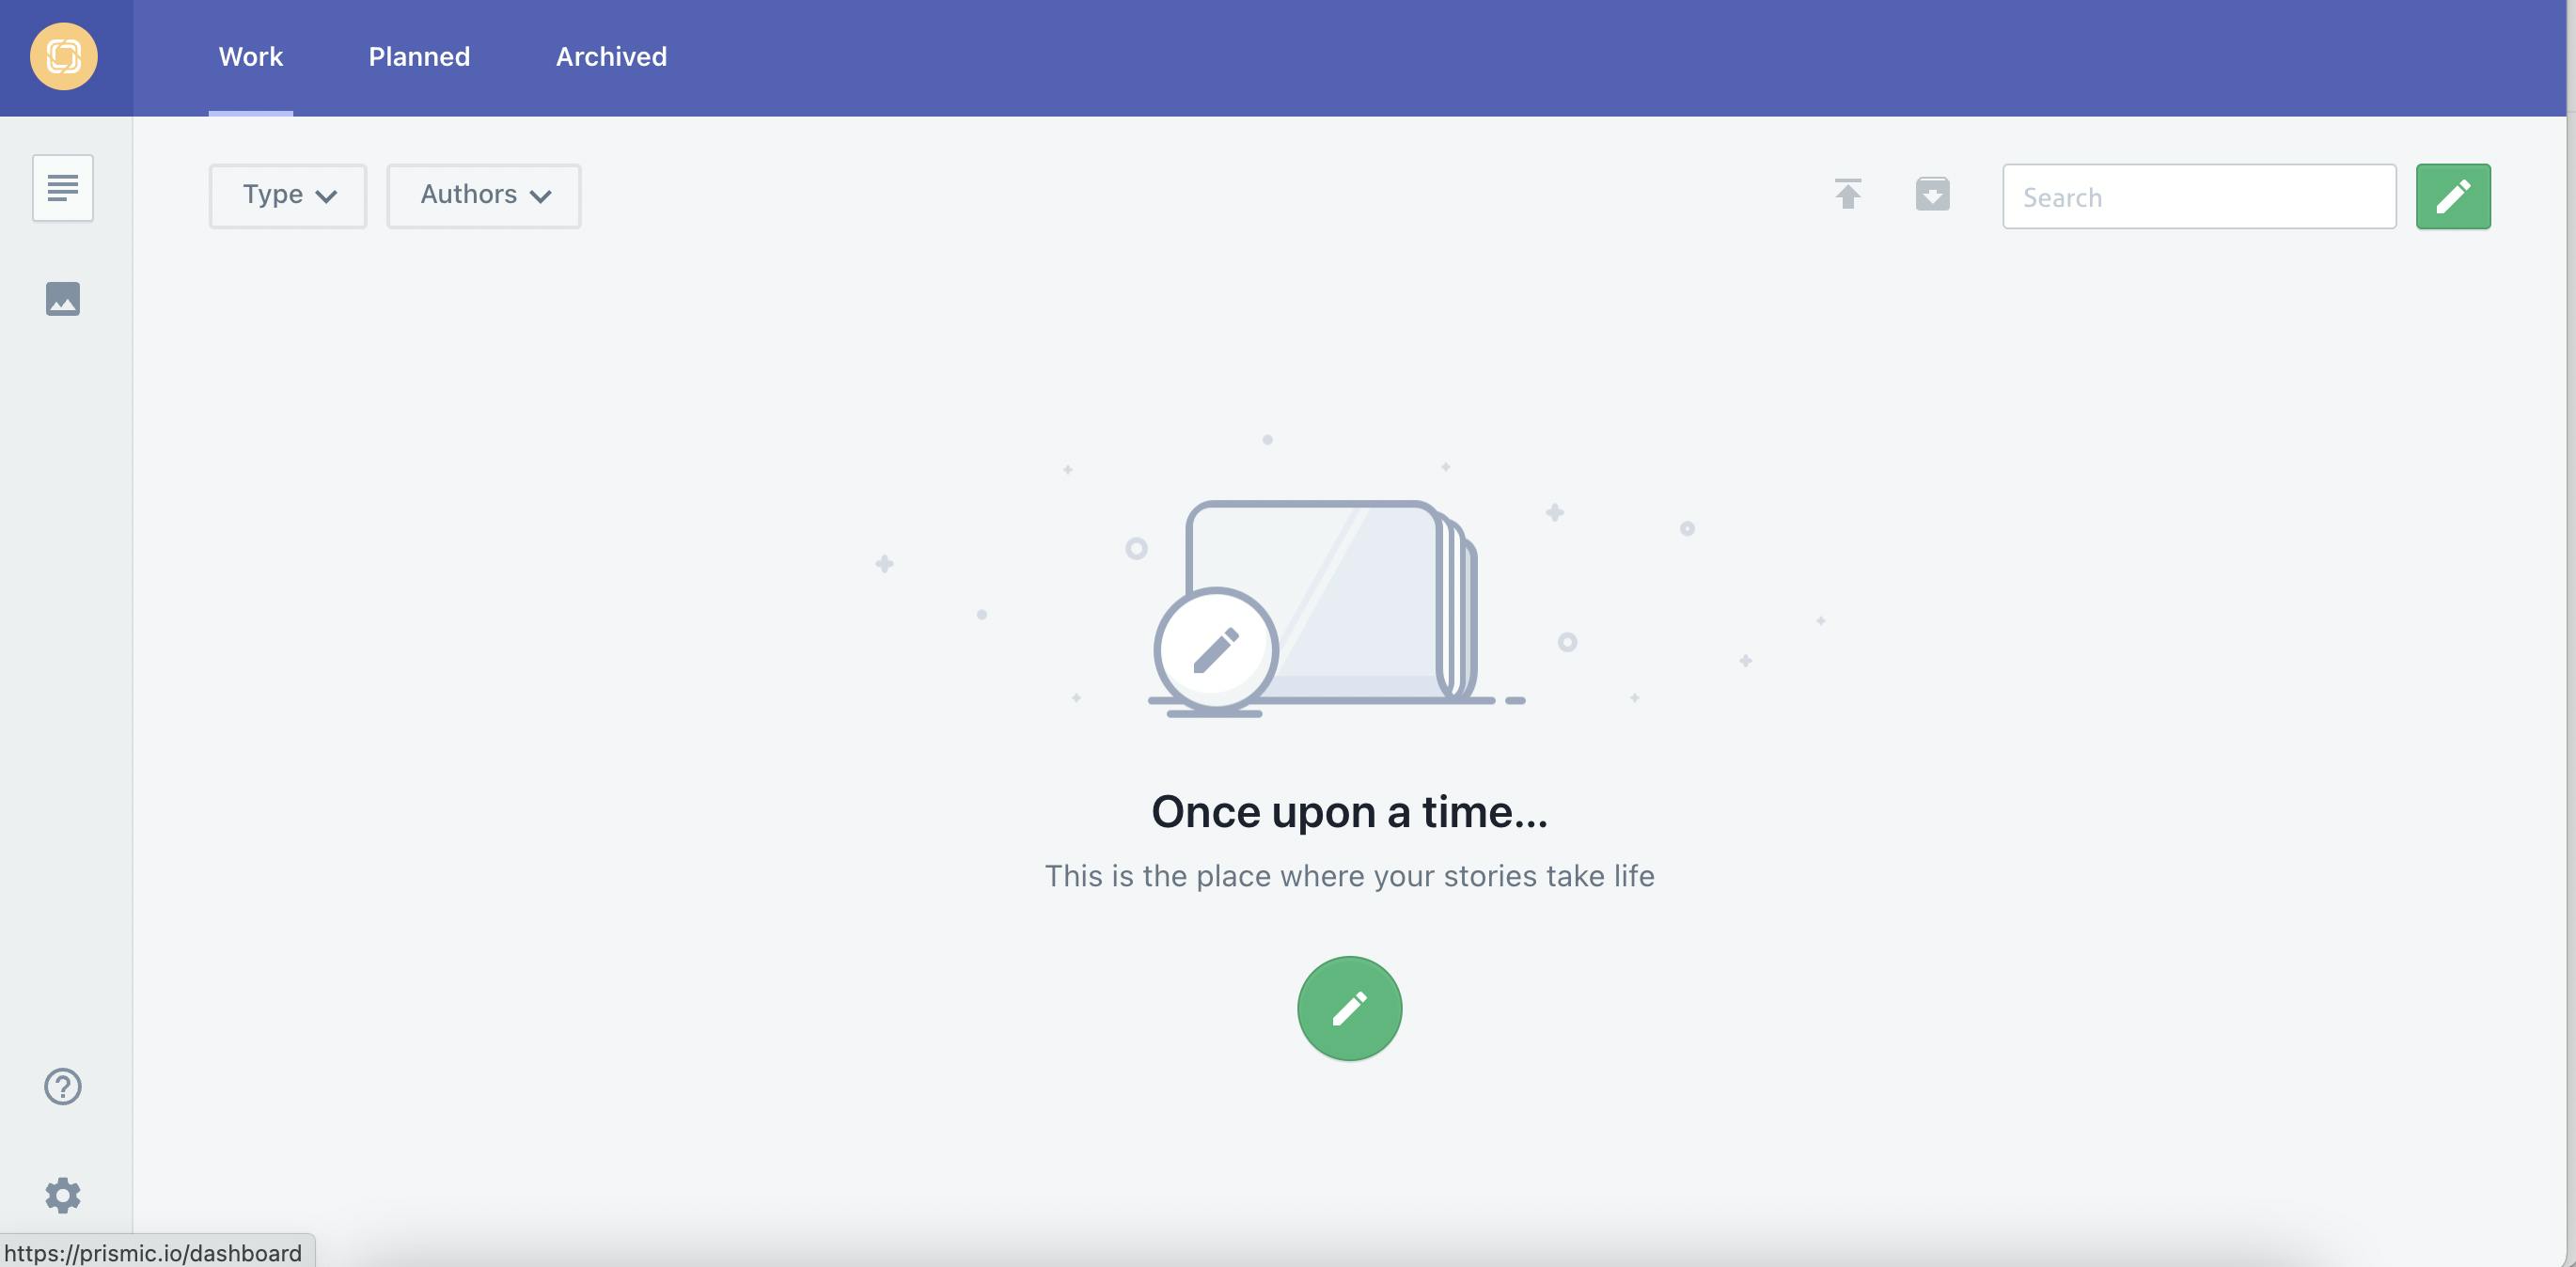
Within your repository, click the Documents icon right below the Prismic logo in the top left corner. Next, click the green button with a pencil icon to create a new document.
You'll see the UID, Greeting, and Description fields you set up in the previous step. Set the UID field to "home" since you'll be using this for your homepage. For the other two fields, go ahead and add some text. The Greeting field's content will replace your app's "Welcome to Next.js!" headline and the Description field's content will replace the short "Get started…" message.
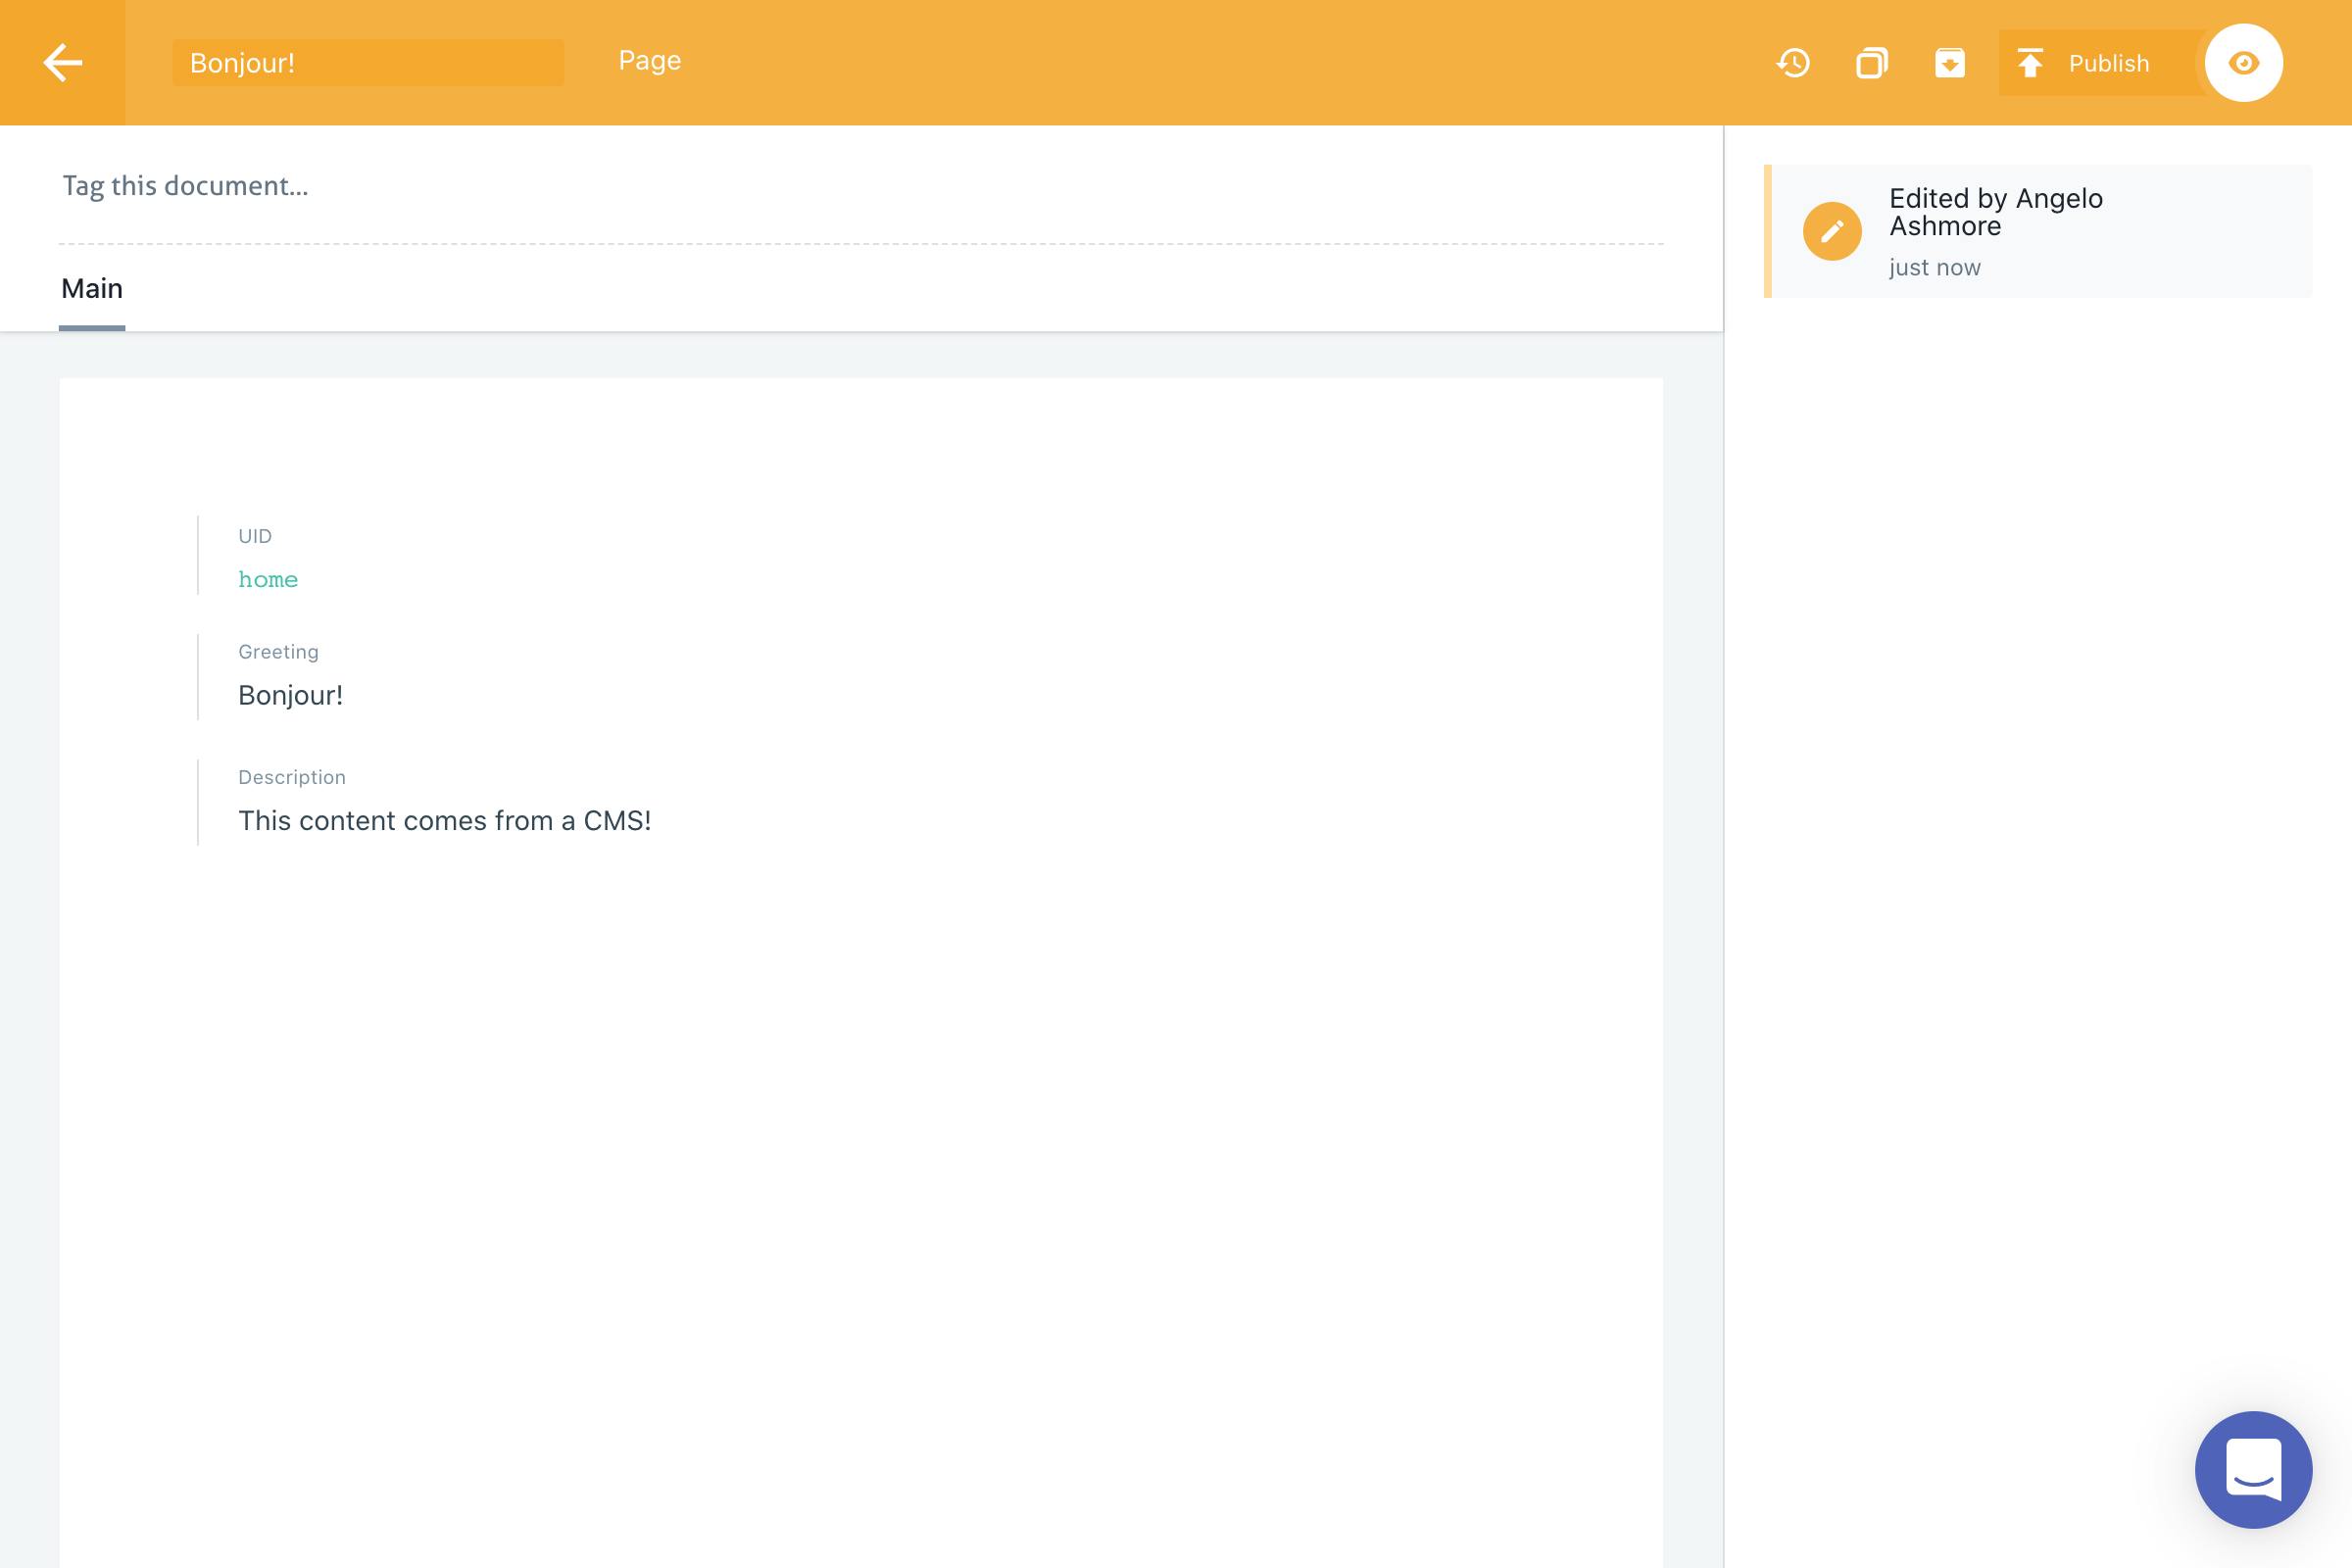
Once your content is in there, click the Save button in the top right corner. Then click the Publish button in the same location and Publish again in the drawer that slides into view.
Alright! Your CMS has some content, so now it's time to bring it into Next.js.
3. Connect the CMS and its content to your Next.js app
You're going to use Next.js's getStaticProps() function to fetch content and display it on your page. You'll do two things in this function:
- Create a Prismic client for your CMS repository.
- Get your CMS content and pass it to your page.
3.1. Fetch your content
The npx @slicemachine/init command you ran at the beginning of this guide installed two Prismic packages: @prismicio/client and @prismicio/react.
You'll use @prismicio/client to create a Prismic client and @prismicio/react to render your CMS content using React.
Create a file at the root of your app called prismicio.js. In this file, you’ll export a function that returns the Prismic client used to query for your home page content.
// prismicio.js

import * as prismic from '@prismicio/client'
import sm from './sm.json'

export function createClient(options) {
  return prismic.createClient(sm.apiEndpoint, options)
}
Next, add the following lines to the top of the home page at pages/index.js.
// pages/index.js

import { PrismicText, PrismicRichText } from '@prismicio/react'
import { createClient } from '../prismicio'
Then add the following code to the bottom of that file, which will fetch your home page document from Prismic.
// pages/index.js

export async function getStaticProps() {
  // Client used to fetch CMS content.
  const client = createClient()

  // Page document for our homepage from the CMS.
  const page = await client.getByUID('page', 'home')

  // Pass the homepage as prop to our page.
  return {
    props: { page },
  }
}
You now have access to the home page document’s data on your page using the page prop! Now all that's left is to display it on your page.
3.2. Display your content
To display your content on the page, you’ll need to retrieve it using the page prop. At around line 7 of your index.js file, modify your Home component like the following code:
// Add the `page` prop in the Home component.
export default function Home({ page }) {
  // Contents of the component...
}
Now that you have access to your home page CMS content, you can use your Greeting field for the heading at the start of the page.
Around line 17, you'll see the following <h1> element with the "Welcome to…" message.
<h1 className={styles.title}>
  Welcome to <a href="https://nextjs.org">Next.js!</a>
</h1>
Replace it with your CMS content. You can use the <PrismicText> component from @prismicio/react to render your field as plain text. Replace the contents of the <h1> element with the following:
<h1 className={styles.title}>
  <PrismicText field={page.data.greeting} />
</h1>
You can do something similar for your Description field using the <PrismicRichText> component. While <PrismicText> renders plain text, <PrismicRichText> renders HTML elements. This will automatically add, for example, <p> and <strong> elements based on the field's content.
Around line 21, you'll see the following <p> element with the "Getting started…" message.
<p className={styles.description}>
  Get started by editing{" "}
  <code className={styles.code}>pages/index.js</code>
</p>
Replace it with the following code to display your CMS content in its place:
<div className={styles.description}>
  <PrismicRichText field={page.data.description} />
</div>
Save the file and, like ✨magic✨, your CMS content will appear on the page. In case you closed the Next.js browser window, your app should be running at http://localhost:3000. If you stopped the Next.js server, no problem! Just start it again with the following terminal command in your Next.js app:
npm run dev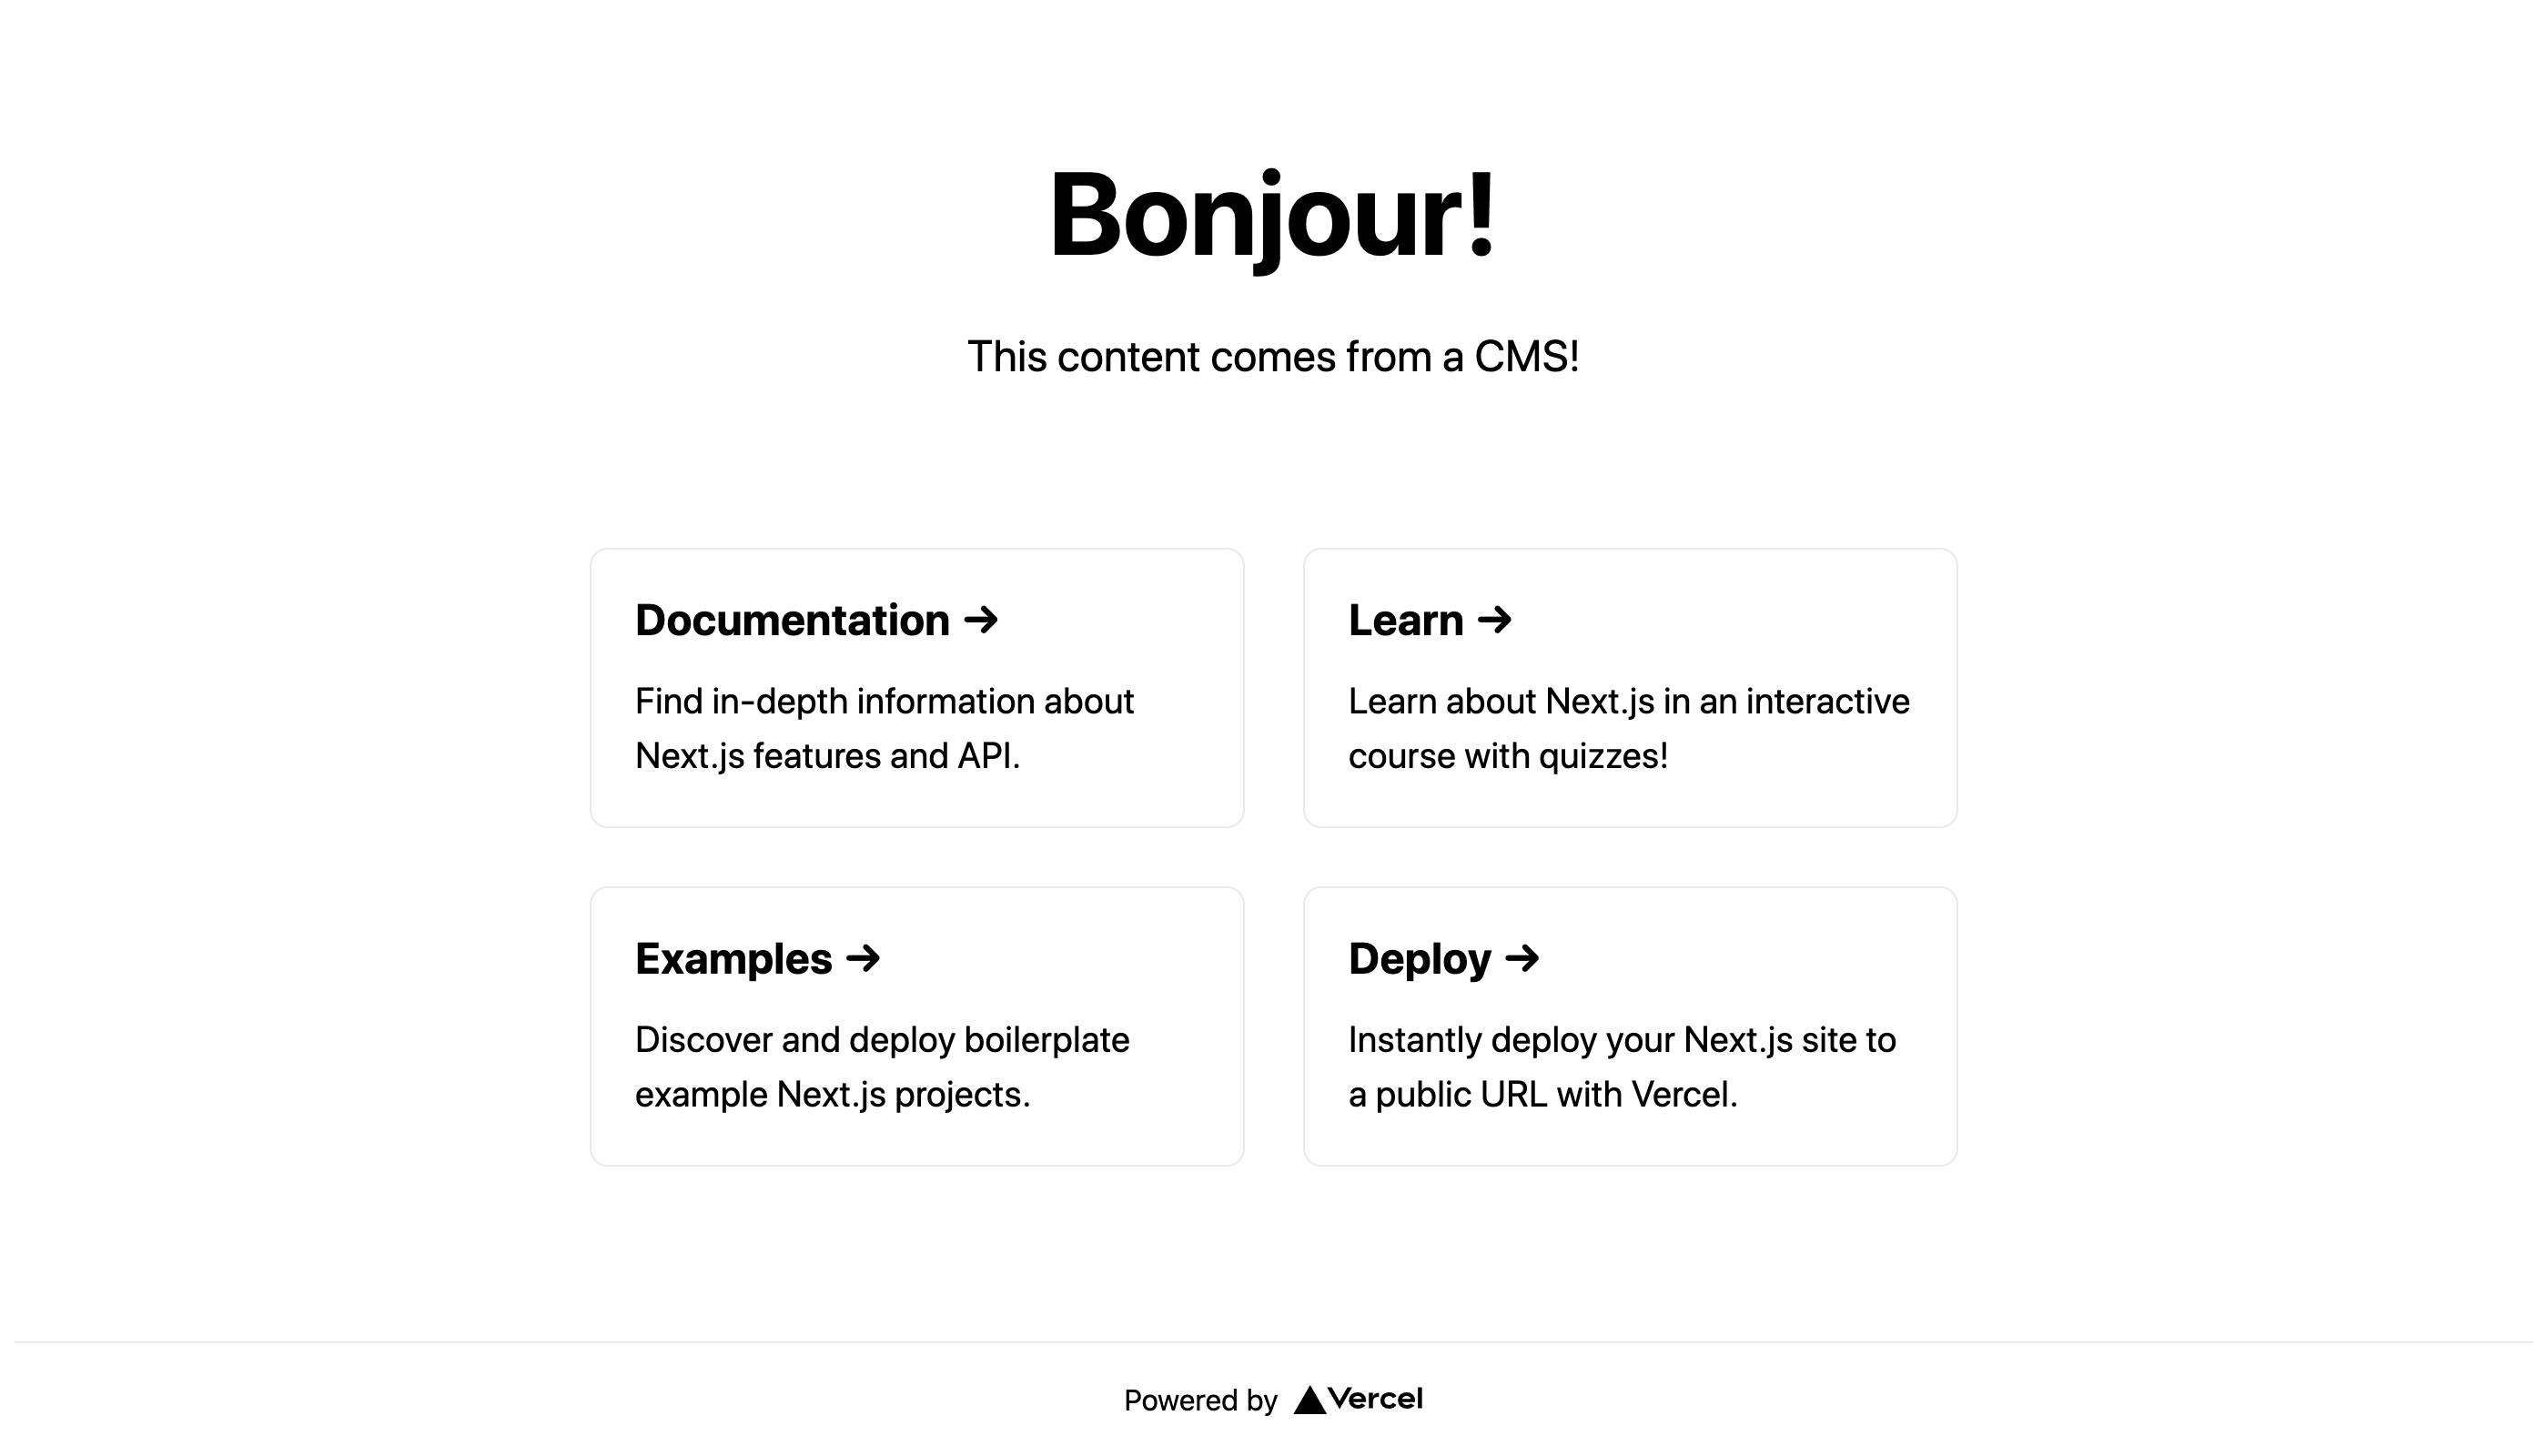
To really demonstrate the power of a CMS, go back into Prismic and edit the content. Make some changes to your homepage document, save it, and publish it, just like earlier. Once your changes are published, refresh your Next.js browser. The page should display your content changes without having touched your code. How ✨magical✨ is that?
So far, you've only set up your homepage to pull in CMS content. You could, however, manage other page content in exactly the same way. You can manage other pages by creating a new Page document in Prismic and an accompanying file in Next.js. The new page file in your project would just need an updated getStaticProps() function with a different UID:
// "home" can be replaced with any page's UID from Prismic.
const page = await client.getByUID("page", "home");
By changing home to a different page UID, you can fetch content from other documents in the CMS. You could create an About Us page with a UID of about-us, for example.
This is a simple way to manage page content in Next.js that you can expand easily based on your content needs.
Keep up the great work! 🥇 Advance to round two: Scale your CMS-powered Next.js app with Slices
Wrap up
In a short amount of time, you generated a fresh Next.js app, created a CMS repository on Prismic, modeled your content, and connected it to your app. Next.js and headless CMSs like Prismic make this easy and flexible.
But what you covered in this guide only scratches the surface of what Prismic can do. Prismic gives you the tools to make your job as a developer easier. It also gives your content team more freedom to create the content they need without your constant involvement.
To make full use of Prismic’s benefits, continue on to the follow-up guide where you’ll learn how to use Prismic’s killer feature: Slices. Slices bring the component-based workflow that enables efficient website development to the content editing world. You — and your content team — are going to love it.


