

Authentication is a fundamental and integral part of building applications. Users are authenticated to access personalized, tailored, and sensitive content based on their preferences and previous interactions, and the admin or developer knows the number of users on their platform while ensuring the security or safety of their user’s information.
The usefulness of authentication cannot be over-emphasized. Some of its importance include security, data integrity, trust and credibility, mitigation of security risks, access control, user identity verification, personalization, and so on. Protecting user data and ensuring privacy are basic needs for authentication.
Digital Authentication has improved over the years, from building in-house authentication methods to using third-party authentication platforms for a more secure and wider reach. These third-party platforms offer several authentication methods, from email and password to social logins to passwordless authentication and even single sign-on (SSO).
In this article, we will look at one third-party authentication and authorization platform, Auth0, and how to set up and integrate it into a Next.js project. Here we go!
Adding authentication to a Next.js project
Next.js
Next.js is a React framework that enables client, server-side rendering (SSR), static site generation (SSG), built-in optimization mechanisms, advanced routing and nested layouts, and API route handlers, amongst other features. It makes a great choice for building modern web applications.
Auth0
Auth0 is an identity platform that provides authentication and authorization as a service. It offers an easy way to implement authentication and authorization with a few lines of code. Auth0 supports various authentication methods, including:
- Single sign-on (SSO)
- Social login
- Enterprise connections
- Traditional username and password
- Passwordless login
It also supports API security and user management features.
Although companies and developers can build their own customer identity and user management platforms, Auth0 provides a ready-to-use solution for implementing authentication and authorization with great documentation.
Prerequisites for this project
If you haven’t used React and/or Next.js yet, head over to the Next.js official documentation to get started. This Prismic YouTube video is also a great guide too.
Additionally, we will be using the Next.js App router for this tutorial, so you may want to familiarize yourself with that as well. Now, let’s get into the step-by-step tutorial!
How to set up Auth0
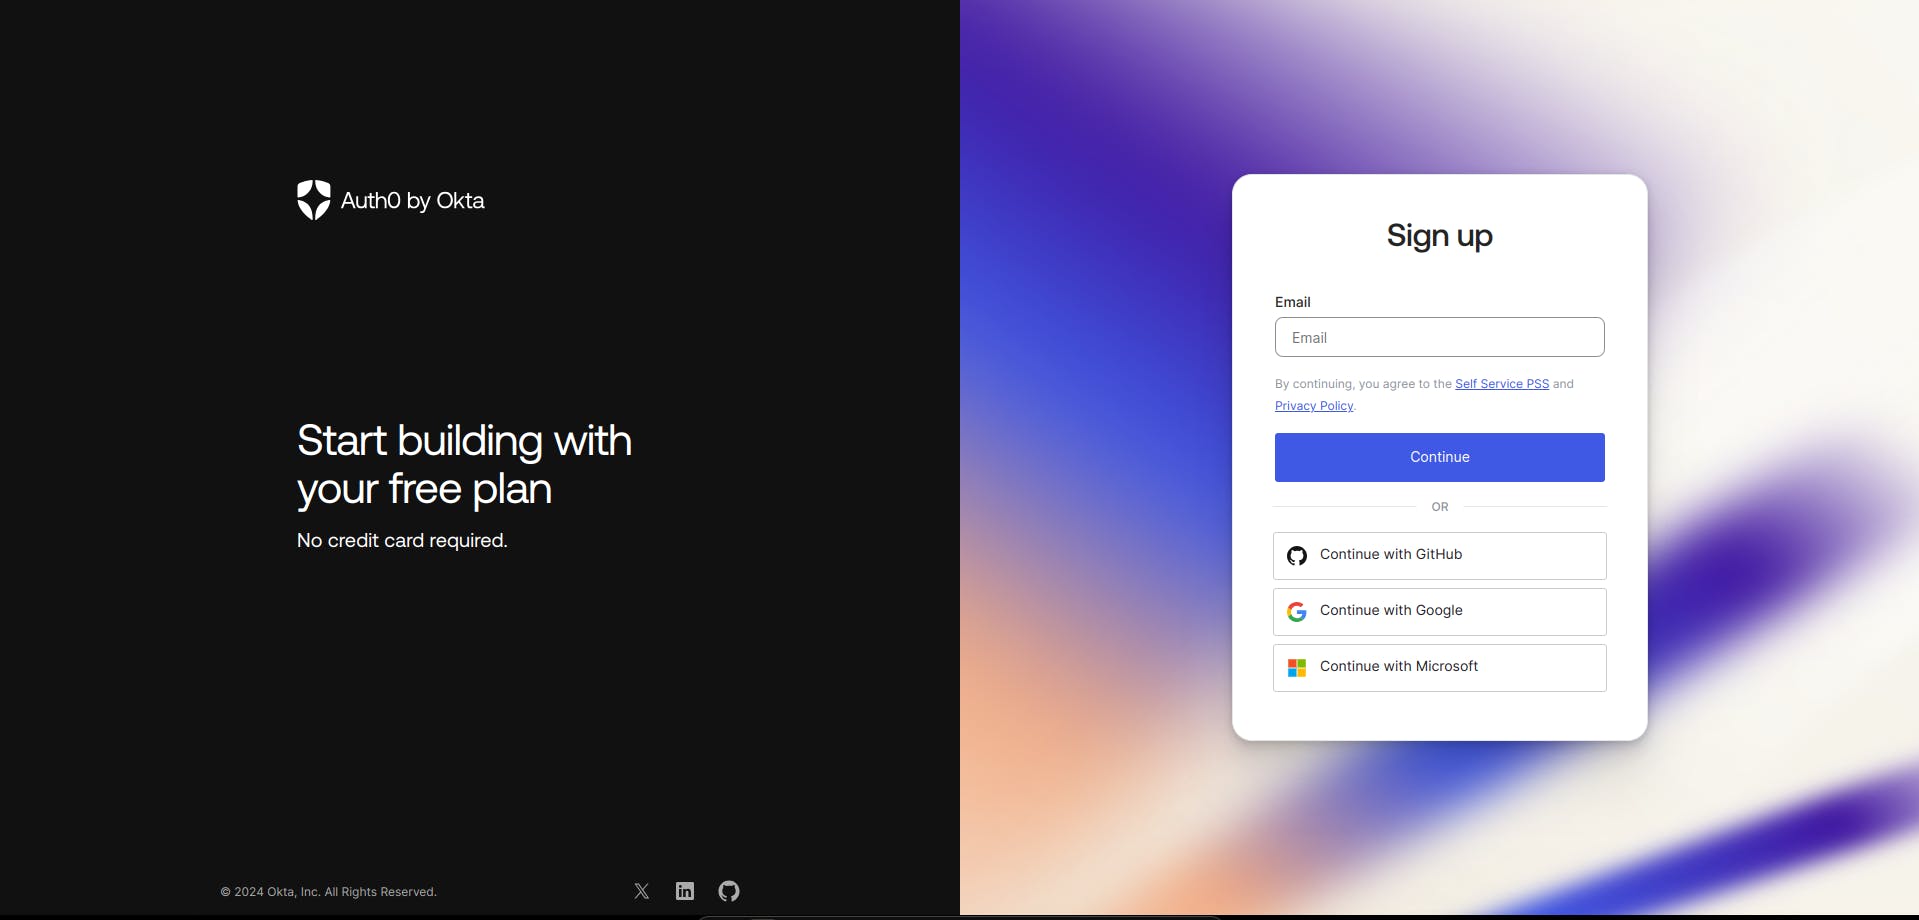
To get started with Auth0, you need to create an application in the Auth0 dashboard. Head over to Auth0 to sign up or log in if you already have an account.
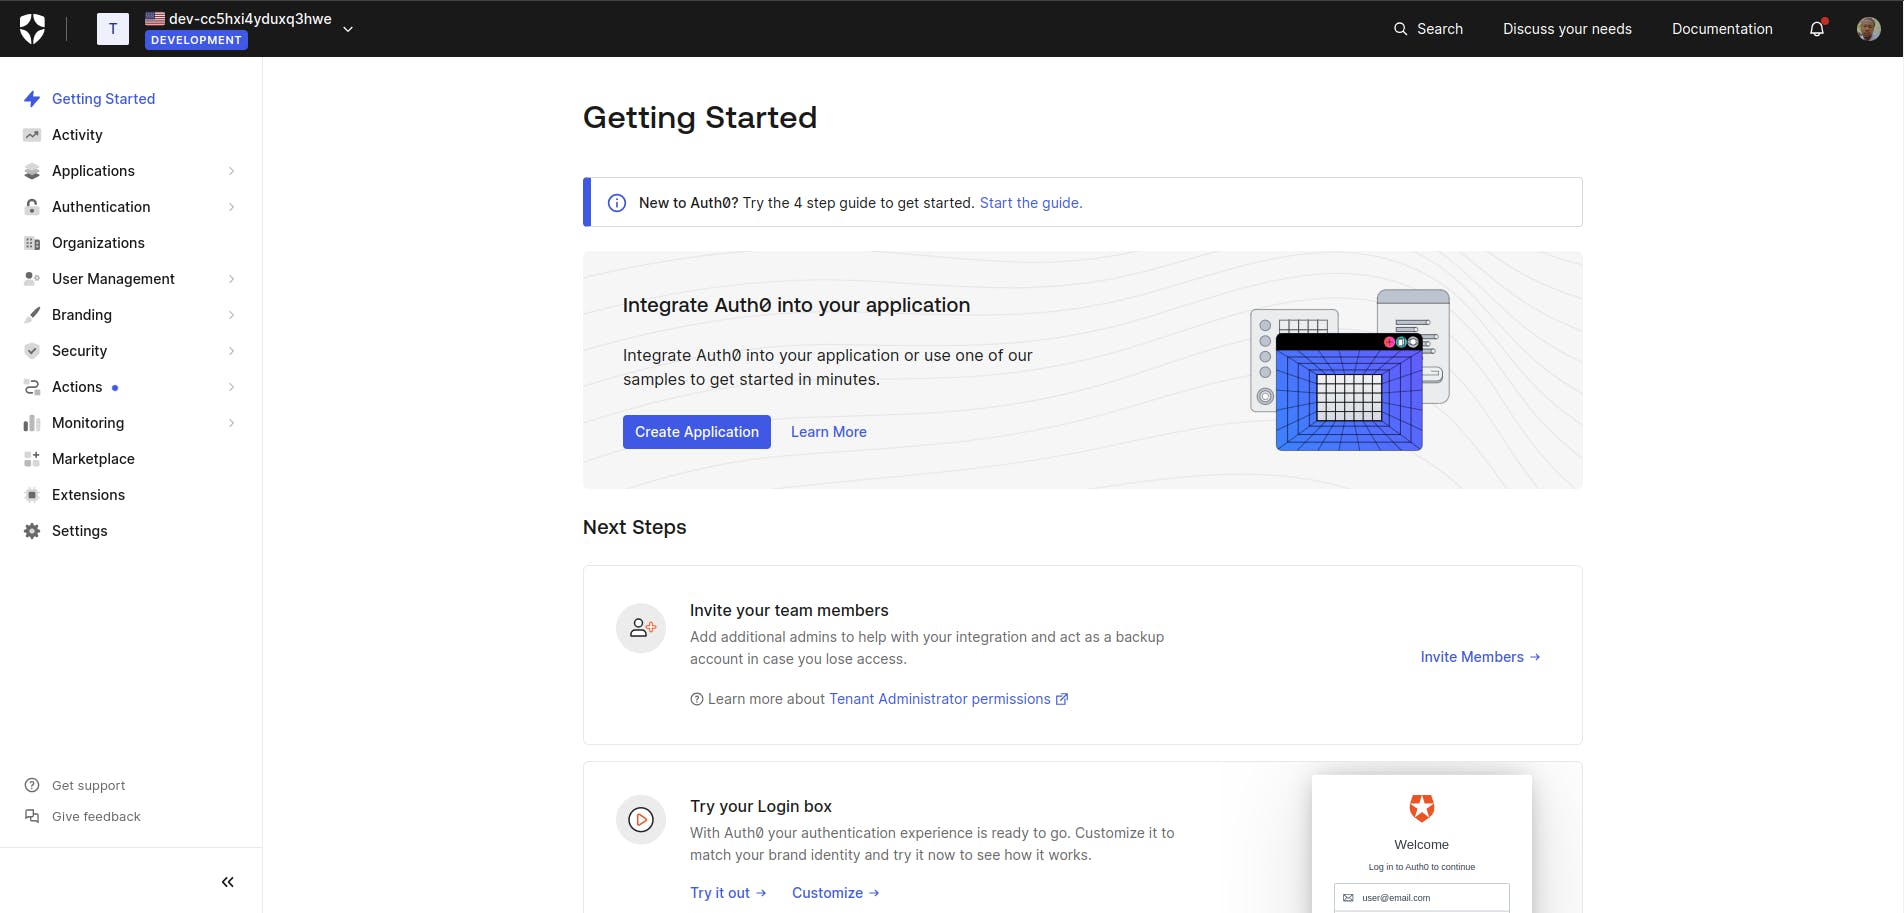
On your Auth0 dashboard, click on "Getting Started" from the menu on the left, then select “Create Application” and select the web app option to create a new application.
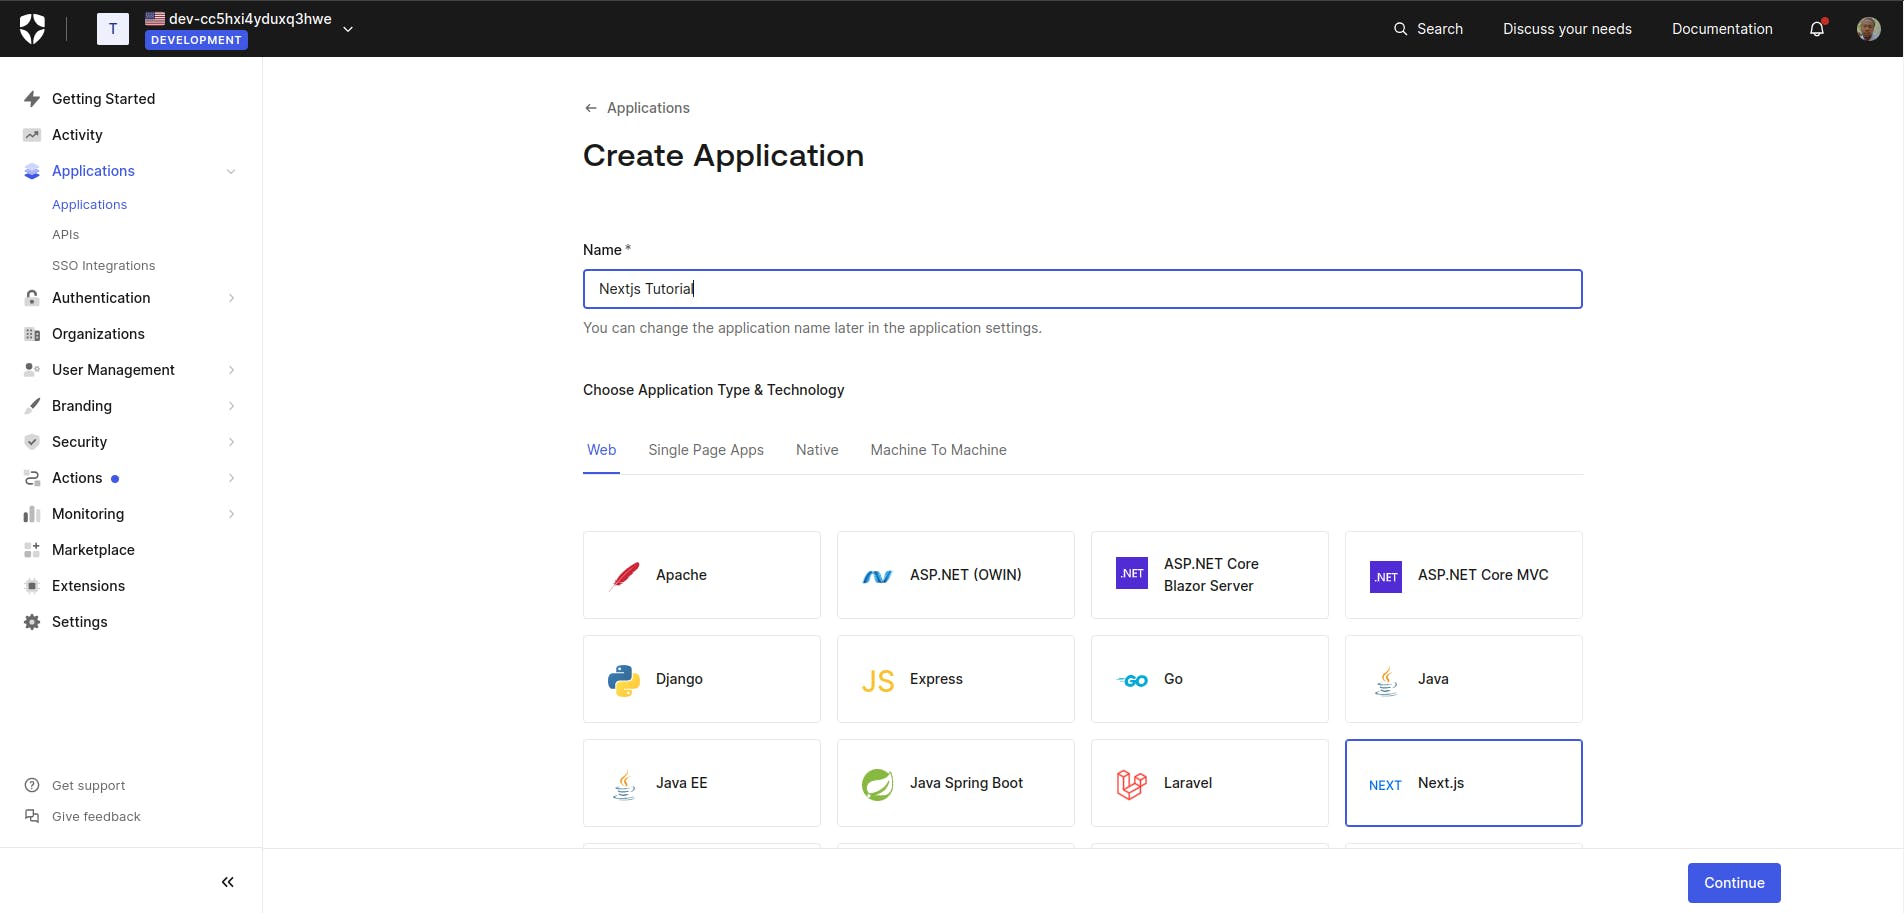
For this tutorial, I have created and named my application “Nextjs Tutorial.” Under the Web section, select Next.js, the application you want to integrate with.
Then, in your settings section, we will set our application URLs:
- Allowed Callback URLs: Set the link to “http://localhost:3000/api/auth/callback”. This allows Auth0 to redirect users to this route after they successfully log in or after authentication.
- Allowed Logout URLs: Set the link to “http://localhost:3000”. This is our Next.js application’s base route for logging out users. This is the URL in our application that Auth0 will return to after the user has been logged out of the authorization server.
- Allowed Web Origins: Still, set the link to “http://localhost:3000”.
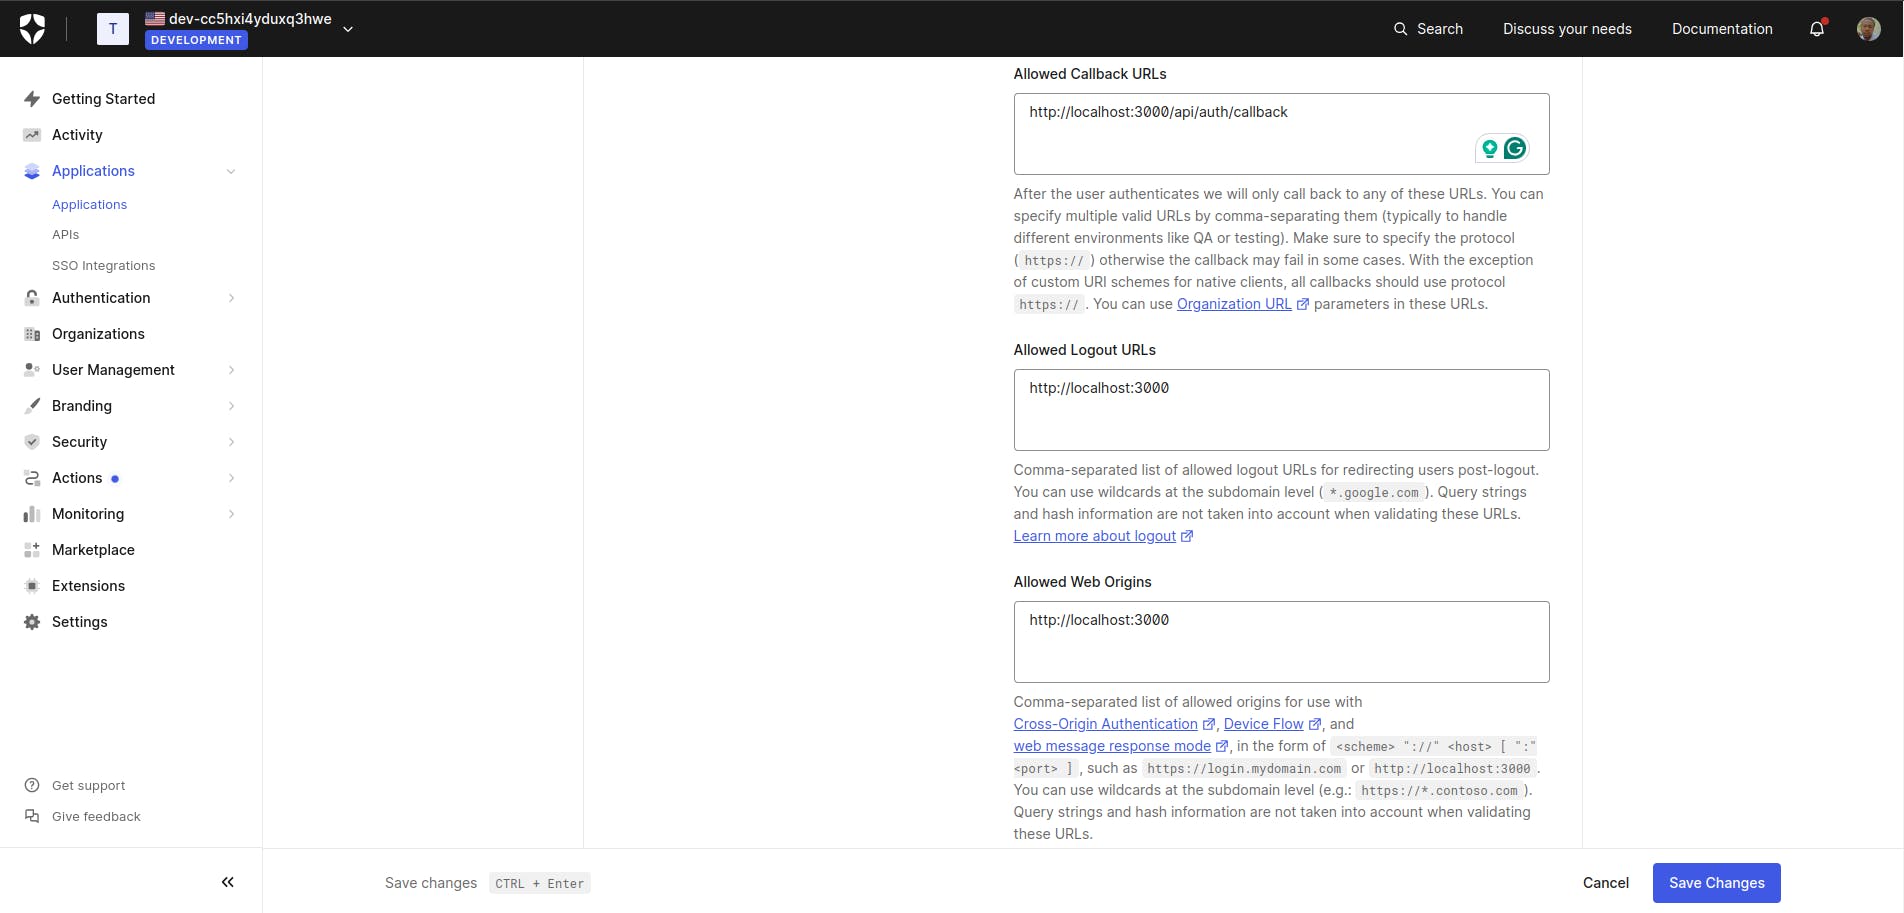
Make sure to save your changes.
How to set up Next.js
Installing Auth0 Next.js SDK
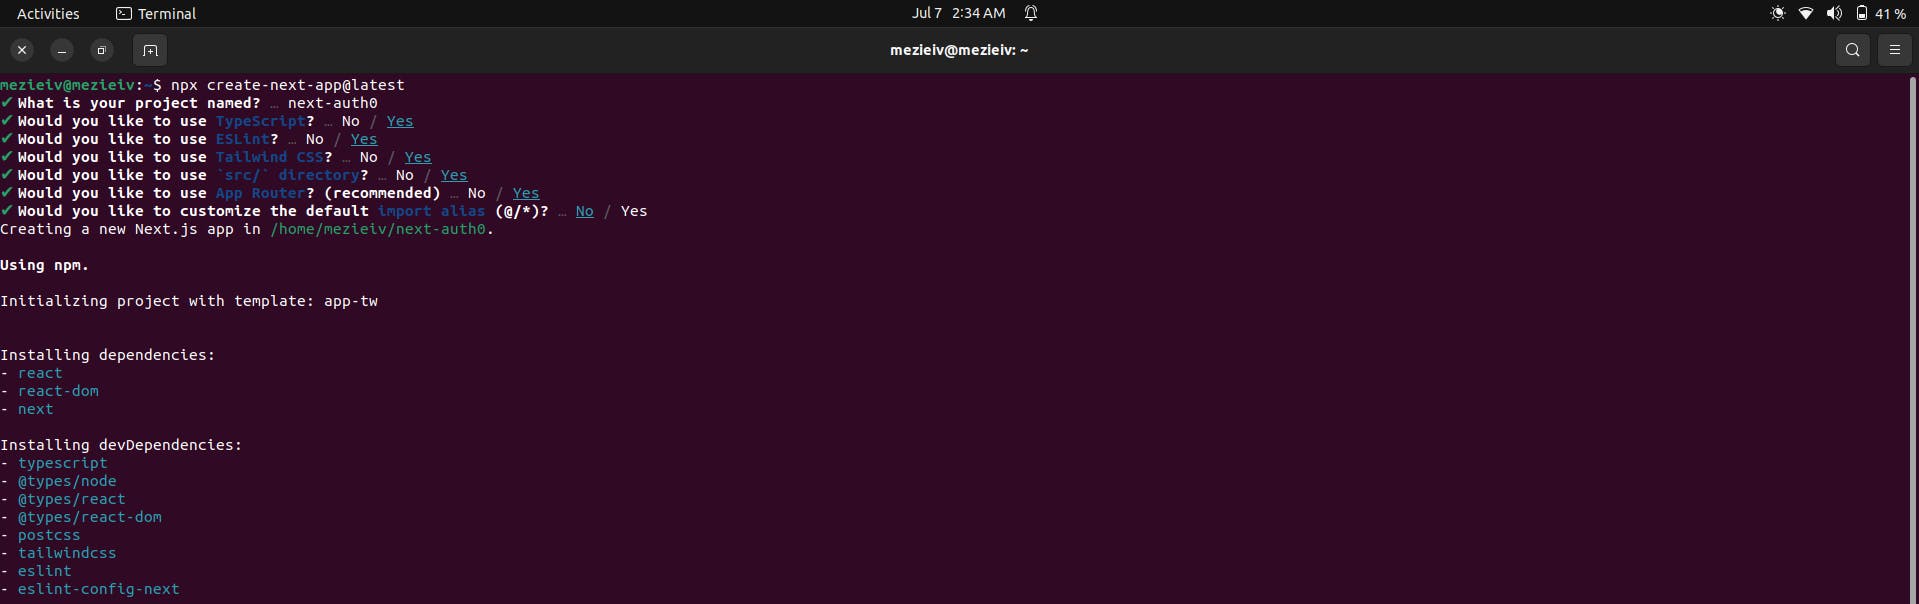
Before we install our Auth0 Next.js SDK in our project, run the command below to create a new Next.js project.
npx create-next-app@latestThis command will come with some prompts and then scaffold a new project for you. Here are the configurations I selected if you're following along:
After your project is created, run the command below inside your project to install the Auth0 Next.js SDK.
npm install @auth0/nextjs-auth0This command will install the SDK, which exposes every method and variable we will need to integrate Auth0 with our Next.js application.
Remove default Tailwind CSS styling
Before we move on to configuring our SDK, we need to remove the default CSS stylings so they don't conflict with our Tailwind CSS styles. First, head over to the global.css file and delete all the styles except the Tailwind CSS directives. The directives are custom Tailwind at-rules that you will use in your CSS. Simply put, they offer special functionality for our Tailwind CSS.
Your global.css should look like this:
/* globals.css */

@tailwind base;
@tailwind components;
@tailwind utilities;
Next, inside tailwind.config.ts file, remove the backgroundImage style. You can copy and replace your code with the one below:
// tailwind.config.ts

import type { Config } from "tailwindcss";

const config: Config = {
  content: [
    "./src/pages/**/*.{js,ts,jsx,tsx,mdx}",
    "./src/components/**/*.{js,ts,jsx,tsx,mdx}",
    "./src/app/**/*.{js,ts,jsx,tsx,mdx}",
  ],
  theme: {
    extend: {},
  },
  plugins: [],
};
export default config;
Configuring the SDK
Next, we will configure the SDK. To configure the SDK, create a new file in your root folder or directory called .env.local. Inside the file, paste the code below:
AUTH0_SECRET=your-auth0-secret

AUTH0_BASE_URL=http://localhost:3000

AUTH0_ISSUER_BASE_URL=https://your-auth0-domain

AUTH0_CLIENT_ID=your-auth0-client-id

AUTH0_CLIENT_SECRET=your-auth0-client-secret
Replace the values with your Auth0 credentials. You should see all the required credentials in your settings section, with the exception of AUTH0_SECRET. (Note: make sure you include the https:// before your AUTH0_ISSUER_BASE_URL).
To get a secret key for your AUTH0_SECRET, run the command below in your terminal to generate a 32-byte value.
node -e "console.log(crypto.randomBytes(32).toString('hex'))"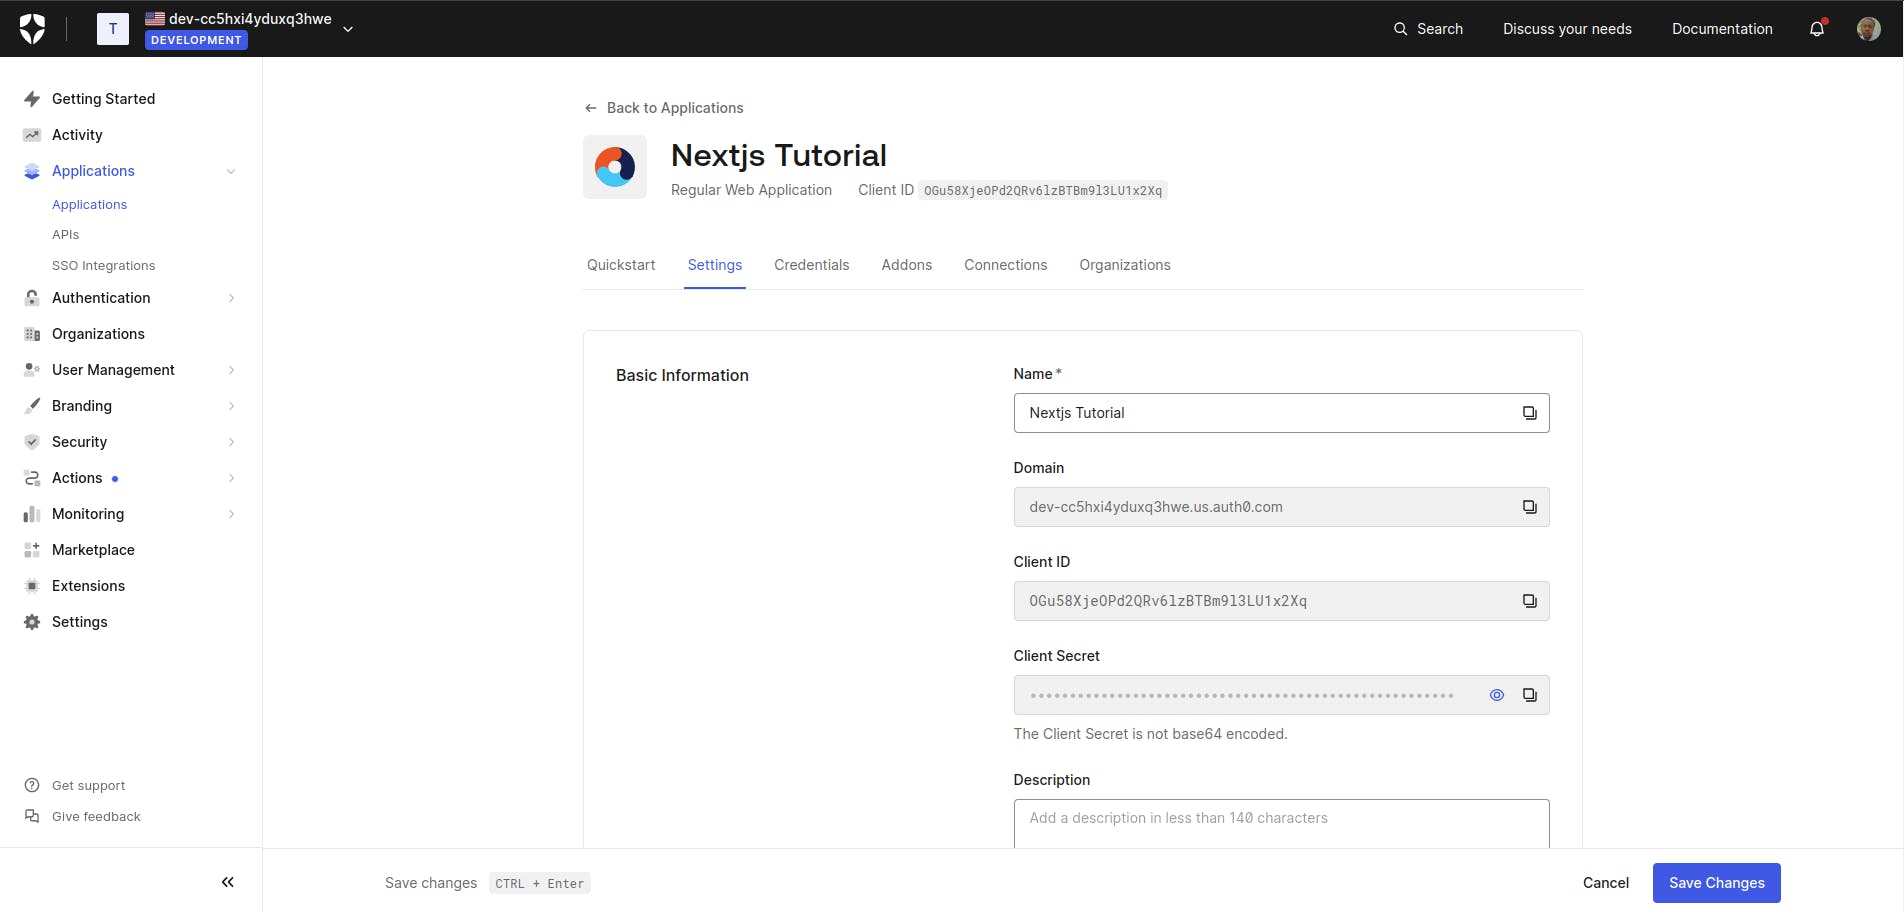
Handling dynamic Routes
Next.js API routes will handle the Auth0 authentication flow. To add a dynamic API route handler, create a file called route.ts inside this folder path app/api/auth/[auth0]/route.ts and copy the code below:
// app/api/auth/[auth0]/route.ts

import { handleAuth } from '@auth0/nextjs-auth0';

export const GET = handleAuth();
This will create the following routes for us:
- /api/auth/login: The route we will call to perform login with Auth0.
- /api/auth/logout: The route we will call to log the user out.
- /api/auth/callback: The route Auth0 will redirect the user to after a successful login.
- /api/auth/me: The route from which to fetch the user profile.
We are using the dynamic routing that Next.js offers, where [auth0] is the dynamic segment.
First time here? Discover what Prismic can do!
👋 Meet Prismic, your solution for creating performant websites! Developers, build with your preferred tech stack and deliver a visual page builder to marketers so they can quickly create on-brand pages independently!

How to implement auth with Auth0 in a Next.js project
Adding the UserProvider Component
Inside your layout.tsx file, import and wrap your app with the UserProvider component from the SDK we installed. Replace everything in layout.tsx with the code below.
// app/layout.tsx

import "./globals.css";
import { UserProvider } from "@auth0/nextjs-auth0/client";

export default function RootLayout({
  children,
}: Readonly<{
  children: React.ReactNode;
}>) {
  return (
    <html lang="en">
      <head>
        <link
          rel="stylesheet"
          href="https://stackpath.bootstrapcdn.com/bootstrap/4.3.1/css/bootstrap.min.css"
          integrity="sha384-ggOyR0iXCbMQv3Xipma34MD+dH/1fQ784/j6cY/iJTQUOhcWr7x9JvoRxT2MZw1T"
          crossOrigin="anonymous"
        />
        <link
          rel="stylesheet"
          href="https://cdn.auth0.com/js/auth0-samples-theme/1.0/css/auth0-theme.min.css"
        />
      </head>

      <UserProvider>
        <body>{children}</body>
      </UserProvider>
    </html>
  );
}
The SDK uses React Context to manage our authentication state. Simply put, we can access the authentication state in every page and component of our application. Additionally, we have two links to two external stylesheets in our head tag. The first one is a Boostrap stylesheet while the other is Auth0’s theme stylesheet which contains predefined styles for Auth0’s authorization components and elements. Both links allows you to have a consistent and responsive style in your application.
Handling Login and Logout
Now that we have configured and exposed our application to the state of our authentication, let’s start implementing and handling our login and logout features.
Inside your page.tsx file, copy and replace your code with the one below:
"use client";

import { useUser } from "@auth0/nextjs-auth0/client";

export default function Home() {
  const { user } = useUser();

  return (
    <div>
      <h1>Welcome to My App</h1>

      {user ? (
        <div>
          <p>Welcome, {user.name}</p>

          <a href="/api/auth/logout">Logout</a>
        </div>
      ) : (
        <a href="/api/auth/login">Login</a>
      )}
    </div>
  );
}
We are importing useUser hook from our SDK. The useUser hook exposes a user property that contains the profile information of the user. Information such as user name, email, image, and so on. Also, the useUser hook exposes other properties like error and loading, which indicates if the user authentication is still loading or not, and the error relays any error message encountered during authentication/authorization.
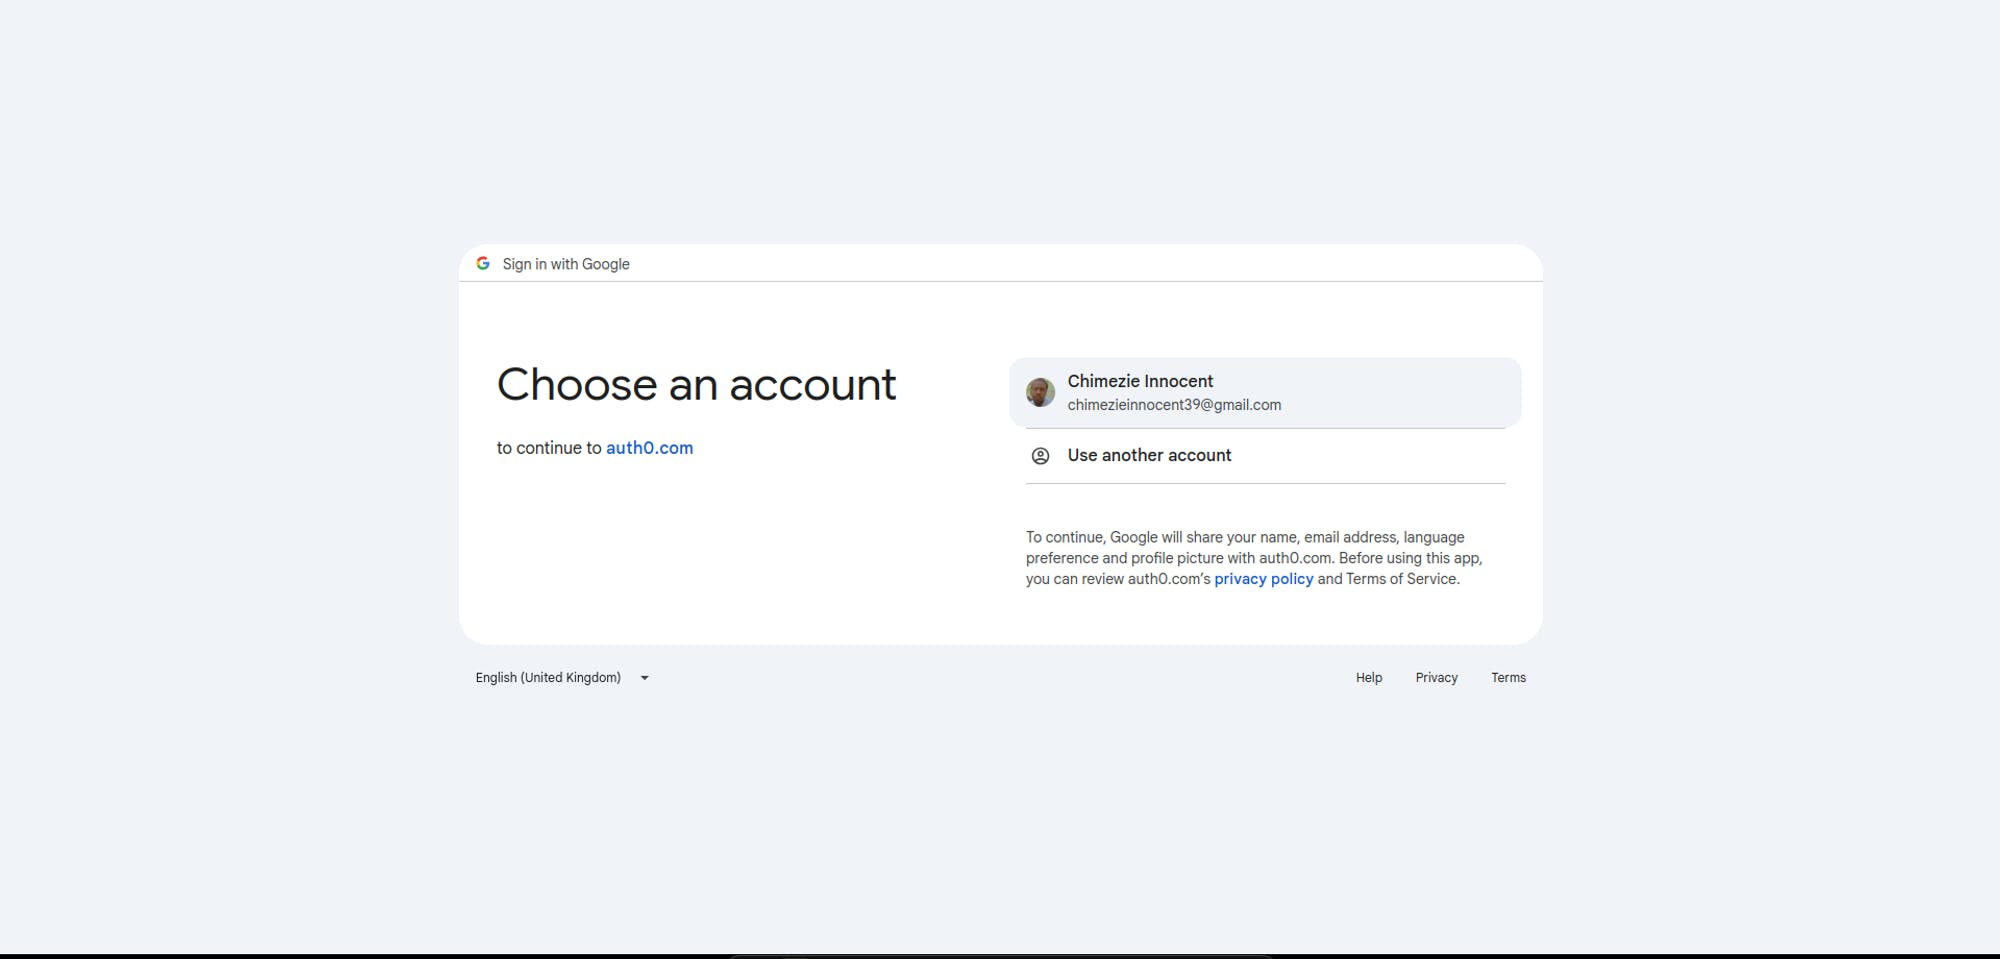
In your terminal, run your application with the command npm run dev and visiting http://localhost:3000. When you click on the Login link, you will be redirected to Auth0 login.
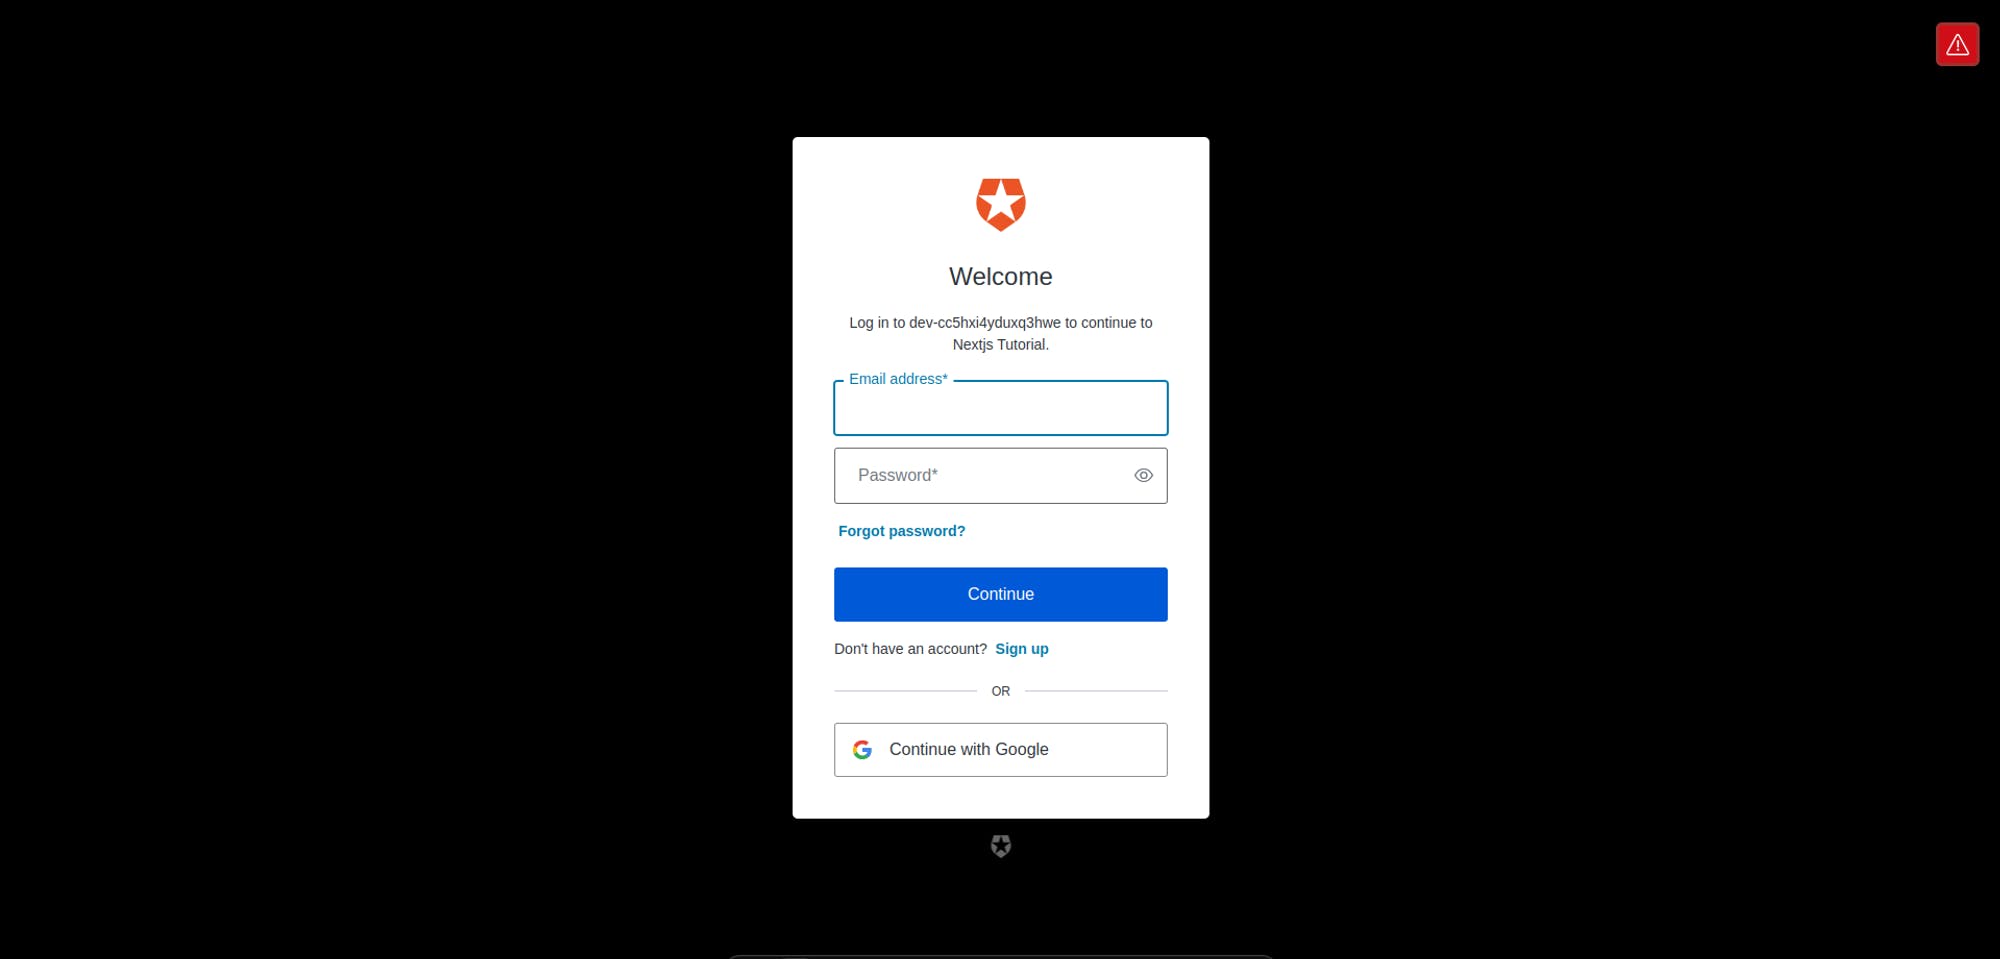
I will be using Google login to authenticate.
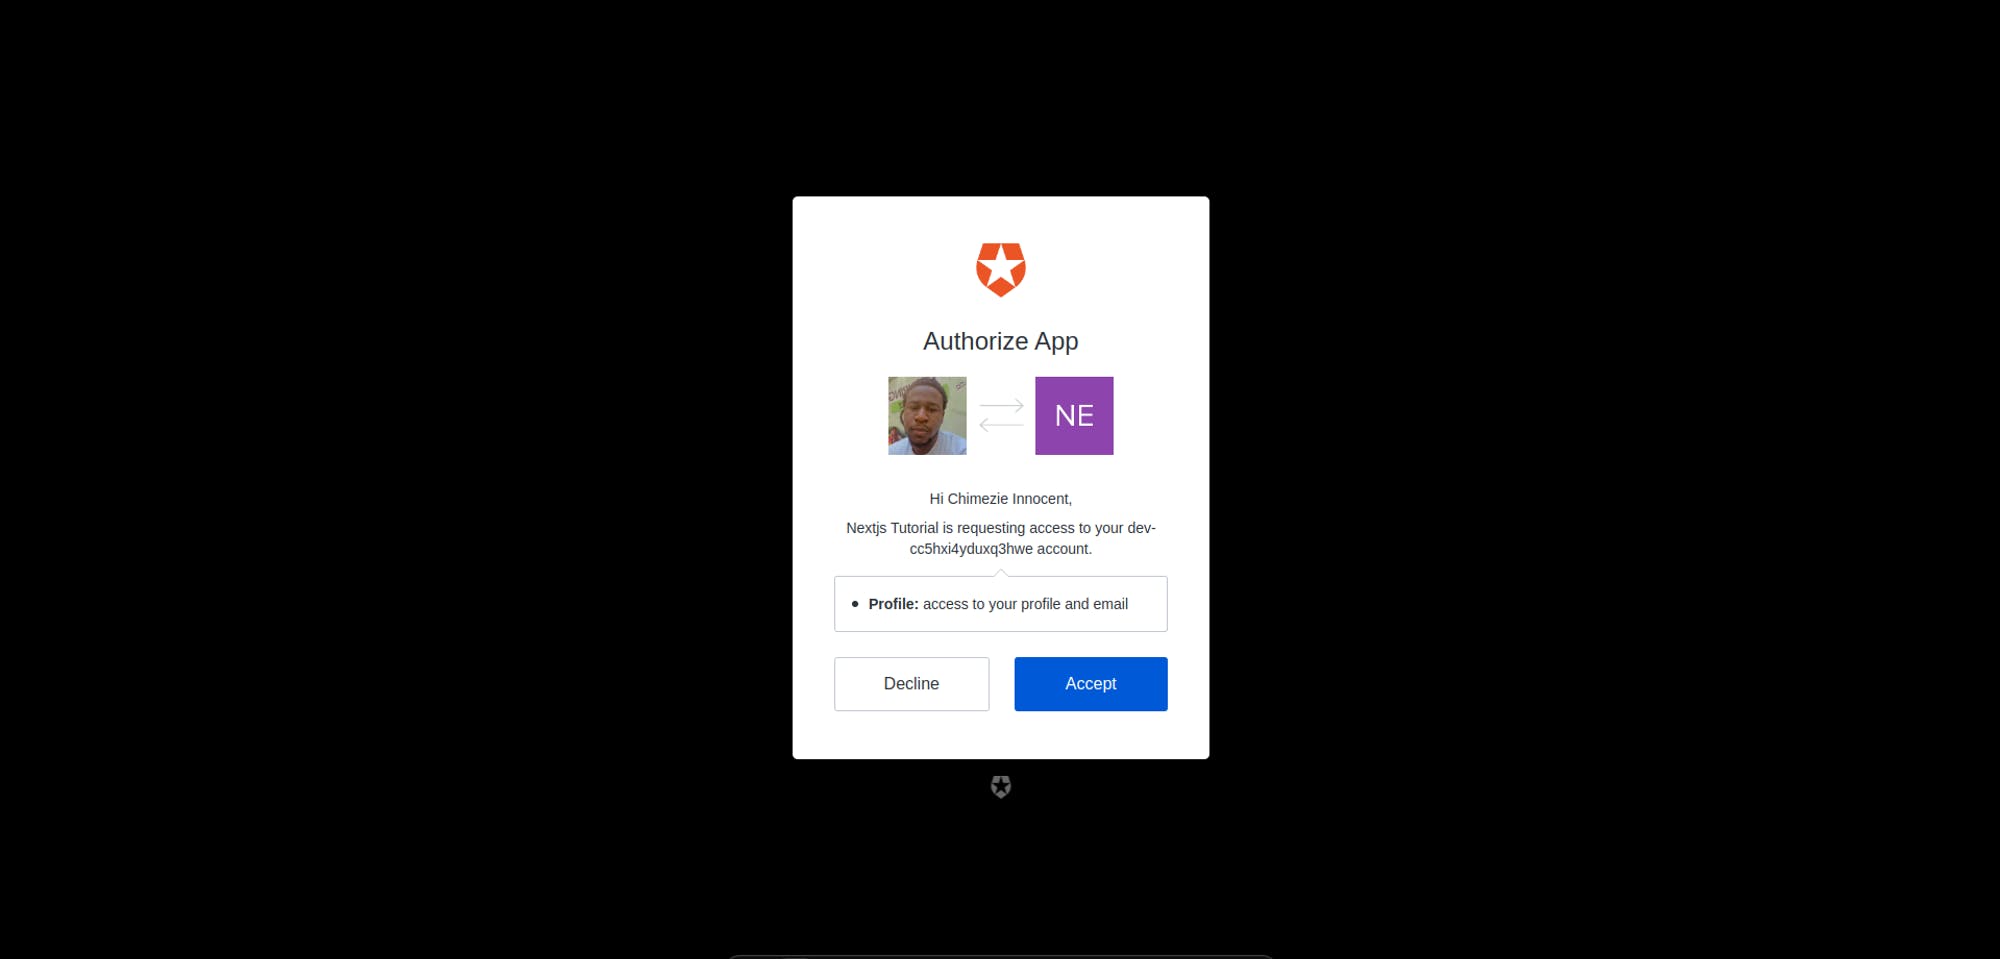
After authenticating, you will notified that the application; “Next.js Tutorial” wants access to your data. This is for authorization purposes. Click "Accept."
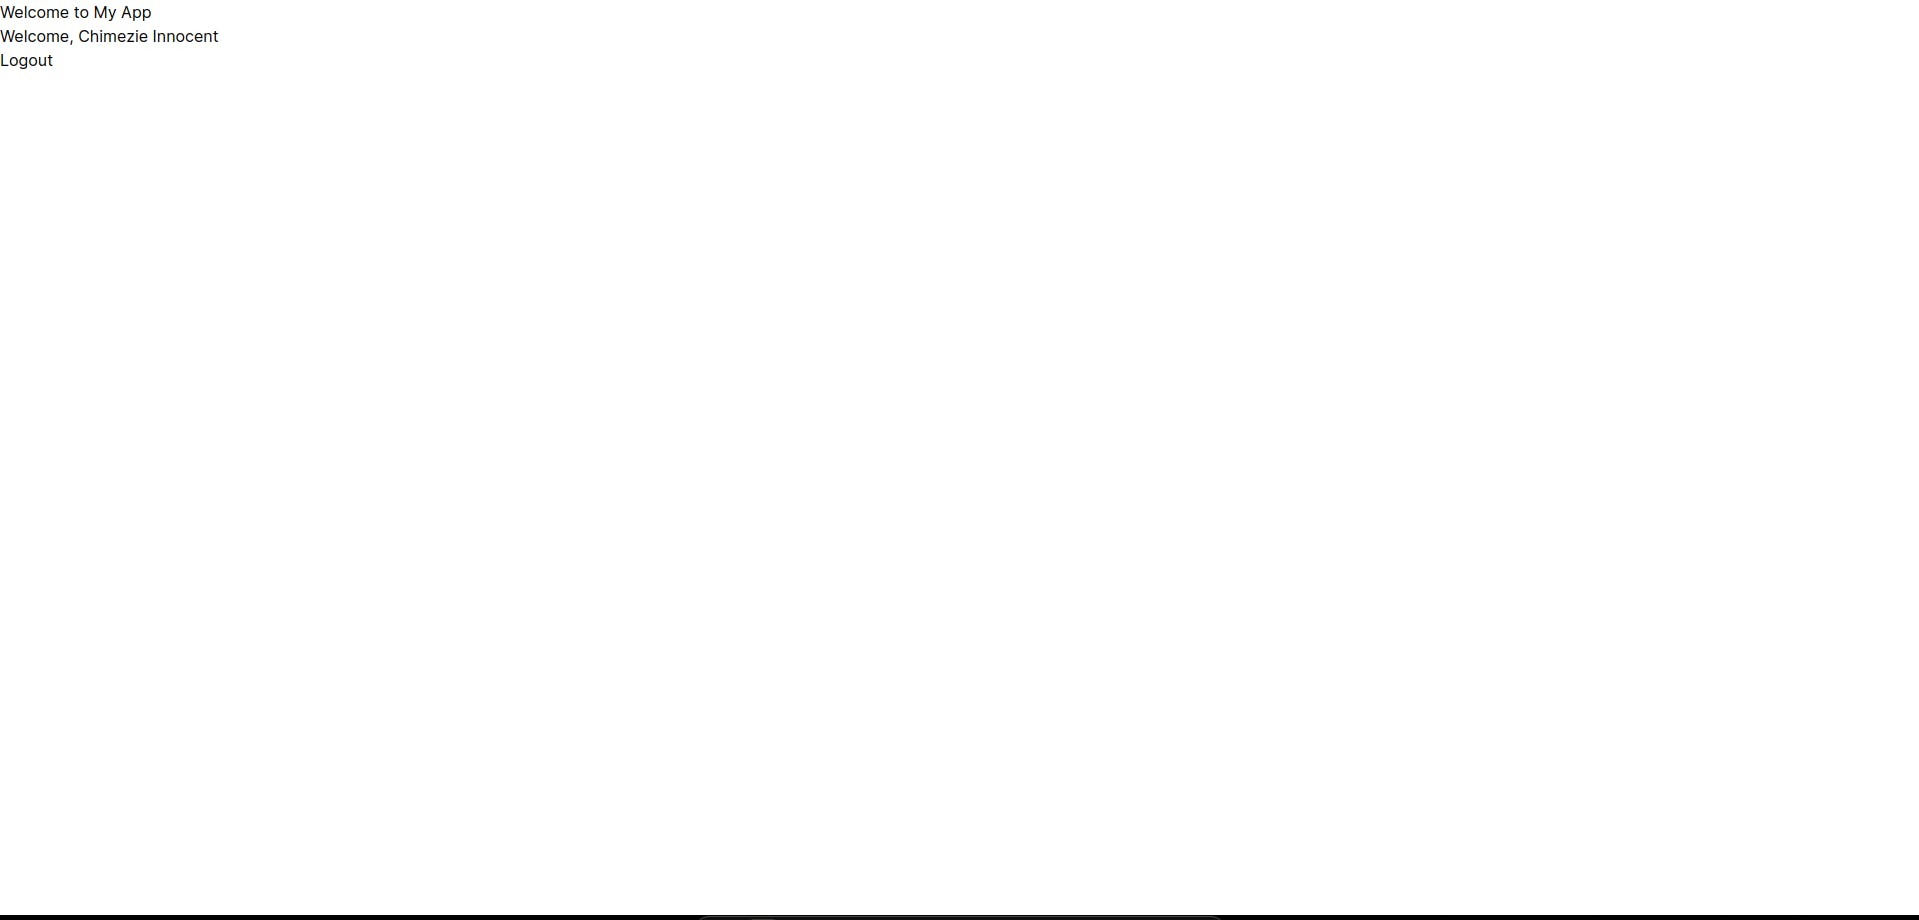
After authentication and authorization are complete, you will be redirected back to your application, and you will then see the Logout link with the details we got from our useUser hooks.
Updating User Profile Info
As we learned earlier, we can access user’s data from the user property. With this, we can dynamically update the user’s profile with their information.
Still inside your page.tsx file, copy the code below:
"use client";

import Link from "next/link";
import { useUser } from "@auth0/nextjs-auth0/client";

const Home = () => {
  const { user, error, isLoading } = useUser();

  if (isLoading) return <div>Loading...</div>;

  if (error) return <div>{error.message}</div>;

  return (
    <div className="p-10">
      {user ? (
        <div className="flex">
          {user.picture && (
            <img
              src={user.picture}
              alt={user.name || "img"}
              width={100}
              height={100}
              className="rounded-full mr-4"
            />
          )}

          <div>
            <h2 className="text-2xl font-semibold">Welcome, {user.name}</h2>

            <p className="text-sm font-normal">
              Email Address: {user.email}
            </p>

            <a
              href="/api/auth/logout"
              className="bg-slate-500 text-white px-5 py-2 rounded-lg hover:bg-slate-600"
            >
              Logout
            </a>
          </div>
        </div>
      ) : (
        <div>
          <h1 className="text-2xl font-semibold mb-4">
            Welcome to Next.js Tutorial
          </h1>

          <a
            href="/api/auth/login"
            className="bg-slate-500 text-white px-5 py-2 rounded-lg hover:bg-slate-600"
          >
            Login
          </a>
        </div>
      )}
    </div>
  );
};

export default Home;
When you log in, you should be able to see your full name, email address, and profile image.

We are using conditional rendering to check if the user exists. The user exists when the user is authenticated, and if it is true, we get and render the user information. isLoading and error handles any error message and loading state.
Creating Protected Routes
The essence of authentication is so that unauthorized users can’t access certain information. Information such as user data and any other personalized content are sensitive information we want to protect and hence, should be given a protected route.
For protected routes, AuthO SDK offers a function called withPageAuthRequired. This function ensures that only authenticated users can access certain pages. To protect a route/page, wrap your component or page with the function to indicate that it is a protected route.
Let’s create a new profile page called at app/profile/page.tsx to handle our profile information.
// app/profile/page.tsx

'use client';

import React from 'react';
import { useUser, withPageAuthRequired } from '@auth0/nextjs-auth0/client';

function Profile() {
  const { user, isLoading, error } = useUser();

  if (isLoading) <Loading />
  if (error) <div>{error.message}</div>

  return (
    <>
      {
        user &&
        <section className="pt-5 px-5">
          <div>
            <img
              src={user.picture || ""}
              alt="Profile"
              className="rounded-full mb-3 mb-md-0"
            />
            <h2>{user.name}</h2>
            <p className="lead text-muted">
              {user.email}
            </p>
            <div className='w-5/12 bg-gray-800 p-3 leading-8'>
              <code className='text-white'>{JSON.stringify(user, null, 2)}</code>
            </div>
          </div>
        </section>
      }
    </>
  );
}

export default withPageAuthRequired(Profile);


const Loading = () => (
  <div className="spinner d-flex align-items-center justify-content-center w-100 h-100" data-testid="loading">
    <svg
      xmlns="http://www.w3.org/2000/svg"
      width="120"
      height="120"
      className="uil-ring"
      preserveAspectRatio="xMidYMid"
      viewBox="0 0 100 100">
      <path fill="none" d="M0 0H100V100H0z" className="bk"></path>
      <defs>
        <filter id="uil-ring-shadow" width="300%" height="300%" x="-100%" y="-100%">
          <feOffset in="SourceGraphic" result="offOut"></feOffset>
          <feGaussianBlur in="offOut" result="blurOut"></feGaussianBlur>
          <feBlend in="SourceGraphic" in2="blurOut"></feBlend>
        </filter>
      </defs>
      <path
        fill="#337ab7"
        d="M10 50s0 .5.1 1.4c0 .5.1 1 .2 1.7 0 .3.1.7.1 1.1.1.4.1.8.2 1.2.2.8.3 1.8.5 2.8.3 1 .6 2.1.9 3.2.3 1.1.9 2.3 1.4 3.5.5 1.2 1.2 2.4 1.8 3.7.3.6.8 1.2 1.2 1.9.4.6.8 1.3 1.3 1.9 1 1.2 1.9 2.6 3.1 3.7 2.2 2.5 5 4.7 7.9 6.7 3 2 6.5 3.4 10.1 4.6 3.6 1.1 7.5 1.5 11.2 1.6 4-.1 7.7-.6 11.3-1.6 3.6-1.2 7-2.6 10-4.6 3-2 5.8-4.2 7.9-6.7 1.2-1.2 2.1-2.5 3.1-3.7.5-.6.9-1.3 1.3-1.9.4-.6.8-1.3 1.2-1.9.6-1.3 1.3-2.5 1.8-3.7.5-1.2 1-2.4 1.4-3.5.3-1.1.6-2.2.9-3.2.2-1 .4-1.9.5-2.8.1-.4.1-.8.2-1.2 0-.4.1-.7.1-1.1.1-.7.1-1.2.2-1.7.1-.9.1-1.4.1-1.4V54.2c0 .4-.1.8-.1 1.2-.1.9-.2 1.8-.4 2.8-.2 1-.5 2.1-.7 3.3-.3 1.2-.8 2.4-1.2 3.7-.2.7-.5 1.3-.8 1.9-.3.7-.6 1.3-.9 2-.3.7-.7 1.3-1.1 2-.4.7-.7 1.4-1.2 2-1 1.3-1.9 2.7-3.1 4-2.2 2.7-5 5-8.1 7.1L70 85.7c-.8.5-1.7.9-2.6 1.3l-1.4.7-1.4.5c-.9.3-1.8.7-2.8 1C58 90.3 53.9 90.9 50 91l-3-.2c-1 0-2-.2-3-.3l-1.5-.2-.7-.1-.7-.2c-1-.3-1.9-.5-2.9-.7-.9-.3-1.9-.7-2.8-1l-1.4-.6-1.3-.6c-.9-.4-1.8-.8-2.6-1.3l-2.4-1.5c-3.1-2.1-5.9-4.5-8.1-7.1-1.2-1.2-2.1-2.7-3.1-4-.5-.6-.8-1.4-1.2-2-.4-.7-.8-1.3-1.1-2-.3-.7-.6-1.3-.9-2-.3-.7-.6-1.3-.8-1.9-.4-1.3-.9-2.5-1.2-3.7-.3-1.2-.5-2.3-.7-3.3-.2-1-.3-2-.4-2.8-.1-.4-.1-.8-.1-1.2v-1.1-1.7c-.1-1-.1-1.5-.1-1.5z"
        filter="url(#uil-ring-shadow)">
        <animateTransform
          attributeName="transform"
          dur="1s"
          from="0 50 50"
          repeatCount="indefinite"
          to="360 50 50"
          type="rotate"></animateTransform>
      </path>
    </svg>
  </div>
);
Next, we will modify our home page to include a navbar. On the navbar, we will have our login, profile, and logout buttons.
// app/page.tsx

"use client";
import Link from "next/link";
import { useUser } from "@auth0/nextjs-auth0/client";

const Home = () => {
  const { user, isLoading, error } = useUser();

  if (isLoading) <div className="text-center mt-10">Loading...</div>;
  if (error) <div className="text-center mt-10">{error.message}</div>;

  return (
    <>
      <nav className="bg-cyan-900 p-4">
        <div className="container mx-auto flex justify-between items-center">
          <Link href="/" className="text-white text-lg font-bold">
            Auth0 Tutorial
          </Link>
          <div className="flex items-center justify-between space-x-4">
            {user ? (
              <>
                <Link
                  href="/profile"
                  className="text-white text-lg font-medium mr-5"
                >
                  Profile
                </Link>
                <a
                  href="/api/auth/logout"
                  className="text-white text-lg font-medium"
                >
                  Logout
                </a>
              </>
            ) : (
              <a
                href="/api/auth/login"
                className="text-white text-lg font-medium"
              >
                Login
              </a>
            )}
          </div>
        </div>
      </nav>

      <div className="my-5 text-center">
        {!user ? (
          <>
            <h1 className="mb-4">Welcome to Next.js and Auth0 Tutorial</h1>

            <p className="lead">
              Log in to access your profile information (protected route)
            </p>
          </>
        ) : (
          <>
            <h1 className="mb-4">Welcome to Next.js and Auth0 Tutorial</h1>

            <p className="lead">
              This is a sample application that demonstrates an authentication
              flow for a Regular Web App, using{" "}
              <a href="https://auth0.com">Auth0</a> and{" "}
              <a href="https://nextjs.org">Next.js</a>
            </p>
          </>
        )}
      </div>
    </>
  );
};

export default Home;
We are conditionally rendering the nav buttons. When a user is not authenticated, only the login button will be shown, and then after the user is authenticated, the logout and profile buttons will be shown.
Before proceeding, you can try to access the profile page manually. You will notice that you can’t access the page but will instead be taken to the Auth0 login page to be authenticated. That is because our profile page is protected since we wrapped it with the withPageAuthRequired function.
Try logging in now, and you will be able to access all routes, including the profile page, which displays your information. The first page shows only the login button on the navbar.
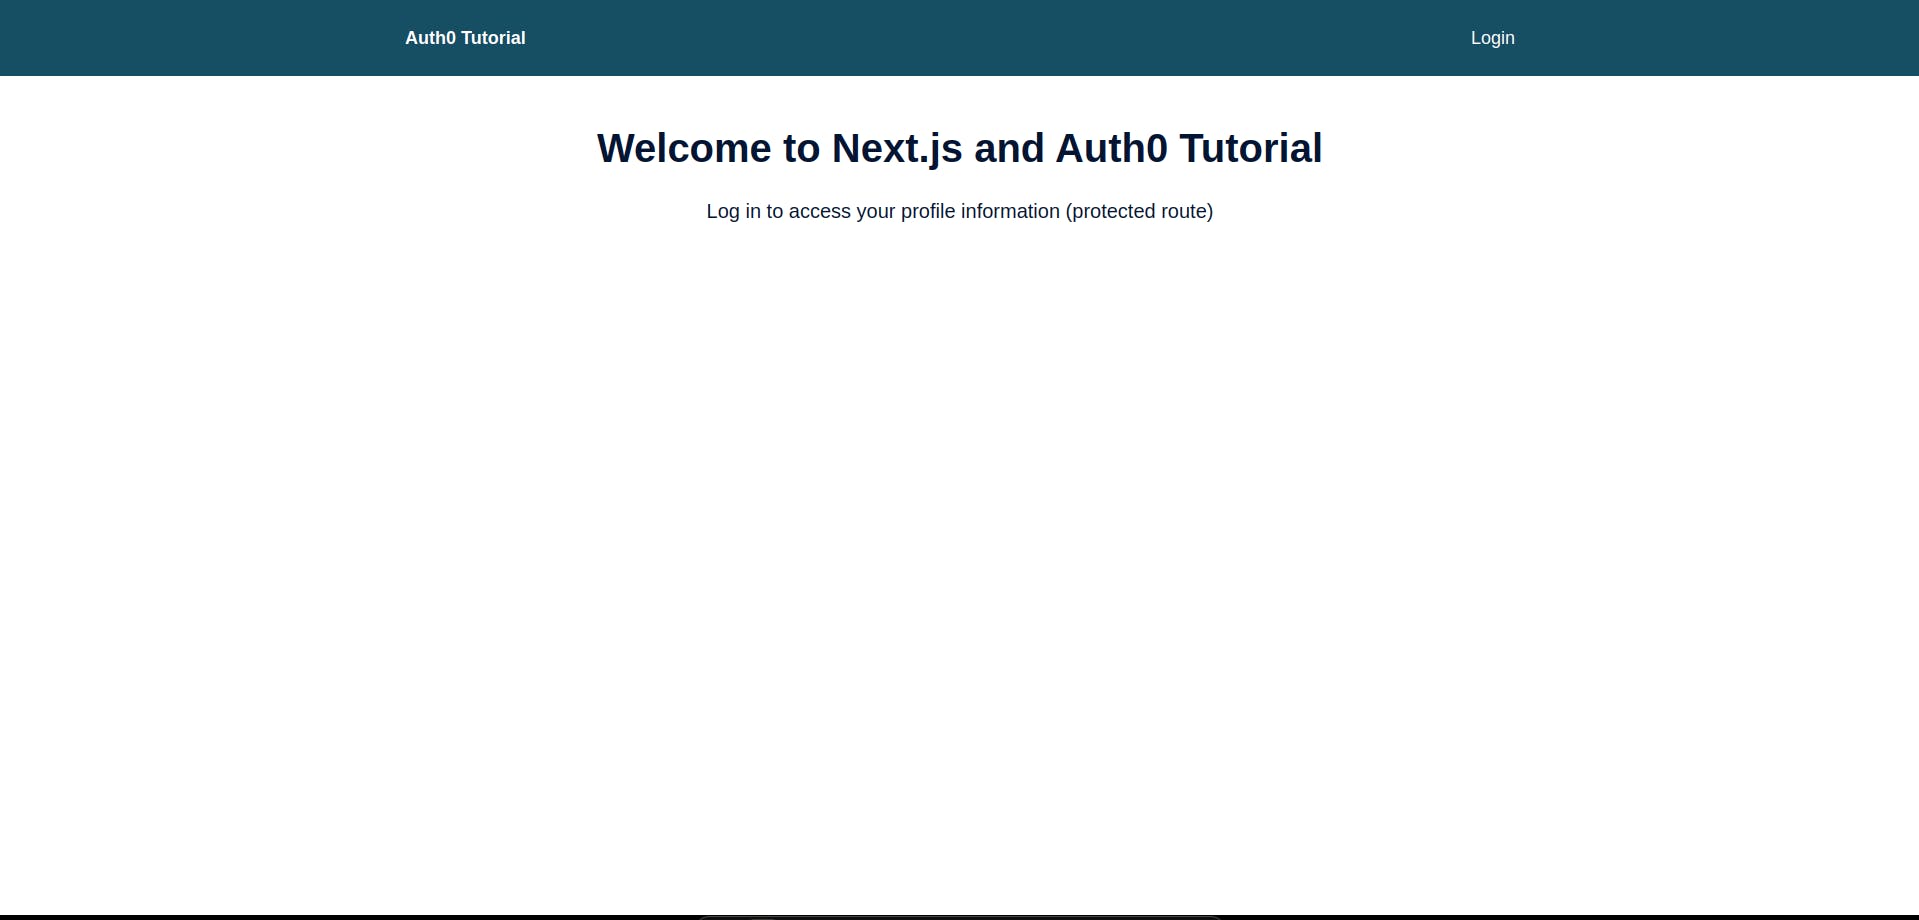
Home page showing the login button
After authentication, the user is shown a different page and two buttons can be seen on the navbar: Profile and Logout buttons.
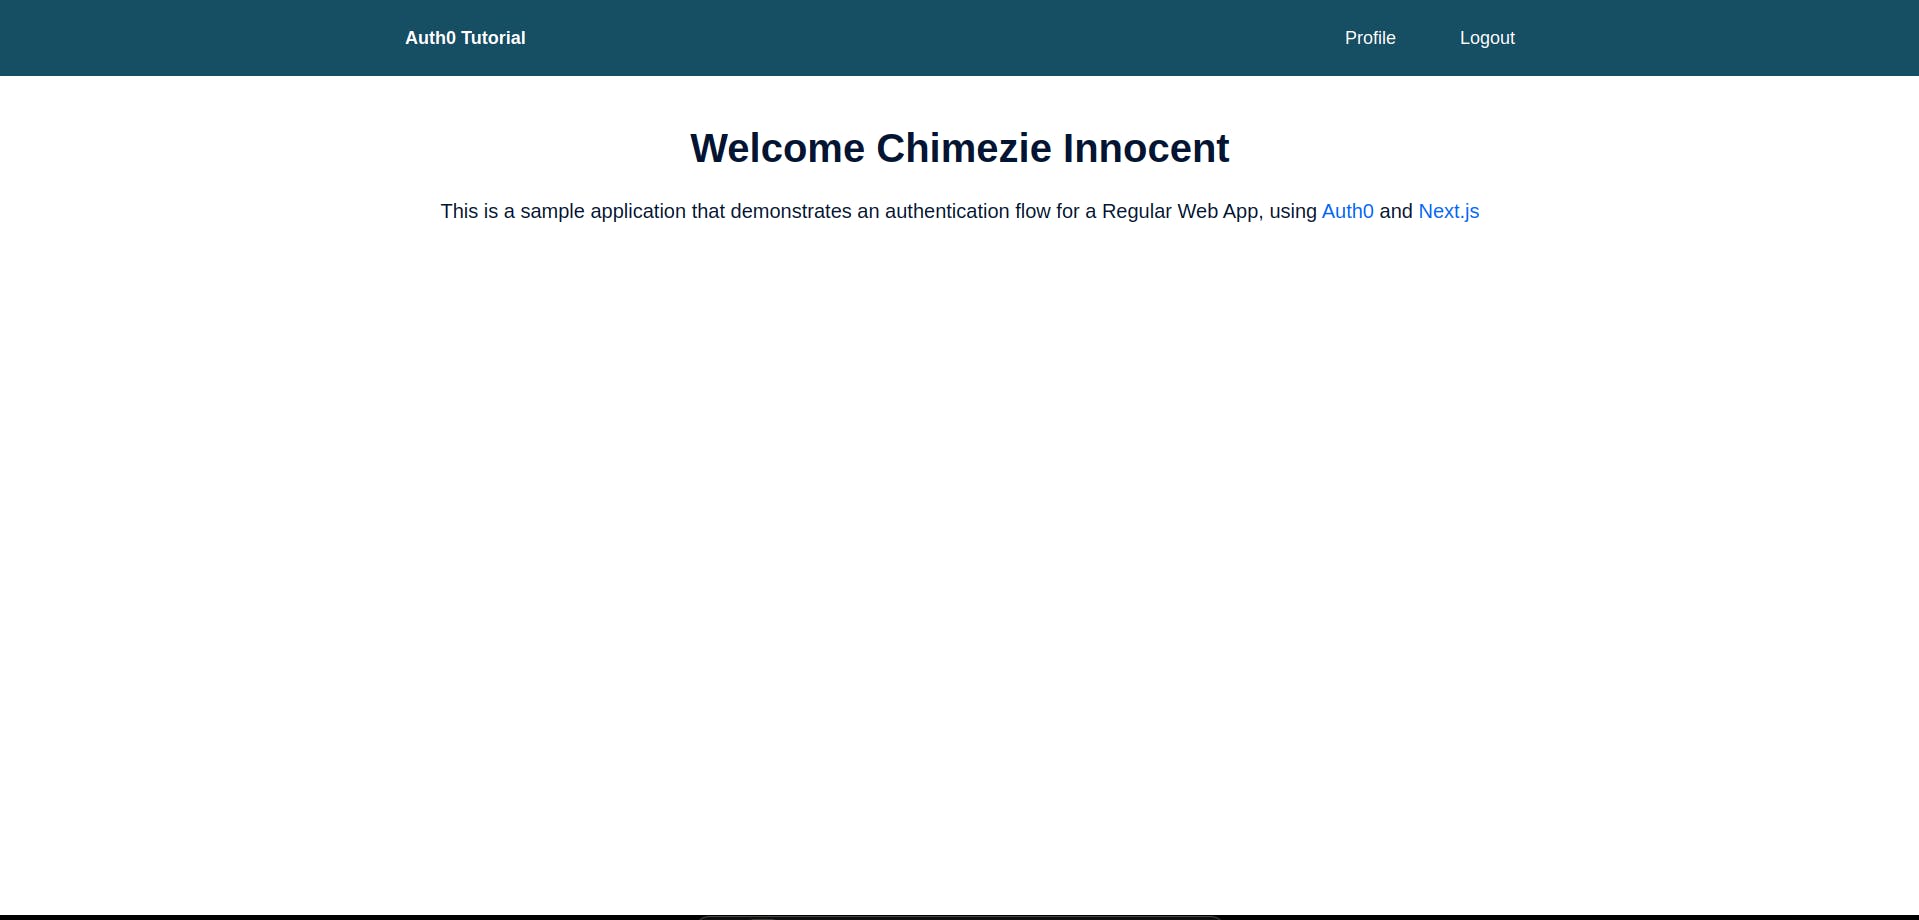
The welcome home page shows that the user is authenticated.
Click on the profile link to navigate to the profile page. We’re all done!
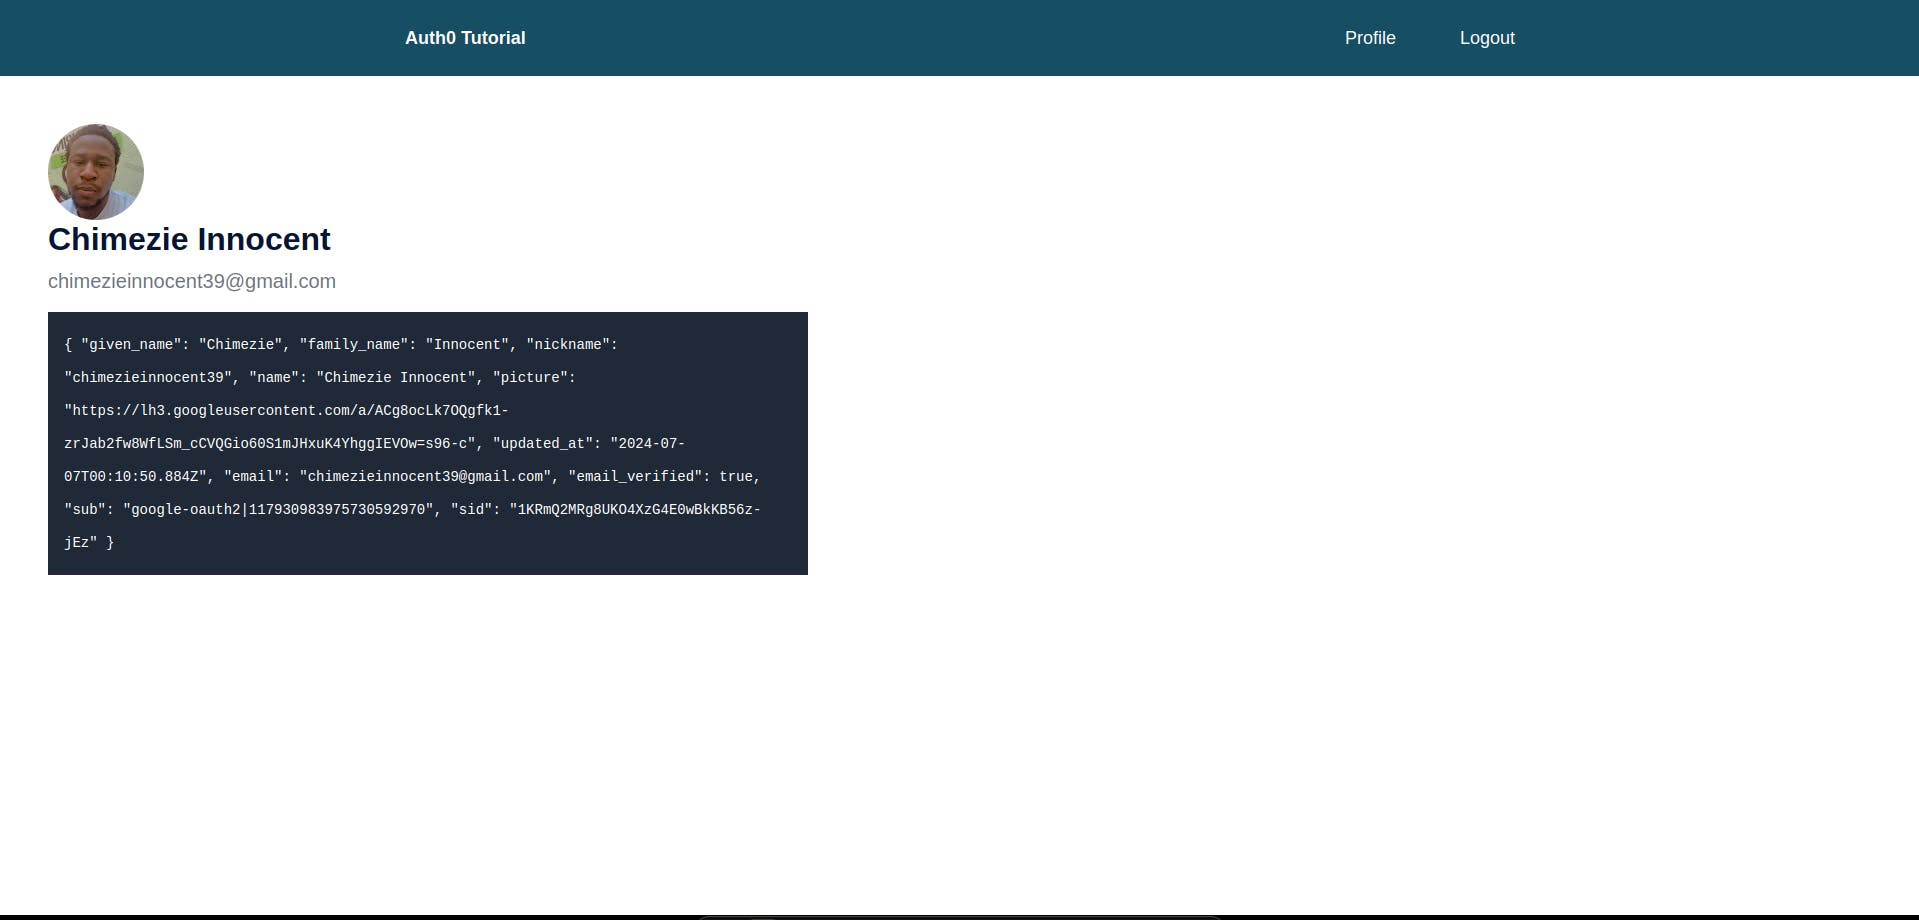
Profile page showing user private information
Conclusion
Throughout this post, we hope that you have seen how easy it is to integrate Auth0 with Next.js. The steps above covered how we can utilize Next.js withPageAuthRequired() functions to protect our routes against unauthorized users, and more. By following this, you can implement authentication logic such as login, logout, and protect your private routes while getting user information in your Next.js application.


