Next.js Cookies Guide: Pros, Cons, and Practical Implementation
 By Coner Murphy
Cookies are a controversial part of the web; they offer a lot of positives, but they also have a fair few drawbacks to counter them. So, in this post, we’re going to explore cookies, the benefits they offer us as well as the concerns we need to keep in mind when using them. Finally, we’ll round out the post with a simple tutorial showing how to use cookies in a Next.js App Router project to build a theme switcher application like the one below.

What are cookies?
Before we jump into the post and explore the benefits and drawbacks of cookies, what are they? Cookies are small pieces of data that are stored on a user’s device by their web browser after they visit a website. They can serve multiple purposes but they’re often used for customization and personalization, session management as well as tracking and analytics, and powering targeted advertising.
In short, cookies are powerful, and they empower us with great functionality, but they also have their downsides, as we’ll explore more in the next section.
Pros and cons of cookies on the web
One of the most prominent benefits of cookies is their ability to allow us to easily offer custom experiences to users by remembering their preferences and selections for future visits, ensuring they have a consistent experience every time they visit. This is exactly what we’re going to be using cookies for in our example project later on!
Unfortunately, though, this benefit can quite easily be flipped into a major issue. This is because while cookies can be used for customization to help improve the UX of a website, they can also be used for tracking. In fact, according to this article, tracking cookies are the most common type of cookie in use today which raises a lot of privacy concerns. The proliferation of cookies being used for tracking is one of the driving factors that led to the creation of privacy-focused laws like GDPR in the EU, which now mandate things like opt-in consent for cookies and tracking.
Finally, if we step away from the customization and tracking side of cookies, they do have other uses too. One of the largest uses for cookies is in session management and storage, which is exactly what tools like Auth.js and Iron Session leverage to allow developers to implement authentication into their apps without needing a standalone database.
However, if you are using cookies for session management, you do need to be aware of some potential security risks if the cookies are not implemented correctly, such as cross-site scripting (XSS), cross-site request forgery (CSRF), and session hijacking attacks.
Client vs Server Cookies
Cookies can be created and consumed on both client devices and servers, but regardless of where they’re created, they’re always stored in the user’s browser. Because cookies are always stored in the user’s browser, they can be directly accessed by code running on the client with only one notable exception, which is httpOnly cookies.
httpOnly cookies prevent client-side operations from interacting with them, limiting them to being consumable only on the server. This reduces the chance of falling prey to attacks like cross-site scripting (XSS).
First time here? Discover what Prismic can do!
👋 Meet Prismic, your solution for creating performant websites! Developers, build with your preferred tech stack and deliver a visual page builder to marketers so they can quickly create on-brand pages independently!

How to handle cookies in Next.js App Router projects
Now that we’ve looked into what cookies are, their pros and cons, as well as the two types of cookies, let’s dive into our tutorial and how we can handle cookies in a Next.js App Router project. So, as mentioned earlier, we’re going to be building a small example project that allows us to switch between themes using cookies to store the user’s preference.
In this tutorial, we’re going to make use of the Next.js App Router, the next/headers package (pre-installed with Next.js), and Tailwind CSS for styling.
Setting up our project
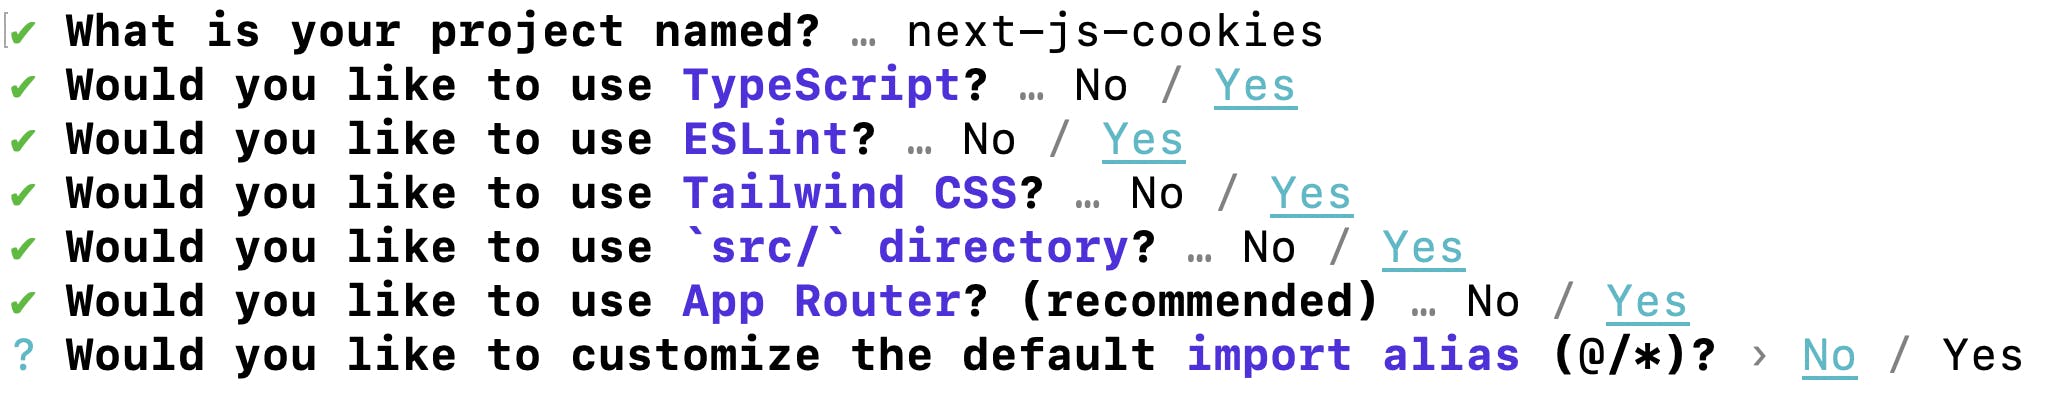
To get started with this project, create a new Next.js project by running the command npx create-next-app@latest. For the purposes of this tutorial, we'll use all the default configurations.
After creating your new project, there are a couple of housekeeping changes we need to make before we can start implementing the cookies. The first is we need to update our tailwind.config.ts file to add darkMode: 'selector', to the top of the config to enable us to manually switch between dark and light styles. This way we can add the dark class to the HTML DOM and Tailwind CSS will know to use the dark selector styles we define. You’re updated tailwind.config.ts file should look like this.
// ./tailwind.config.ts

import type { Config } from "tailwindcss";

const config: Config = {
  darkMode: 'selector',
  content: [
    "./src/pages/**/*.{js,ts,jsx,tsx,mdx}",
    "./src/components/**/*.{js,ts,jsx,tsx,mdx}",
    "./src/app/**/*.{js,ts,jsx,tsx,mdx}",
  ],
  theme: {
    extend: {
      backgroundImage: {
        "gradient-radial": "radial-gradient(var(--tw-gradient-stops))",
        "gradient-conic":
          "conic-gradient(from 180deg at 50% 50%, var(--tw-gradient-stops))",
      },
    },
  },
  plugins: [],
};

export default config;
With our tailwind.config.ts updated, we now need to remove some base styles that were added when we initialized the project. To do this, update your app/globals.css file to look like this.
/* ./app/globals.css */

@tailwind base;
@tailwind components;
@tailwind utilities;
Now, with the Tailwind CSS config and global styles updated, we can move on to implementing the logic for getting, setting, and deleting cookies and, in response, switching between our light and dark modes.
Get Cookies
To start with we’re going to update our app/layout.tsx file to add in some code to allow us to get a cookie from the browser with the name theme. Then we’re going to use the value of that cookie to conditionally set the dark class we mentioned earlier; this is what will allow us to control if we’re in dark mode or not.
To do this, we’ll use the cookies import from next/headers to fetch the value before then returning the HTML of the page. It’s important to note that the get() method from cookies needs to be performed in a Server component to work as next/headers are designed to run only on the server.
To implement this logic on our app/layout.tsx page, update the file to look like the one below.
// ./app/layout.tsx

import type { Metadata } from "next";
import { Inter } from "next/font/google";
import "./globals.css";
import { cookies } from "next/headers";

const inter = Inter({ subsets: ["latin"] });

export const metadata: Metadata = {
  title: "Create Next App",
  description: "Generated by create next app",
};

export default function RootLayout({
  children,
}: Readonly<{
  children: React.ReactNode;
}>) {
  const theme = cookies().get("theme");

  return (
    <html lang="en" className={theme?.value === 'dark' ? 'dark' : ''}>
      <body className={inter.className}>{children}</body>
    </html>
  );
}
In this code, there are two lines you need to pay attention to. The first is where we fetch the theme cookie from the incoming request, and the second is where we conditionally add the dark class to the html element. By adding these two lines of code it’s enough to handle the switching between light and dark mode, but at this point, we have no way of performing the switch between them so let’s implement that in the next section.
Learn about the getAll method for fetching cookies
We didn’t need to use it in this example, but there is also a getAll method that you can use to fetch all cookies with a matching name. Read more here.
Set Cookies
As mentioned in the last section, we’re now ready to implement the functionality to handle the switching between light and dark mode as well as setting a theme cookie when one isn’t present. To do this, we’ll update the ./app/page.tsx file to add a new Server Action to handle the cookie setting.
This is worth noting because, like the get() method, which can only be called in a Server Component, the set() (and delete()) methods can only be called in Server Actions or Route Handlers.
To add in the logic for setting and updating the theme cookie, update your ./app/page.tsx page to look like this.
// ./app/page.tsx

import { cookies } from "next/headers";

export default function Home() {

	// Define a Server Action to allow us to set the cookie value
  async function setThemeCookie(formData: FormData) {
    "use server";
    // Get the new theme value from the form submission
    const theme = formData.get('theme') ?? 'light';
    // Set the cookie value
    cookies().set("theme", theme.toString());
  }

	// Fetch the current cookie to render the current theme on the page.
  const theme = cookies().get("theme");

  return (
    <main className="flex flex-col min-h-screen items-center p-24 space-y-4 dark:bg-gray-800 dark:text-white">
      <h1 className="text-2xl font-bold">Theme Switcher</h1>
      {theme?.value ? (
        <p>Current cookie value: <span className="font-bold">{theme?.value}</span></p>
      ) : (
        <p>No theme cookie detected</p>
      )}
      <div className="flex space-x-12">
        {['Light', 'Dark'].map(themeName => (
          <form action={setThemeCookie} key={themeName}>
            <input hidden name="theme" value={themeName.toLowerCase()} readOnly />
            <button type="submit" className="bg-blue-200 text-gray-600 px-4 py-3 rounded-lg hover:bg-blue-400 duration-75 ease-in-out transition-all border-blue-700 border disabled:bg-blue-50 disabled:cursor-not-allowed" disabled={theme?.value === themeName.toLowerCase()}>{themeName}</button>
          </form>
        ))}
      </div>
    </main>
  );
}
In this code, we add a new form to the page and make use of Next.js forms to handle the submission and retrieve the value before setting the value of our cookie. If you would like to learn more about Next.js forms, make sure to read our tutorial.
We also make use of the get() method we looked at in the previous section to fetch the current cookie value to conditionally render some UI on the page to inform the user if no cookie is set or what the current value of the cookie is. At this point, if you run npm run dev in your terminal and visit http://localhost:3000, you should have an application that looks like below.

However, at this point, you’ll notice one notable exception: we can’t unset the theme's current value and return to the default, so let’s implement that.
Delete Cookies
To add the functionality to allow the user to unset the stored theme value and revert to the default, we just need to implement some logic to allow the user to delete the cookie. This is as simple as adding a new Server Action and a new form to the page, so let’s do that.
// ./app/page.tsx

import { cookies } from "next/headers";

export default function Home() {
  async function setThemeCookie(formData: FormData) {
    "use server";
    const theme = formData.get('theme') ?? 'light';
    cookies().set("theme", theme.toString());
  }

	// New function for deleting the "theme" cookie
  async function deleteThemeCookie() {
    "use server";
    cookies().delete("theme");
  }

  const theme = cookies().get("theme");

  return (
    <main className="flex flex-col min-h-screen items-center p-24 space-y-4 dark:bg-gray-800 dark:text-white">
      <h1 className="text-2xl font-bold">Theme Switcher</h1>
      {theme?.value ? (
        <p>Current cookie value: <span className="font-bold">{theme?.value}</span></p>
      ) : (
        <p>No theme cookie detected</p>
      )}
      <div className="flex space-x-12">
        {['Light', 'Dark'].map(themeName => (
          <form action={setThemeCookie} key={themeName}>
            <input hidden name="theme" value={themeName.toLowerCase()} readOnly />
            <button type="submit" className="bg-blue-200 text-gray-600 px-4 py-3 rounded-lg hover:bg-blue-400 duration-75 ease-in-out transition-all border-blue-700 border disabled:bg-blue-50 disabled:cursor-not-allowed" disabled={theme?.value === themeName.toLowerCase()}>{themeName}</button>
          </form>
        ))}
      </div>
      {/* New form for adding the delete button to the app */}
      <form action={deleteThemeCookie}>
        <button type="submit" className="bg-red-200 text-gray-600 px-4 py-3 rounded-lg hover:bg-red-400 duration-75 ease-in-out transition-all border-red-700 border disabled:bg-red-50 disabled:cursor-not-allowed" disabled={!theme?.value}>Delete Cookie</button>
      </form>
    </main>
  );
}
With that code added, your app should now look like the one below. You should also be able to delete the cookie and revert to the default theme of light mode, which also finishes our project!
Closing Thoughts
In this post, we’ve taken a look into cookies, what they are, their pros and cons, and how to use them to build a simple theme switcher application in a Next.js App Router project. If you would like to learn more about working with cookies in App Router projects, make sure to check out the Next.js documentation.
Thank you for reading!
Further your Next.js learning
Build a dark modern website with Next.js, Tailwind CSS, Prismic, TypeScript, and GSAP
If you're looking to take your skills to the next level, try this Next.js full website tutorial course! See the power of Prismic as a headless page builder alongside Next.js, the popular React framework. In this tutorial, you'll create a trendy, dark, and modern website and use GSAP to add wonderful animations, both on page load and on scroll. You'll also use Tailwind CSS to style the super-polished website.


