A Guide to Next.js Internationalization (i18n) with the App Router


When building websites, it’s only natural to initially create it in our native language or the one of our target audience. But, over time, we might find ourselves looking to expand our reach to other target audiences or just wanting others to use and enjoy our website. But what happens if those audiences and users don’t speak the same language we developed the website in?
That’s where internationalization (also known as i18n) comes in. Internationalization is the process of designing and building a website so that it can be adapted and used for various languages, regions, and cultures. With roughly 7,000 languages spoken worldwide, internationalization uniquely enables websites to adapt their content for diverse global audiences, making them more accessible and beneficial for users across cultures. So, in this tutorial, we’re going to take a look at implementing internationalization into a Next.js App Router project.
Internationalization and Next.js App Router
Before we start, it’s worth mentioning that the Next.js App Router supports i18n straight out of the box. We can set it up by using a custom middleware.ts file to redirect users to the correct nested routes for the locale they’re using in their browser.
So, for example, US users would be redirected to /en-US/route, and French users would be redirected to /fr-FR/route. Each of these pages would host the same content but displayed in their respective language.
In Next.js, content for each language can be stored in JSON files, often called ‘dictionaries.’ These files would contain all of the translated text we’d like to display for each page. This would look something like the ones below.
// dictionaries/en.json

{
  "products": {
    "cart": "Add to Cart"
  }
}// dictionaries/fr.json
{
"products": {
"cart": "Ajouter au panier"
}
}We could then import the correct dictionary based on the route the user has been redirected to by the middleware.ts file and then display the correct text on the screen.
However, while this method of internationalization is pretty simple to implement, it does have some issues with it, most notably scalability. For example, if you have entire pages of content to translate, storing all of the content in JSON files will quickly become messy, difficult to manage, and likely out of sync with each other. So, how could we make this more scalable?👇
A scalable solution to internationalization (i18n)
Luckily for us, there is a solution to internationalization that is scalable and will make our lives easier. And that solution is using a headless CMS that supports internationalization. By using a headless CMS, we can use it to control all of the content on our website as well as the translated versions of it.
So, for the rest of this post, let’s look at implementing this solution with a Next.js app router project. We will set up a basic example blog that supports internationalization by having an English version and a French version. For managing our content, we’ll be using Prismic (and their new page builder 🤩), but the concepts and principles we cover throughout the tutorial should work with other technologies and setups, too.
Setting up our Next.js project
For our project, we will be implementing i18n into a basic blog and adding functionality to be able to switch between locales.
We’re going to break this tutorial up into two parts:
- Getting our blog set up and running with the English version.
- Setting up internationalization and the French version of our blog.
So, let’s get started!
Setting up Prismic
The first thing we will do is create a new project in Prismic. You can do this by following the below steps:
- Login or signup for a Prismic account.
- Create a new Prismic repository using the Next.js option.
- Choose 'Connect your own web app' and click Select.
- Give your repository a name, select the free plan, and click Create repository.
Once you’ve finished creating your project in Prismic you should see a screen like this.
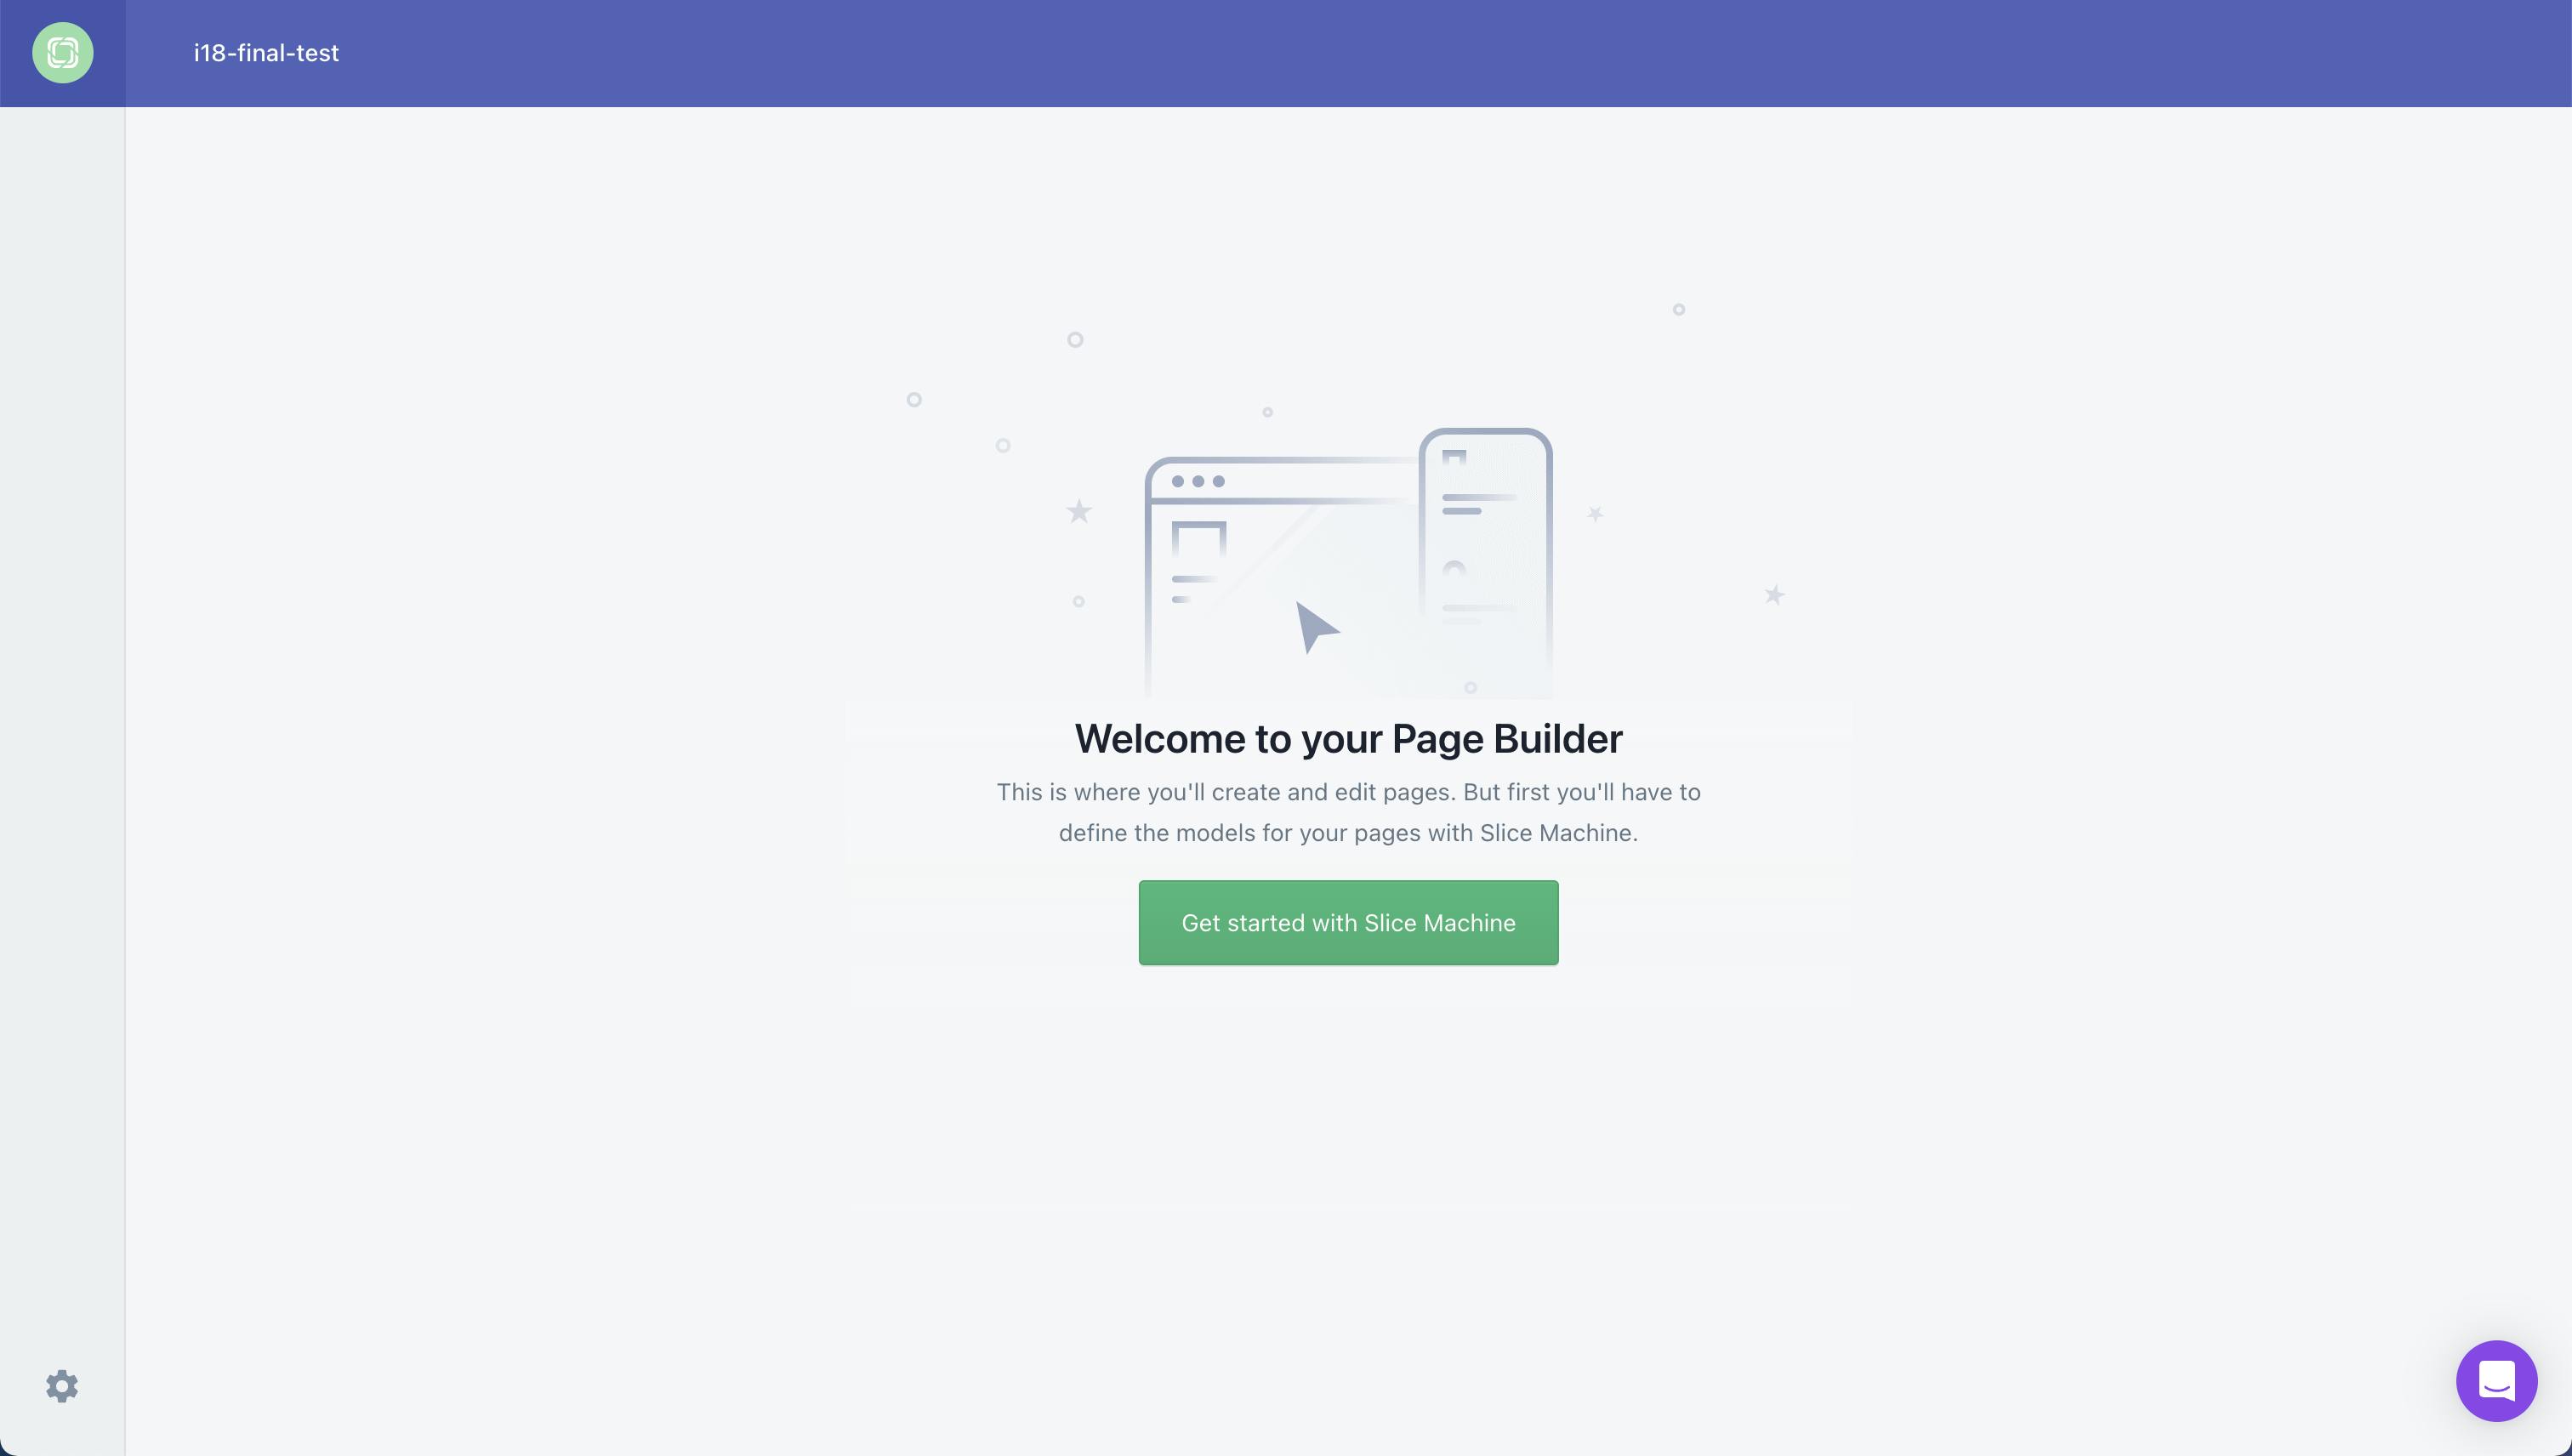
For now, don’t click on anything. Let’s move on to setting up our Next.js project.
Download our Next.js blog starter
To minimize setup steps and be able to focus on i18n, we will be using a custom starter for this project. To download the starter, run the following command in your terminal, making sure to switch out your repository name for <your repository name>.
npx @slicemachine/init@latest --repository <your repository name> --starter prismic-i18n-tutorialRunning this command will do several things, including:
- Copy the custom blog starter and connect it with your Prismic repository
- Install all core dependencies
- Sync data with Prismic
- Install Slice Machine
You’ll be asked if you want to run Slice Machine - type Y. We won’t modify any slices for our project since we utilized a starter, but you can access the UI at http://localhost:9999/ if you’re curious.
What is Slice Machine?
Slice Machine is Prismic’s developer tool that allows you to build slices, or reusable website sections, as components in your code. You can create, preview, and test slices locally without affecting your live environment. Then, you can ship the slices directly to marketers in a custom page builder so they can start using them as building blocks to create on-brand, customizable pages independently.
Now, if we go back to our Prismic repository and refresh our page, we will see our documents section. You can also navigate to this page directly by going to https://your-repository-name.prismic.io/documents/. So, if your repository name is i18-tutorial you can go to https://i18-tutorial.prismic.io/documents/.
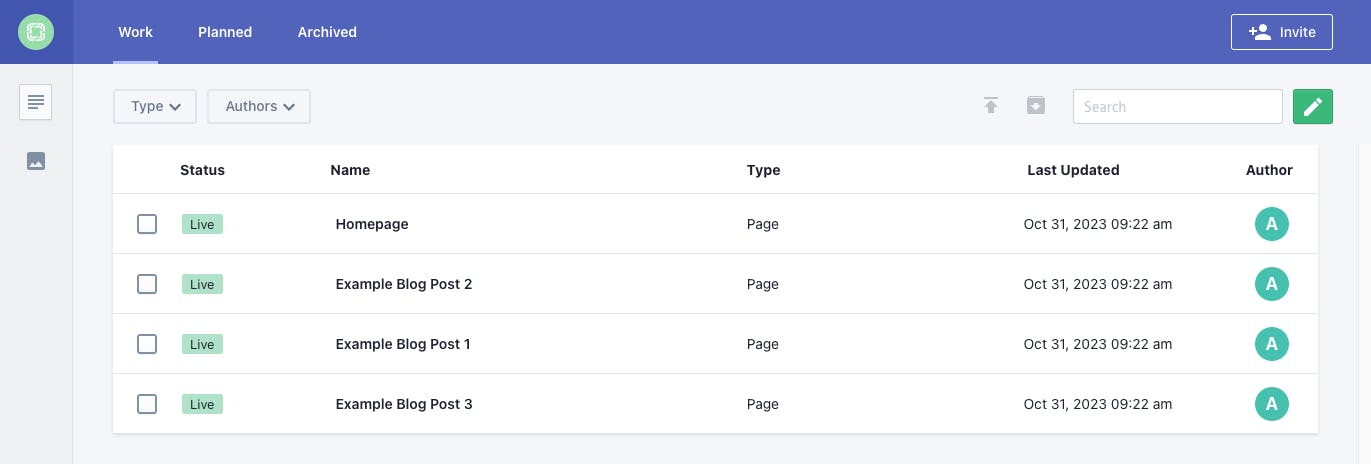
You can see, as shown in the image above, that we already have four documents created for us in our starter.
The last step is to get the front end of our site up and running. To do that, follow these steps:
- In a new tab in the terminal,
cdinto your project. - Run
npm run dev. - Open your project in your favorite IDE.
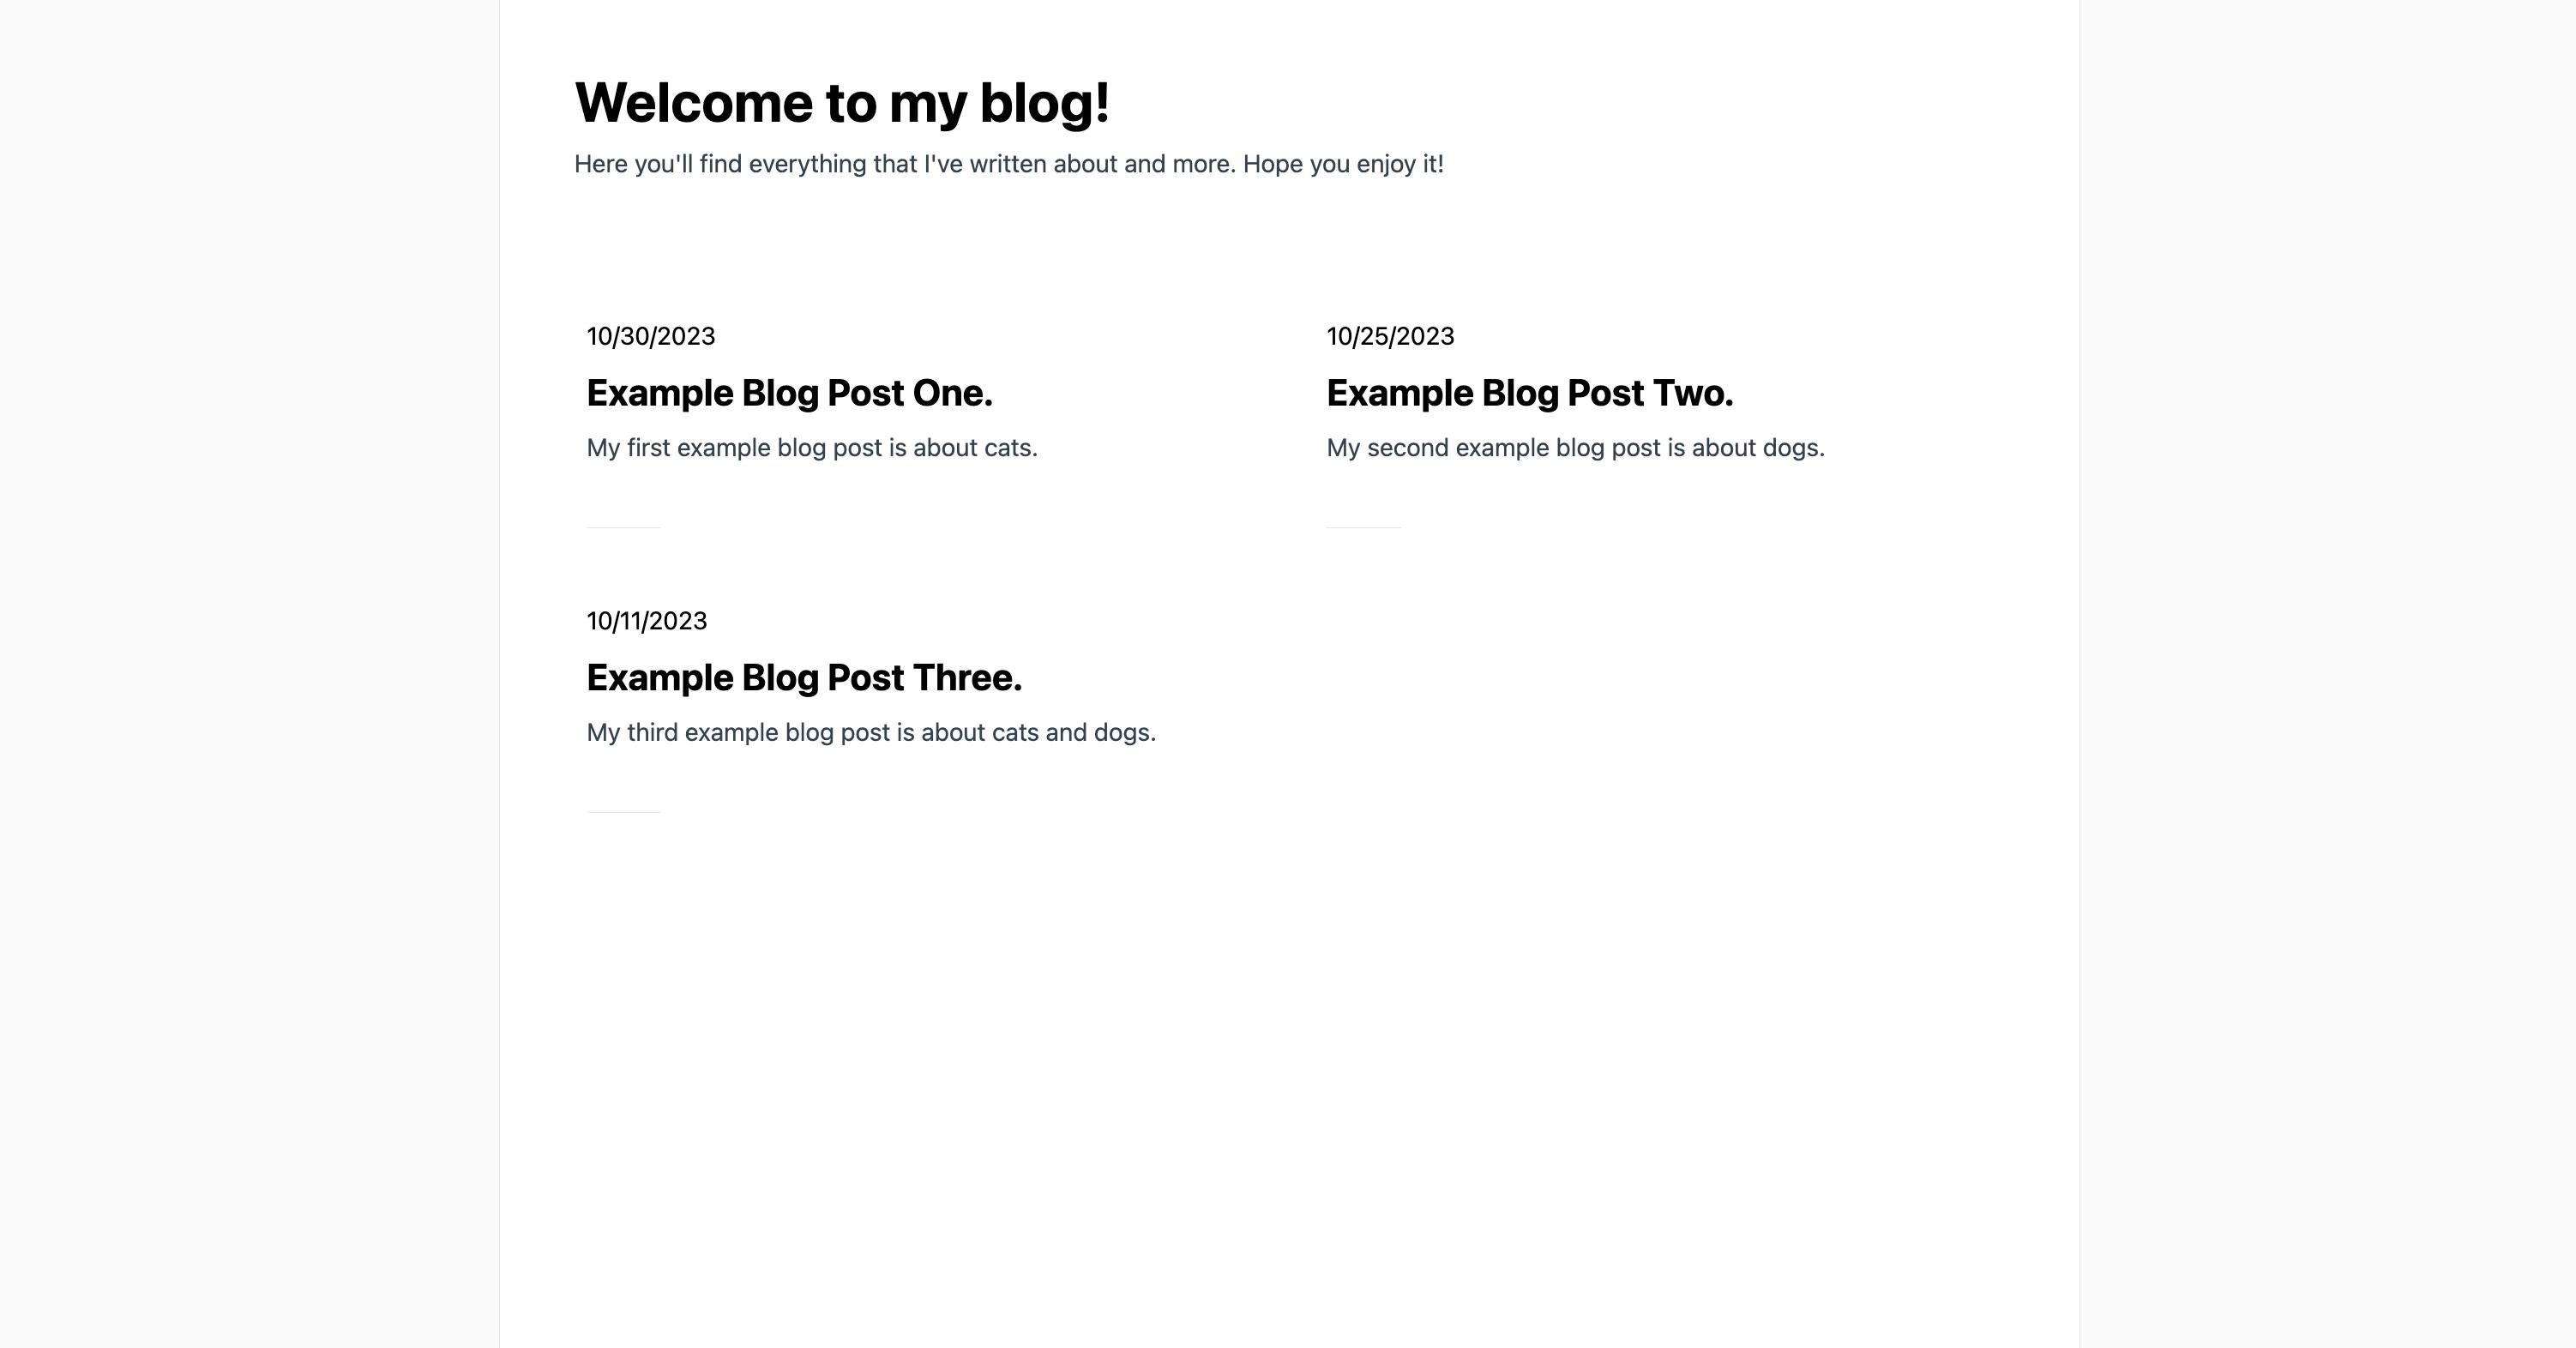
Your site should be running locally at http://localhost:3000/ and look something like this.
Setting up internationalization in Prismic
Now, with our blog configured and usable in English, let’s look at creating the French version and setting up internationalization. We’ll also look at the routing, content, and components required.
Configuring Prismic
To start setting up internationalization, we must first enable the new language we want to add (French in this case) in Prismic. We can do this from our Prismic repository’s settings page under 'Translations & locales.' On this page, add the French locale. When you're done, it should look like this.

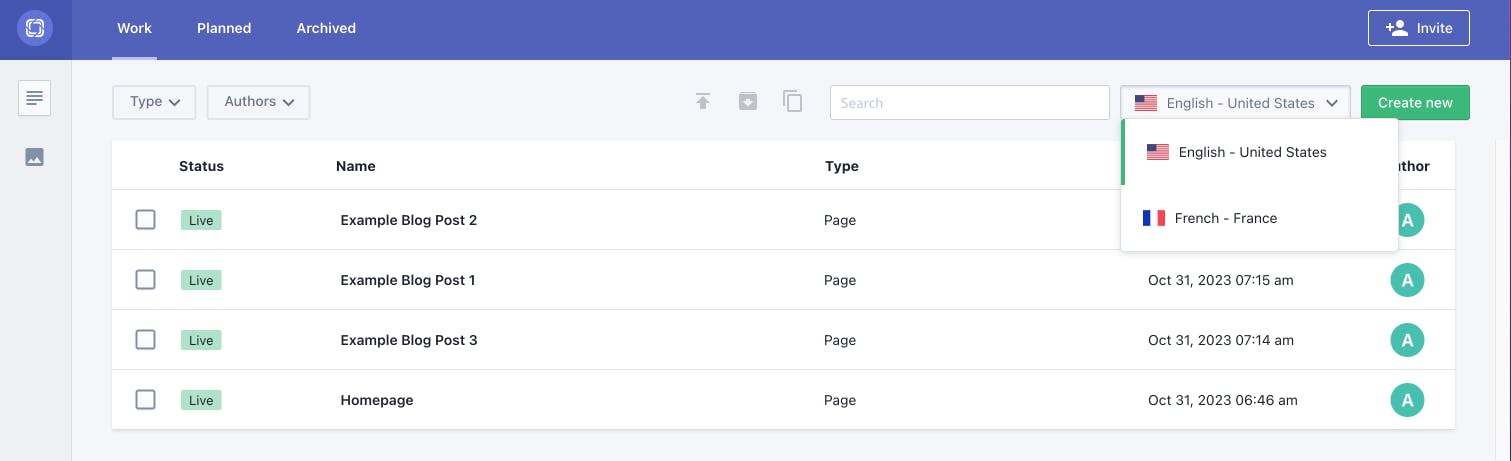
Now, if you navigate back to the Documents page in Prismic, you should see a new locale dropdown added to the top right of the page near 'Create new.' You can use this dropdown selector to switch between locales and create new pages for each one.
Switching between locales
Now, with our extra locale added, we need to create a French version of each document we have in English. To do this, first select English in the locales dropdown and open on document. Then, you should see the same locales dropdown as before on the right-hand side of the page. Use the dropdown to change to your other locale, this will create a version of your document in this new locale.

You will notice that by switching locales it creates a blank document. Give it a UID an replicate the slices and content, only this time in French!
Do this, and translate every of your English documents.
Setup live previews
Since we are utilizing the new Prismic Page Builder, we can setup live previews of our slices so we can view and edit our content in real-time on the left. From within a document, simply click the three dots in the upper right corner of the page, and click Live preview settings. Then, paste the following URL in the input - http://localhost:3000/slice-simulator.
You will now be able to view your slices on the left of your document as you edit.
Create our French locale homepage
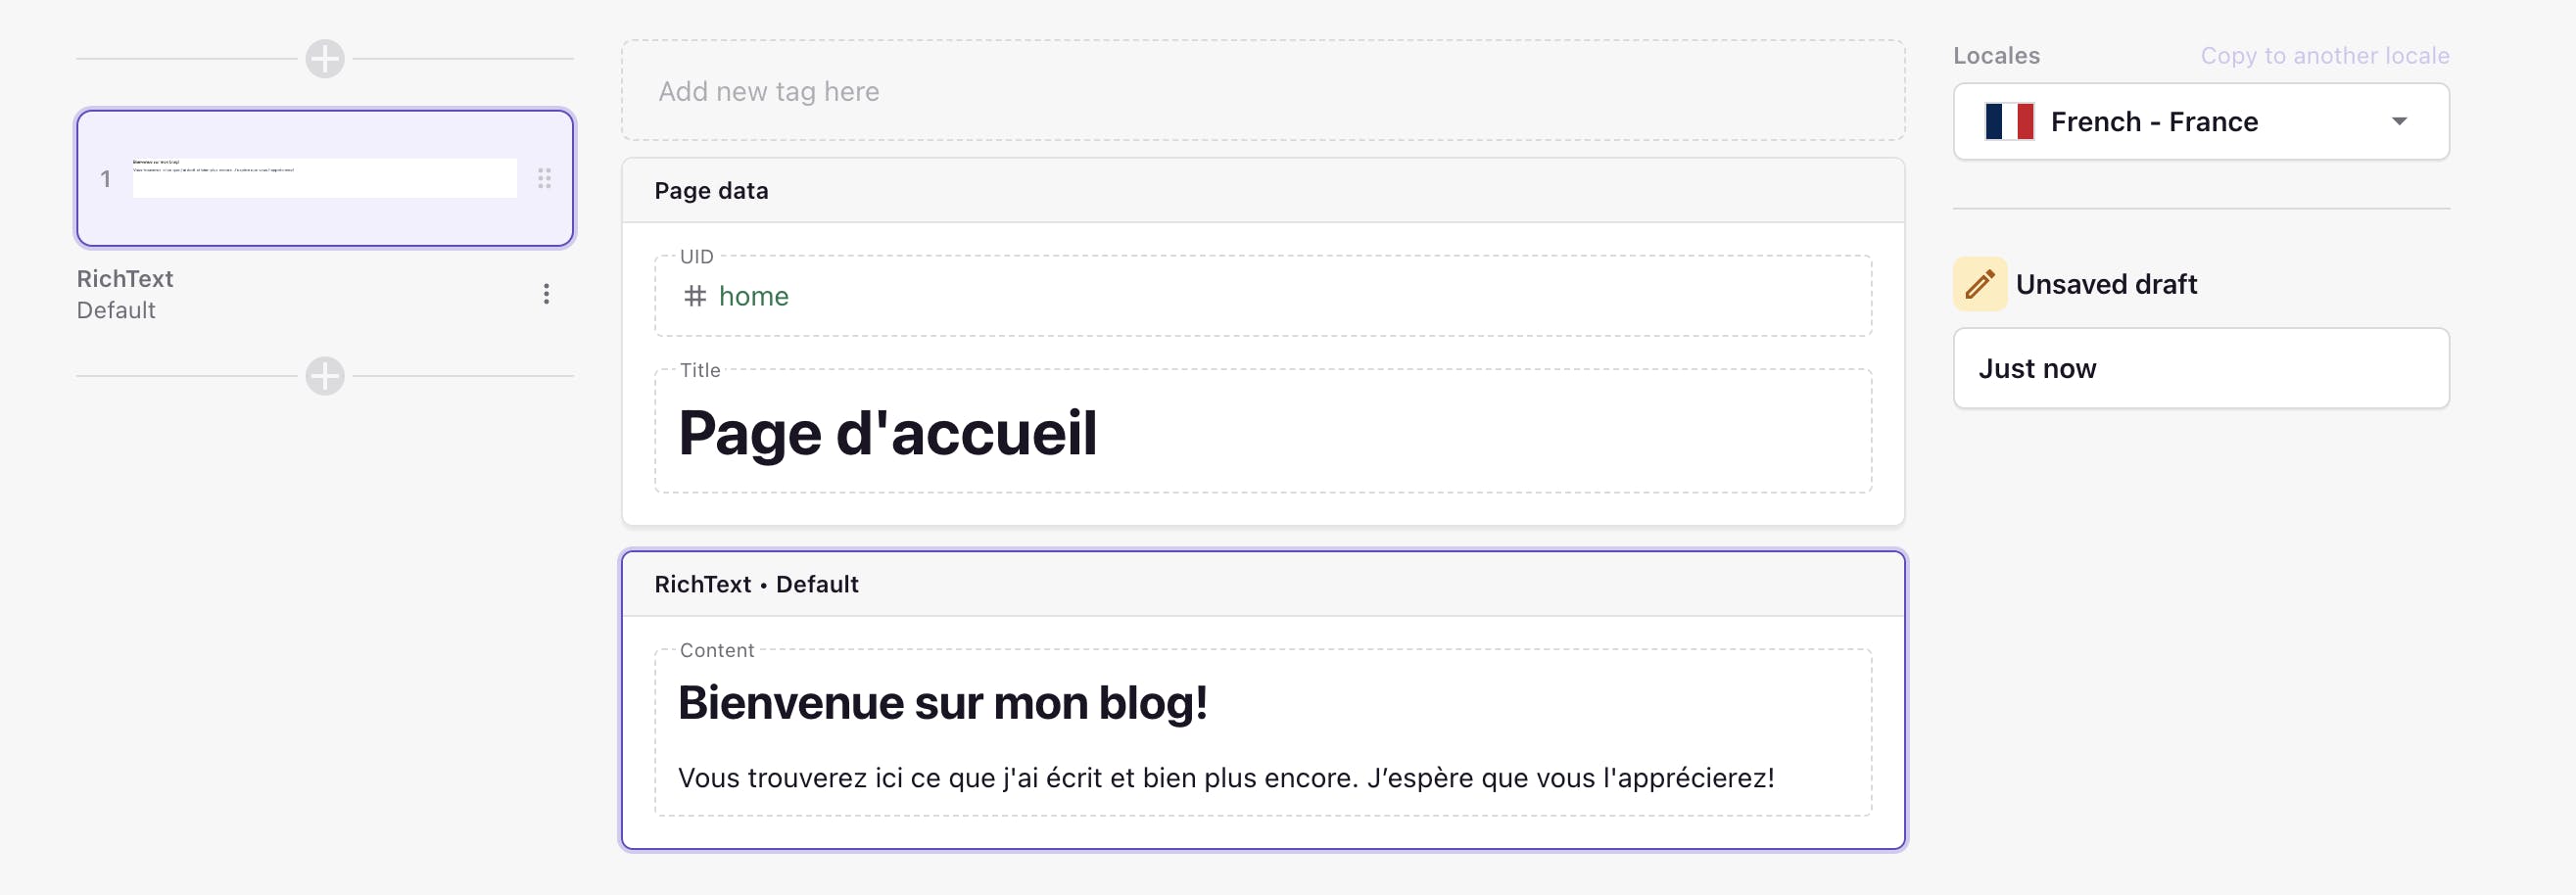
Let's start by returning to our documents and clicking on our Homepage. On the right, let's switch to our French locale and add the following information:
- UID -
home(the same UID from our English version) - Title - 'Page d'accueil'
We will also add a slice by clicking Add Slice on the left and selecting the RichText slice. In our rich text slice let's add:
- Heading 1 - 'Bienvenue sur mon blog!'
- Paragraph - 'Vous trouverez ici ce que j'ai écrit et bien plus encore. J’espère que vous l'apprécierez!'
It should look like this:
Let's also copy our title name and add it as the document name in the top left so it makes searching for our documents easier.

Make sure to click Save and then Publish in the upper right.
Setting up our French locale blog posts
Now, let's go back to our documents and click on Example Blog Post 1. Switch to your French locale, and add the following:
- UID -
example-blog-post-1(the same UID from our English version) - Title - "Exemple d'article de blog 1"
We will also add 2 RichText slices. We can fill these slices with the French translation of each of the slices from our English version, and then save.
For the first slice, we can add:
- Paragraph - 'Ceci est un article de blog sur les chats !'

For the second slice, we can add another RichText slice with:
- Paragraph - 'Retour a la page d’accueil.'
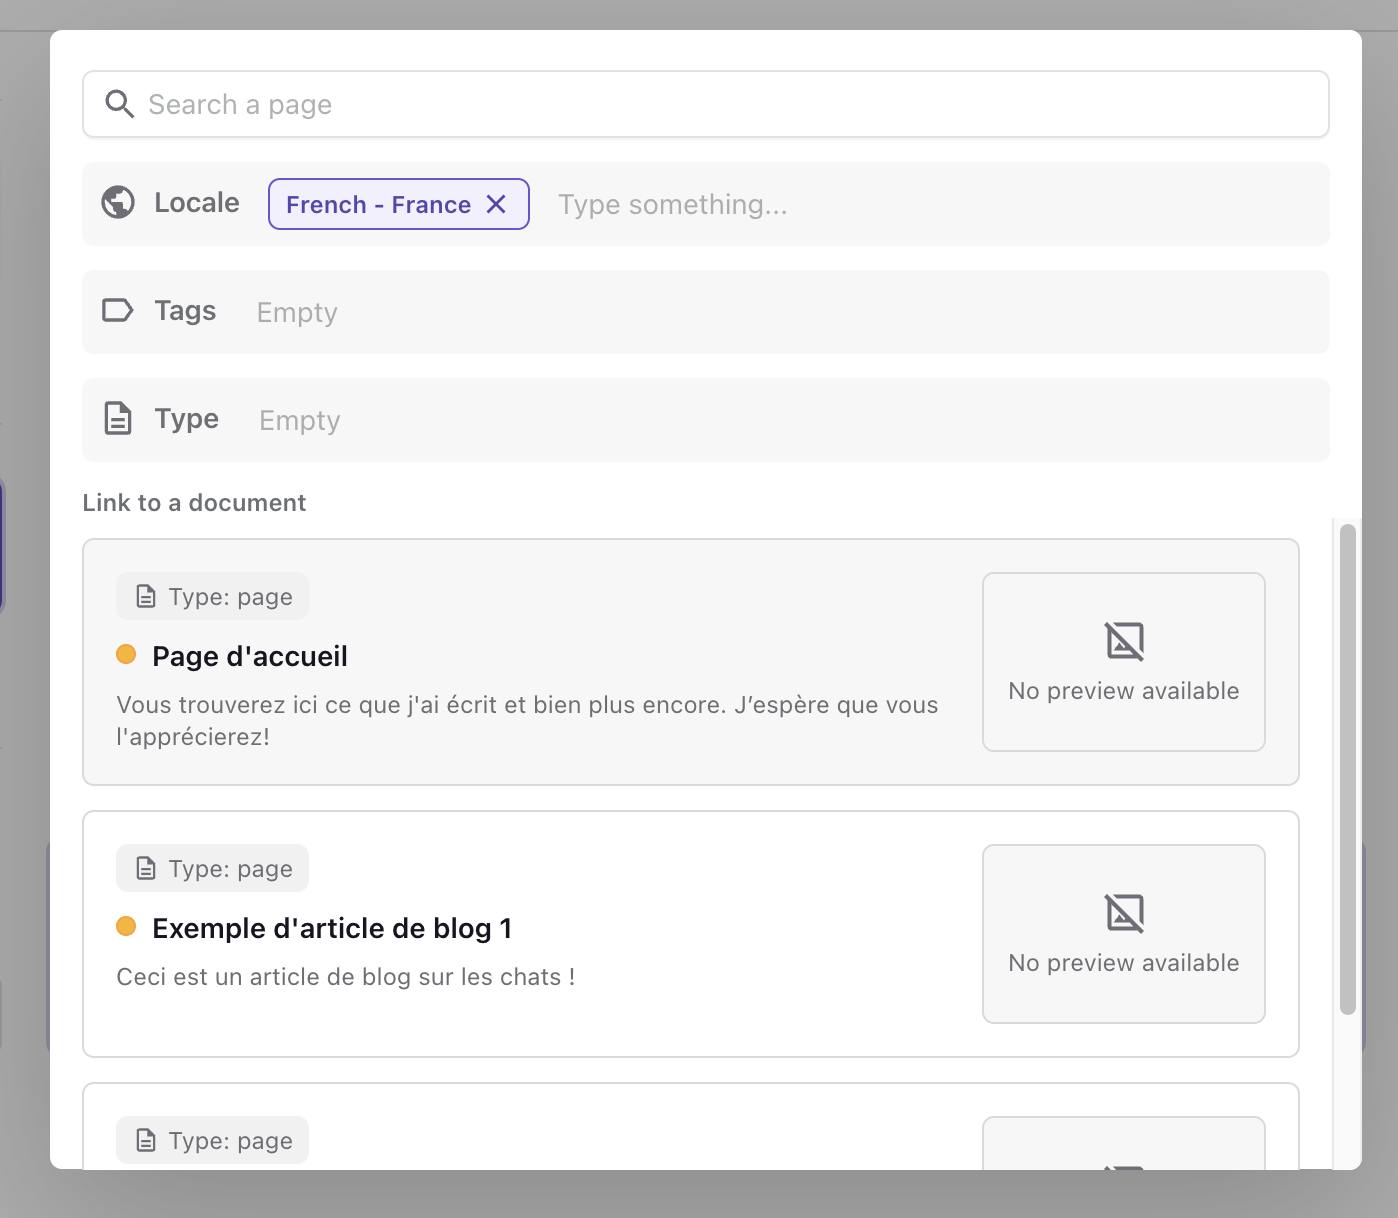
This time, we can highlight the text and click Link to document.

Select our French locale homepage and then save the document.
When finished, our page should look like this inside the Page Builder.
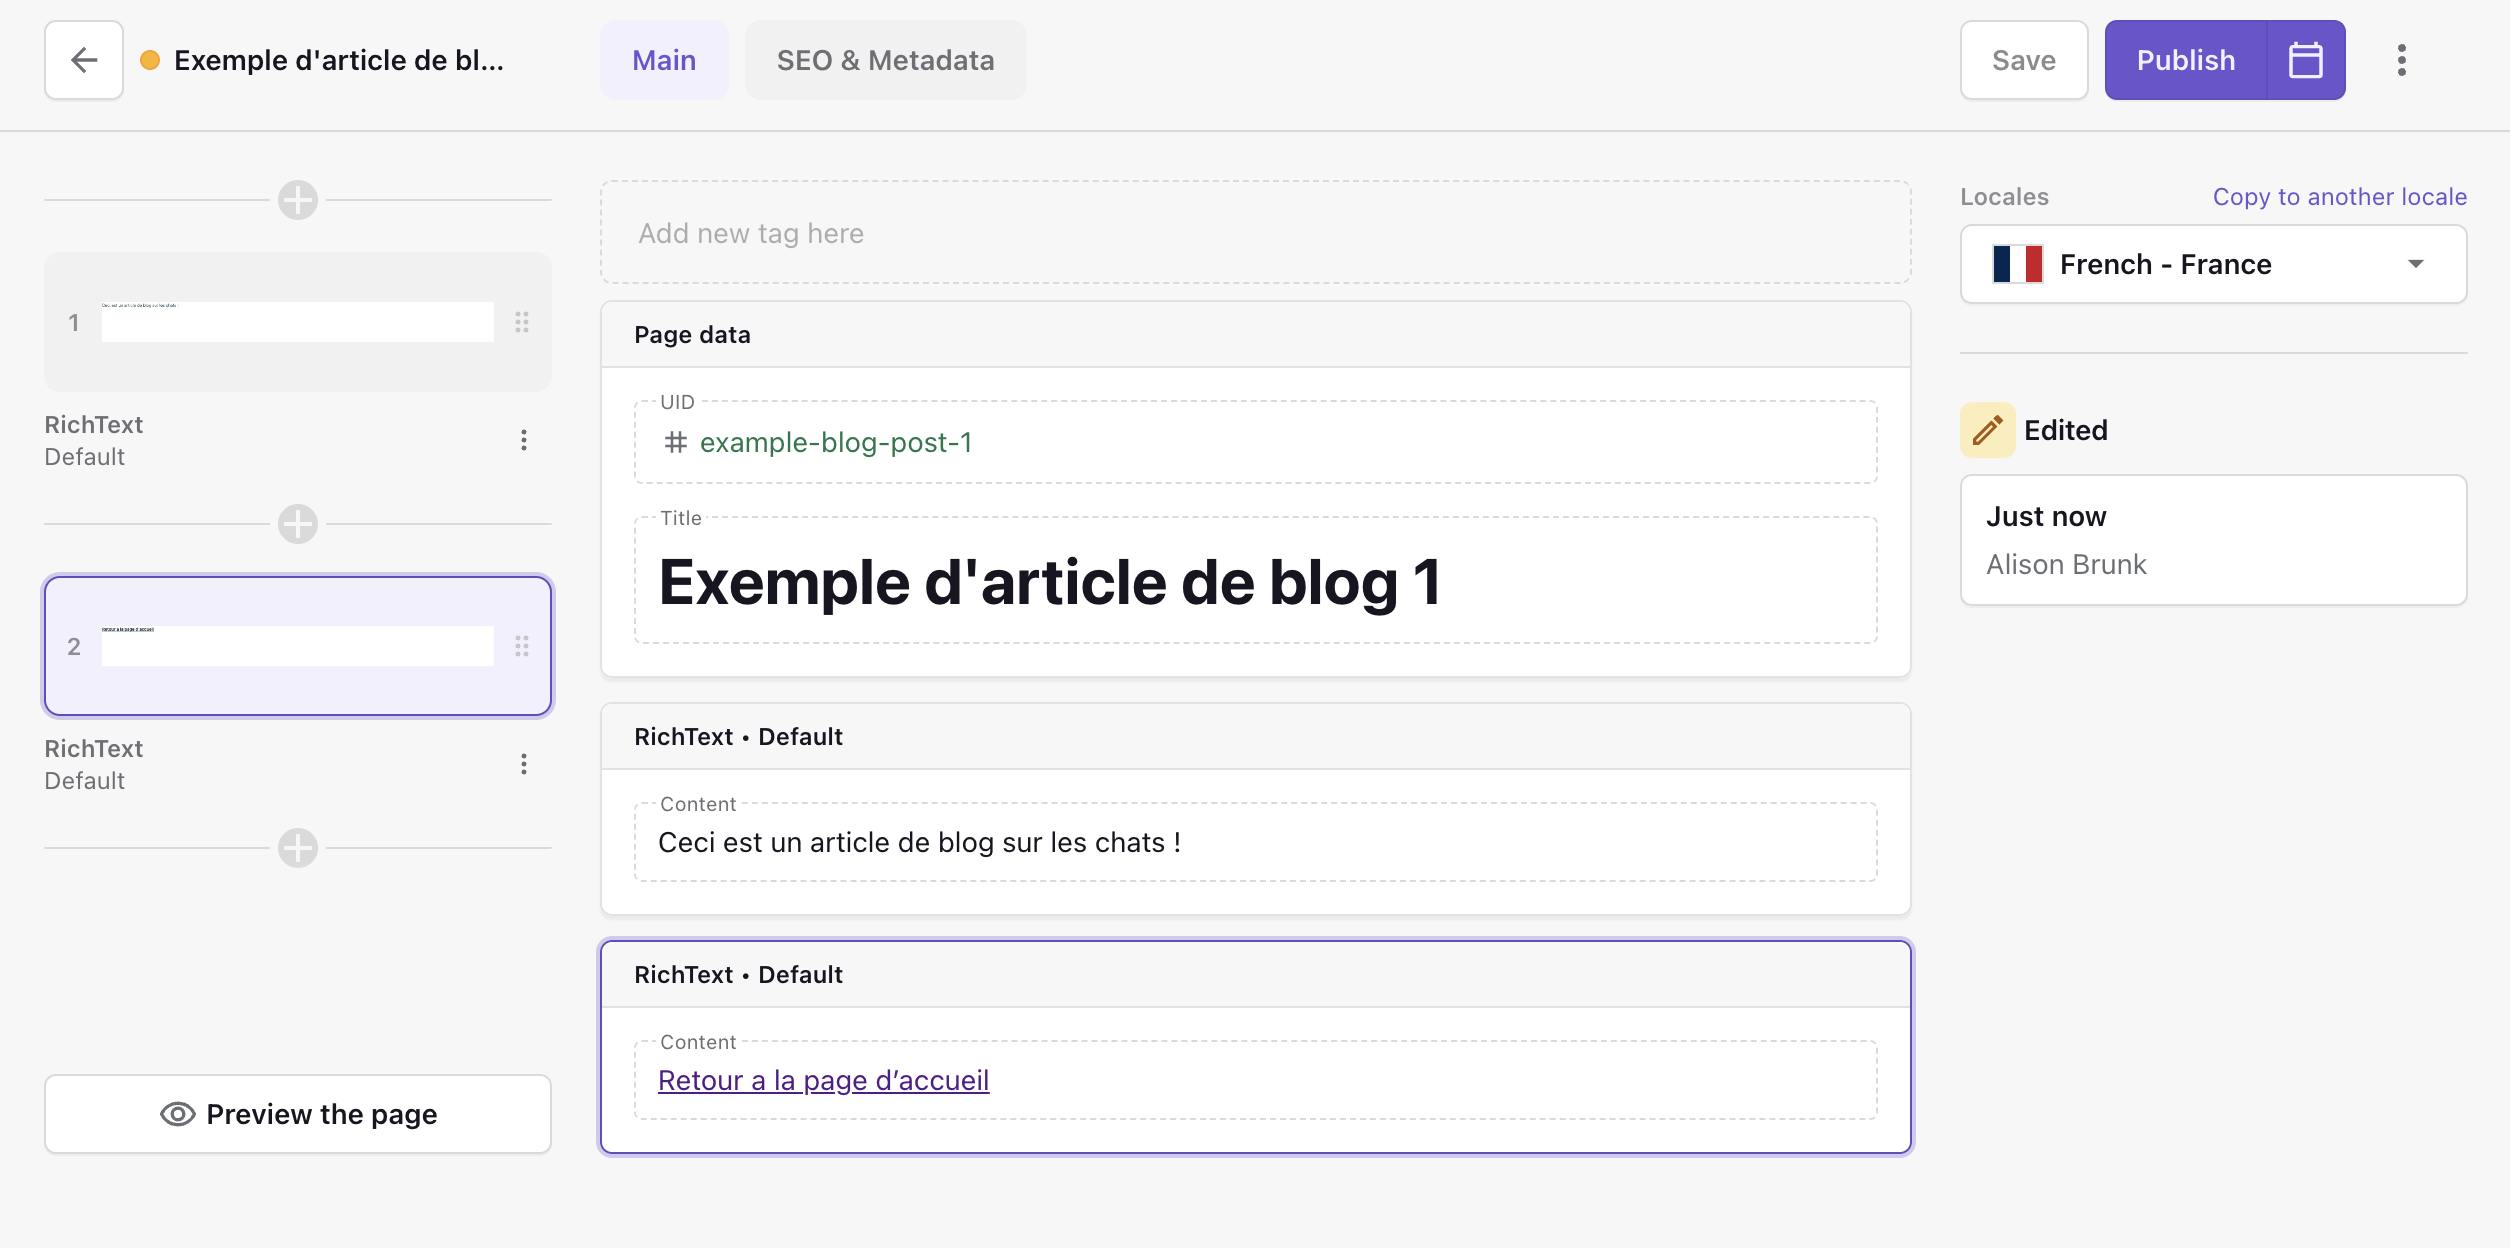
Now click Publish in the upper right.
You will need to repeat this step for the 'Example Blog Post 2' and 'Example Blog Post 3' documents as well.
After you’ve finished creating and publishing the blog post pages for your French locale (you should now have three), it’s time for us to update our home page.
Add blog posts to our French locale homepage
The last step to configuring our content in Prismic is to add the French locale blog posts to our French Homepage document. So let’s navigate back to our French locale ‘Homepage’ document and add a PostCards slice below our existing RichText slice.
For each of our three blog posts we should click Add an item and include a Publication Date, Title, Description and Link.

The link for each item should go to each of our blog posts in our French locale. When we are done filling out these items we should have something that looks like this.

Make sure to save your page and click Publish.
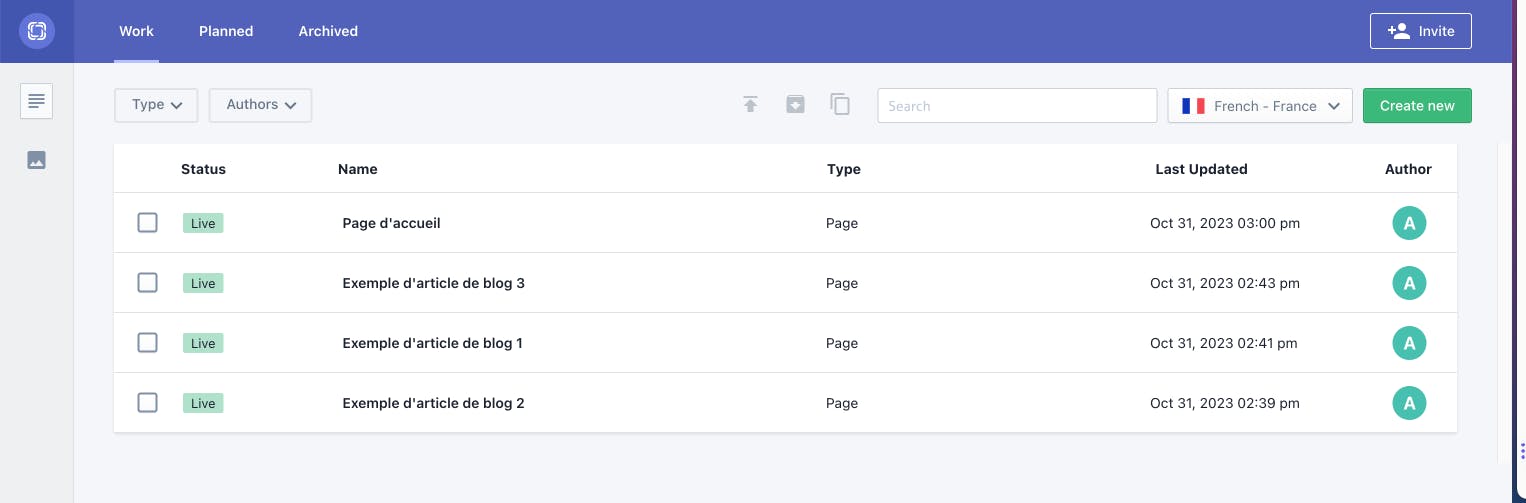
Now if we go back to 'Documents' in our Prismic repository and switch to our French locale, we should be able to see our four published documents in our French locale.
Not signed up for The Optimized Dev?
Staying on the leading edge of web development just got easier. Explore new tech with a fun, scaffolded coding challenge that lands in your inbox once a month.

Adding Internationalization to Next.js
To add internationalization support to Next.js, we first need to create a custom middleware.ts file inside the src directory. This file will handle the detection of locales based on the current pathname and make sure the user is redirected to the correct pages and locales to match.
// ./src/middleware.ts

import { NextRequest, NextResponse } from 'next/server';
import { createClient } from '@/prismicio';

export async function middleware(request: NextRequest) {
  const client = createClient();
  const repository = await client.getRepository();

  const locales = repository.languages.map((lang) => lang.id);
  const defaultLocale = locales[0];

  // Check if there is any supported locale in the pathname
  const { pathname } = request.nextUrl;

  const pathnameIsMissingLocale = locales.every(
    (locale) => !pathname.startsWith(`/${locale}/`) && pathname !== `/${locale}`
  );

  // Redirect to default locale if there is no supported locale prefix
  if (pathnameIsMissingLocale) {
    return NextResponse.rewrite(
      new URL(`/${defaultLocale}${pathname}`, request.url)
    );
  }
}

export const config = {
	// Don’t change the URL of Next.js assets starting with _next
  matcher: ['/((?!_next).*)'],
};
Once we’ve added the middleware.ts file we then need to configure our ./src/prismicio.ts file to support locales. We can do this by updating the Routes Resolvers array defined in the file to look like the one below.
// ./src/prismicio.ts

const routes: prismic.ClientConfig['routes'] = [
  {
    type: 'page',
    uid: 'home',
    path: '/:lang?',
  },
  {
    type: 'page',
    path: '/:lang?/:uid',
  },
];
Notice how we now include the lang parameter in the path. :lang? includes the document’s locale code, such as en-us. Because we included ?, the locale will be omitted if it is the Prismic repository’s default locale.
This parameter is important because the next thing we need to do is restructure our app directory so that all of the pages are located inside a [lang] directory. This is because all of our URLs will now contain a locale so we need to make sure our routes in Next.js match this. So, now inside the app directory, it should look like this.
- app
  - [lang]
    - page.tsx
    - [uid]
      - page.tsx
    - slice-simulator
      - page.tsx
  - api
    - exit-preview/route.ts
    - preview/route.ts
    - revalidate/route.ts
  - layout.tsx
  - styles.css
After restructuring our application files, we then need to update our page.tsx files for both the home route and the [uid] route to accept the lang parameter we defined in the route. We need to accept this parameter because we’ll pass it through to our Prismic query to ensure we fetch the right locale version of the page. Below are the updated versions of the pages.
// ./src/app/[lang]/page.tsx

import { Metadata } from 'next';
import { SliceZone } from '@prismicio/react';
import * as prismic from '@prismicio/client';
import { createClient } from '@/prismicio';
import { components } from '@/slices';

export async function generateMetadata({
  params: { lang },
}: {
  params: { lang: string };
}): Promise<Metadata> {
  const client = createClient();
	// ⬇️ Note this line with the `lang` parameter being passed in
  const home = await client.getByUID('page', 'home', { lang });

  return {
    title: prismic.asText(home.data.title),
    description: home.data.meta_description,
    openGraph: {
      title: home.data.meta_title || undefined,
      images: [
        {
          url: home.data.meta_image.url || '',
        },
      ],
    },
  };
}

export default async function Index({
  params: { lang },
}: {
  params: { lang: string };
}) {
  const client = createClient();
	// ⬇️ Note this line with the `lang` parameter being passed in
  const home = await client.getByUID('page', 'home', {
    lang,
  });

  return <SliceZone slices={home.data.slices} components={components} />;
}// ./src/app/[lang]/[uid]/page.tsx
import { Metadata } from 'next';
import { notFound } from 'next/navigation';
import { SliceZone } from '@prismicio/react';
import * as prismic from '@prismicio/client';
import { createClient } from '@/prismicio';
import { components } from '@/slices';
type Params = { uid: string; lang: string };
export async function generateMetadata({
params,
}: {
params: Params;
}): Promise<Metadata> {
const client = createClient();
// ⬇️ Note this line with the `lang` parameter being passed in
const page = await client
.getByUID('page', params.uid, { lang: params.lang })
.catch(() => notFound());
return {
title: prismic.asText(page.data.title),
description: page.data.meta_description,
openGraph: {
title: page.data.meta_title || undefined,
images: [
{
url: page.data.meta_image.url || '',
},
],
},
};
}
export default async function Page({ params }: { params: Params }) {
const client = createClient();
// ⬇️ Note this line with the `lang` parameter being passed in
const page = await client
.getByUID('page', params.uid, {
lang: params.lang,
})
.catch(() => notFound());
return <SliceZone slices={page.data.slices} components={components} />;
}
export async function generateStaticParams() {
const client = createClient();
// ⬇️ Note this line using a '*' for the lang parameter
const pages = await client.getAllByType('page', {
predicates: [prismic.filter.not('my.page.uid', 'home')],
lang: '*',
});
return pages.map((page) => ({ uid: page.uid, lang: page.lang }));
}To expand upon the note in the [uid]/page.tsx file, we pass a * to the lang parameter here to fetch all of the pages from Prismic regardless of the language. This is because it’s inside the generateStaticParams function that is used to generate all of the possible routes that can exist for that page. This means we need to fetch all pages of all the locales so we can generate a path for them.
At this point we technically have a working blog with internationalization and locales support although to change between locales users will need to manually edit the URL to switch to their chosen locale which is far from user-friendly. So, now let’s work on building a language switcher component that will show users what languages we have available and allow them to switch between them easily.
To do this, we need to define a getLocales.ts utility function in a new src/utils directory. Add this directory and getLocales.ts file, and add the below code.
// ./src/utils/getLocales.ts

import { Client, Content } from '@prismicio/client';

export async function getLocales(
  doc: Content.AllDocumentTypes,
  client: Client<Content.AllDocumentTypes>
) {
  const [repository, altDocs] = await Promise.all([
    client.getRepository(),
    doc.alternate_languages.length > 0
      ? client.getAllByIDs(
          doc.alternate_languages.map((altLang) => altLang.id),
          {
            lang: '*',
            // Exclude all fields to speed up the query.
            fetch: `${doc.type}.__nonexistent-field__`,
          }
        )
      : Promise.resolve([]),
  ]);

  return [doc, ...altDocs].map((page) => {
    const lang = repository?.languages.find((l) => l.id === page.lang);

    return {
      lang: lang?.id || '',
      url: page?.url || '',
      lang_name: lang?.name || '',
    };
  });
}
In this function, we get all of the languages available in our Prismic repository and content. We then map over them to transform them into the shape we want and return them as an array.
With our getLocales utility function now defined, we need to build our language switcher component. To do that, create new components directory inside the /src directory and add a new file called LanguageSwitcher.tsx to that directory. Then, add the below code to it.
// ./src/components/LanguageSwitcher.tsx

import { PrismicNextLink } from '@prismicio/next';

interface LanguageSwitcherProps {
  locales: {
    lang: string;
    lang_name: string;
    url: string;
  }[];
}

const localeLabels = {
  'en-us': 'EN',
  'fr-fr': 'FR',
};

export const LanguageSwitcher = ({ locales }: LanguageSwitcherProps) => (
  <div className="flex flex-wrap gap-3">
    <span aria-hidden>🌐</span>
    <ul className="flex flex-wrap gap-3">
      {locales.map((locale) => (
        <li key={locale.lang} className="first:font-semibold">
          <PrismicNextLink
            href={locale.url}
            locale={locale.lang}
            aria-label={`Change language to ${locale.lang_name}`}
          >
            {localeLabels[locale.lang as keyof typeof localeLabels] ||
              locale.lang}
          </PrismicNextLink>
        </li>
      ))}
    </ul>
  </div>
);
In this file, we take our array of locales as the prop and then map over them, creating a link for each of them that points to the current page but with the respective locale. We now just need to render our language switcher component out on both our home page.tsx and our [uid]/page.tsx files. Which we can do by updating the files to look like so.
// ./src/app/[lang]/page.tsx

import { Metadata } from 'next';
import { SliceZone } from '@prismicio/react';
import * as prismic from '@prismicio/client';
import { createClient } from '@/prismicio';
import { components } from '@/slices';
// ⬇️ Note the imports of `getLocales` and `LanguageSwitcher`
import { getLocales } from '@/utils/getLocales';
import { LanguageSwitcher } from '@/components/LanguageSwitcher';

export async function generateMetadata({
  params: { lang },
}: {
  params: { lang: string };
}): Promise<Metadata> {
  const client = createClient();
  const home = await client.getByUID('page', 'home', { lang });

  return {
    title: prismic.asText(home.data.title),
    description: home.data.meta_description,
    openGraph: {
      title: home.data.meta_title || undefined,
      images: [
        {
          url: home.data.meta_image.url || '',
        },
      ],
    },
  };
}

export default async function Index({
  params: { lang },
}: {
  params: { lang: string };
}) {
  const client = createClient();
  const home = await client.getByUID('page', 'home', {
    lang,
  });
	// ⬇️ Note the fetching of the locales
  const locales = await getLocales(home, client);

	// ⬇️ Note the rendering of the LanguageSwitcher component
  return (
    <>
      <LanguageSwitcher locales={locales} />
      <SliceZone slices={home.data.slices} components={components} />
    </>
  );
}// ./src/app/[lang]/[uid]/page.tsx
import { Metadata } from 'next';
import { notFound } from 'next/navigation';
import { SliceZone } from '@prismicio/react';
import * as prismic from '@prismicio/client';
import { createClient } from '@/prismicio';
import { components } from '@/slices';
// ⬇️ Note the imports of `getLocales` and `LanguageSwitcher`
import { getLocales } from '@/utils/getLocales';
import { LanguageSwitcher } from '@/components/LanguageSwitcher';
type Params = { uid: string; lang: string };
export async function generateMetadata({
params,
}: {
params: Params;
}): Promise<Metadata> {
const client = createClient();
const page = await client
.getByUID('page', params.uid, { lang: params.lang })
.catch(() => notFound());
return {
title: prismic.asText(page.data.title),
description: page.data.meta_description,
openGraph: {
title: page.data.meta_title || undefined,
images: [
{
url: page.data.meta_image.url || '',
},
],
},
};
}
export default async function Page({ params }: { params: Params }) {
const client = createClient();
const page = await client
.getByUID('page', params.uid, {
lang: params.lang,
})
.catch(() => notFound());
// ⬇️ Note the fetching of the locales
const locales = await getLocales(page, client);
// ⬇️ Note the rendering of the LanguageSwitcher component
return (
<>
<LanguageSwitcher locales={locales} />
<SliceZone slices={page.data.slices} components={components} />
</>
);
}
export async function generateStaticParams() {
const client = createClient();
const pages = await client.getAllByType('page', {
predicates: [prismic.filter.not('my.page.uid', 'home')],
lang: '*',
});
return pages.map((page) => ({ uid: page.uid, lang: page.lang }));
}Testing our Next.js i18n app
At this point, our blog application should now be finished, and we should now be able to freely switch between English and French versions of it using our language switcher component.
To test this, refresh your page at http://localhost:3000 and you should be able to see the language switcher component and be able to use it to change the page's content.

Want to view the completed code?
If you would like to see the full example code for this project, check out this branch of the GitHub repo.
Closing thoughts on Next.js i18n
In this tutorial, we’ve taken a look at internationalization, why it’s important as well and how we can implement it in a scalable and easy-to-manage way in a Next.js app router project using a headless CMS such as Prismic. If you would like to learn more about internationalization and the Next.js app directory, you can read their documentation here. We hope you enjoyed this tutorial. Let us know what you thought in the comments below!👇


