Build a Next.js Site with a Headless CMS in under 10 minutes
 By Coner Murphy
Next.js is a great tool for building websites and web applications. However, it falls short in its ability to manage content hosted on websites, especially when it comes to things like adding internationalization (i18n). But luckily for us, Headless CMSs fill this gap and make it effortless to handle.
So, in this tutorial, we’re going to take a look at how we can set up and configure a headless CMS with Next.js in under 10 minutes using Prismic. After this post, you’ll have a fully configured Next.js project with Prismic implemented using Slice Machine and have edited and created some pages using Prismic’s visual Page Builder.

Why do you need a CMS in Next.js?
Next.js’s native content editing functionality is quite limited, and outside of directly editing code, there isn’t much you can do to control the content on the page. If we pair a CMS with Next.js, suddenly, we gain a ton of helpful functionality for content management, like being able to easily edit content without needing to update code, which is ideal for non-technical team members of a team. This non-technical approach towards content management also facilitates implementing website features like A/B testing and personalization.
Finally, a headless CMS such as Prismic can do more than just edit content, they can control the page layout and website sections arrangement of your website which means anyone, technical or not, can redesign your website quickly and easily!
Business benefits of a Headless CMS
If you’re curious to learn more about headless CMSs and how they can benefit a business, check out our post.
Setting up our project
Now that we know more about CMSs and why we should use one in our project, let’s start building our example project with Prismic.
The first thing we’ll need to do is create our project and repository on Prismic, so if you don’t already have an account, create a new one here and then create a new repository on Prismic by clicking the "Next.js" framework and then selecting the “Minimal starter.”
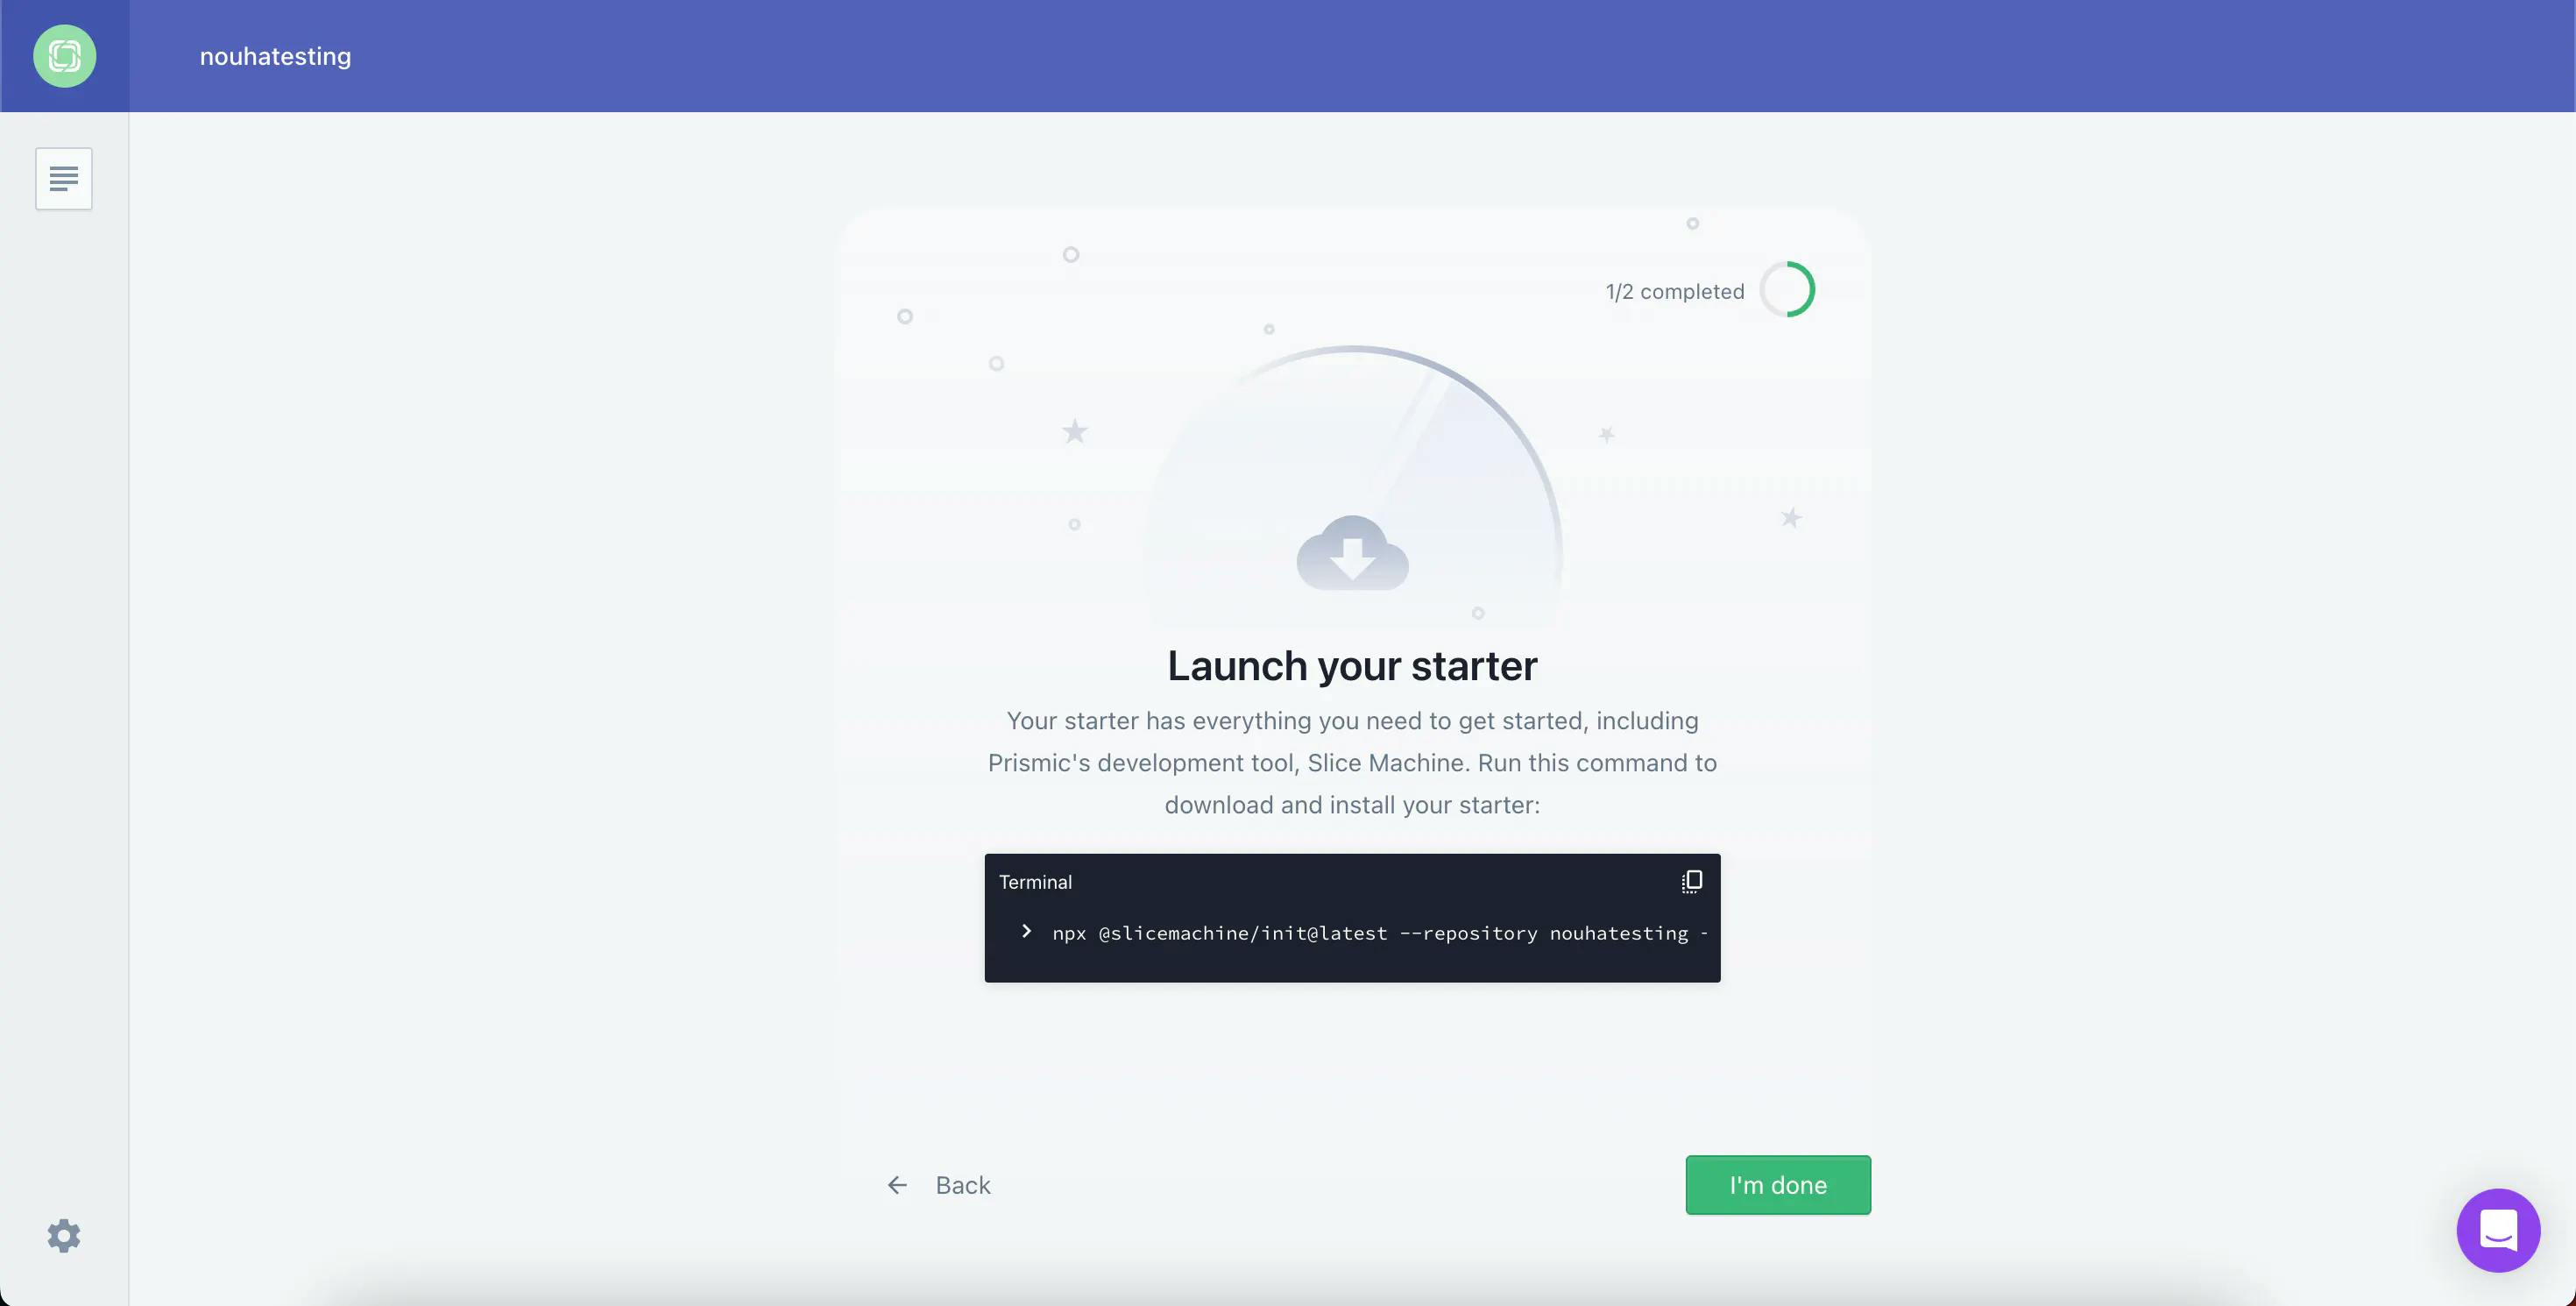
Then, after giving your project a unique name and choosing the free plan, you should have a new repository created on Prismic. Click "Get started with Slice Machine" so we can start configuring our local environment. 👇
Configuring the local Prismic environment
With our repository created, let’s set up our local environment for developing and creating content. To do this, the first thing we’ll need to do is to clone our repository’s code to our local machine which we can do by running the command given to us at repository creation on Prismic.
After running this command, we should have everything we need to develop our website locally. In summary, this command will configure the repository on our local machine, including setting up the Slice Machine server, adding some boilerplate code we can use to get started, and installing all our dependencies. You can read more about the setup command here.
To close out this section, run npm run dev in your terminal, which will then start up two processes:
- The Slice Machine editor on
http://localhost:9999/
What is Slice Machine?
Slice Machine is Prismic’s developer tool that allows you to build slices, or reusable website sections, as components in your code. You can create, preview, and test slices locally without affecting your live environment. Then, you can ship the slices directly to marketers in a custom page builder so they can start using them as building blocks to create on-brand, customizable pages independently.
- The local version of your website on
http://localhost:3000/
Make sure to open both of these in your browser now so you’re ready to preview your content changes in the coming sections.
Adding slices to our app
With our local app now configured and ready to go, let’s look at adding some slices to our app, which we can populate with content in the next section.
To add slices, head over to the Slice Machine editor running on http://localhost:9999/. Then, under the “Page types” heading you’ll notice that we already have a page type called “Page” created, click on this to edit it.
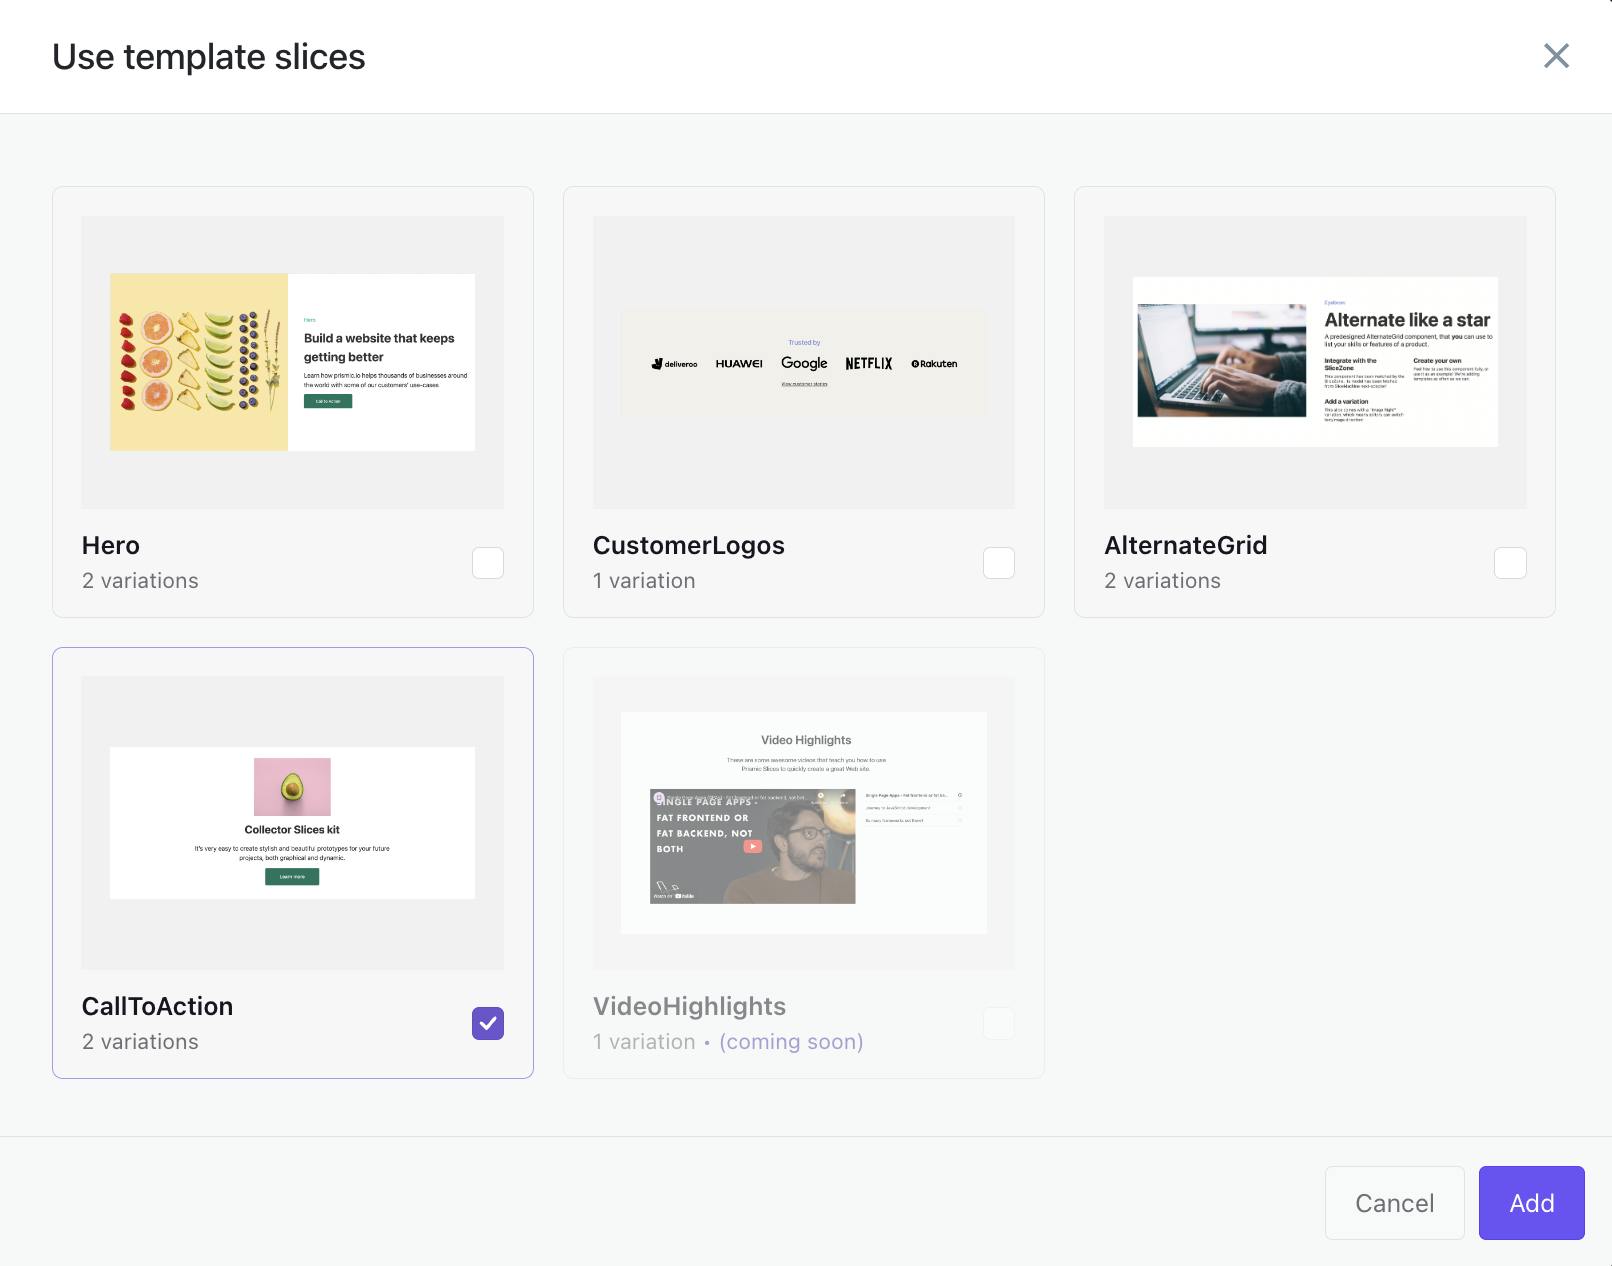
Inside our “Page” page type, we’re going to add a custom slice from the available templates that have already been created by Prismic for us. To add this slice, click “Add slices” > “Use template.” On the modal that opens up, select the “CallToAction” slice and press “Add.”
Slice templates
Slice templates are pre-made slices with built-in styling. They are meant to help you get up and running with slices and help you learn Prismic quickly. For your own projects, you can create your own slices, aka reusable website sections, as components in your code.
After adding the “CallToAction” slice to the page, you should see that the “Review changes” button in the top left has a number next to it representing the number of changes we performed. Click on this button and you should see a screen like the one below.
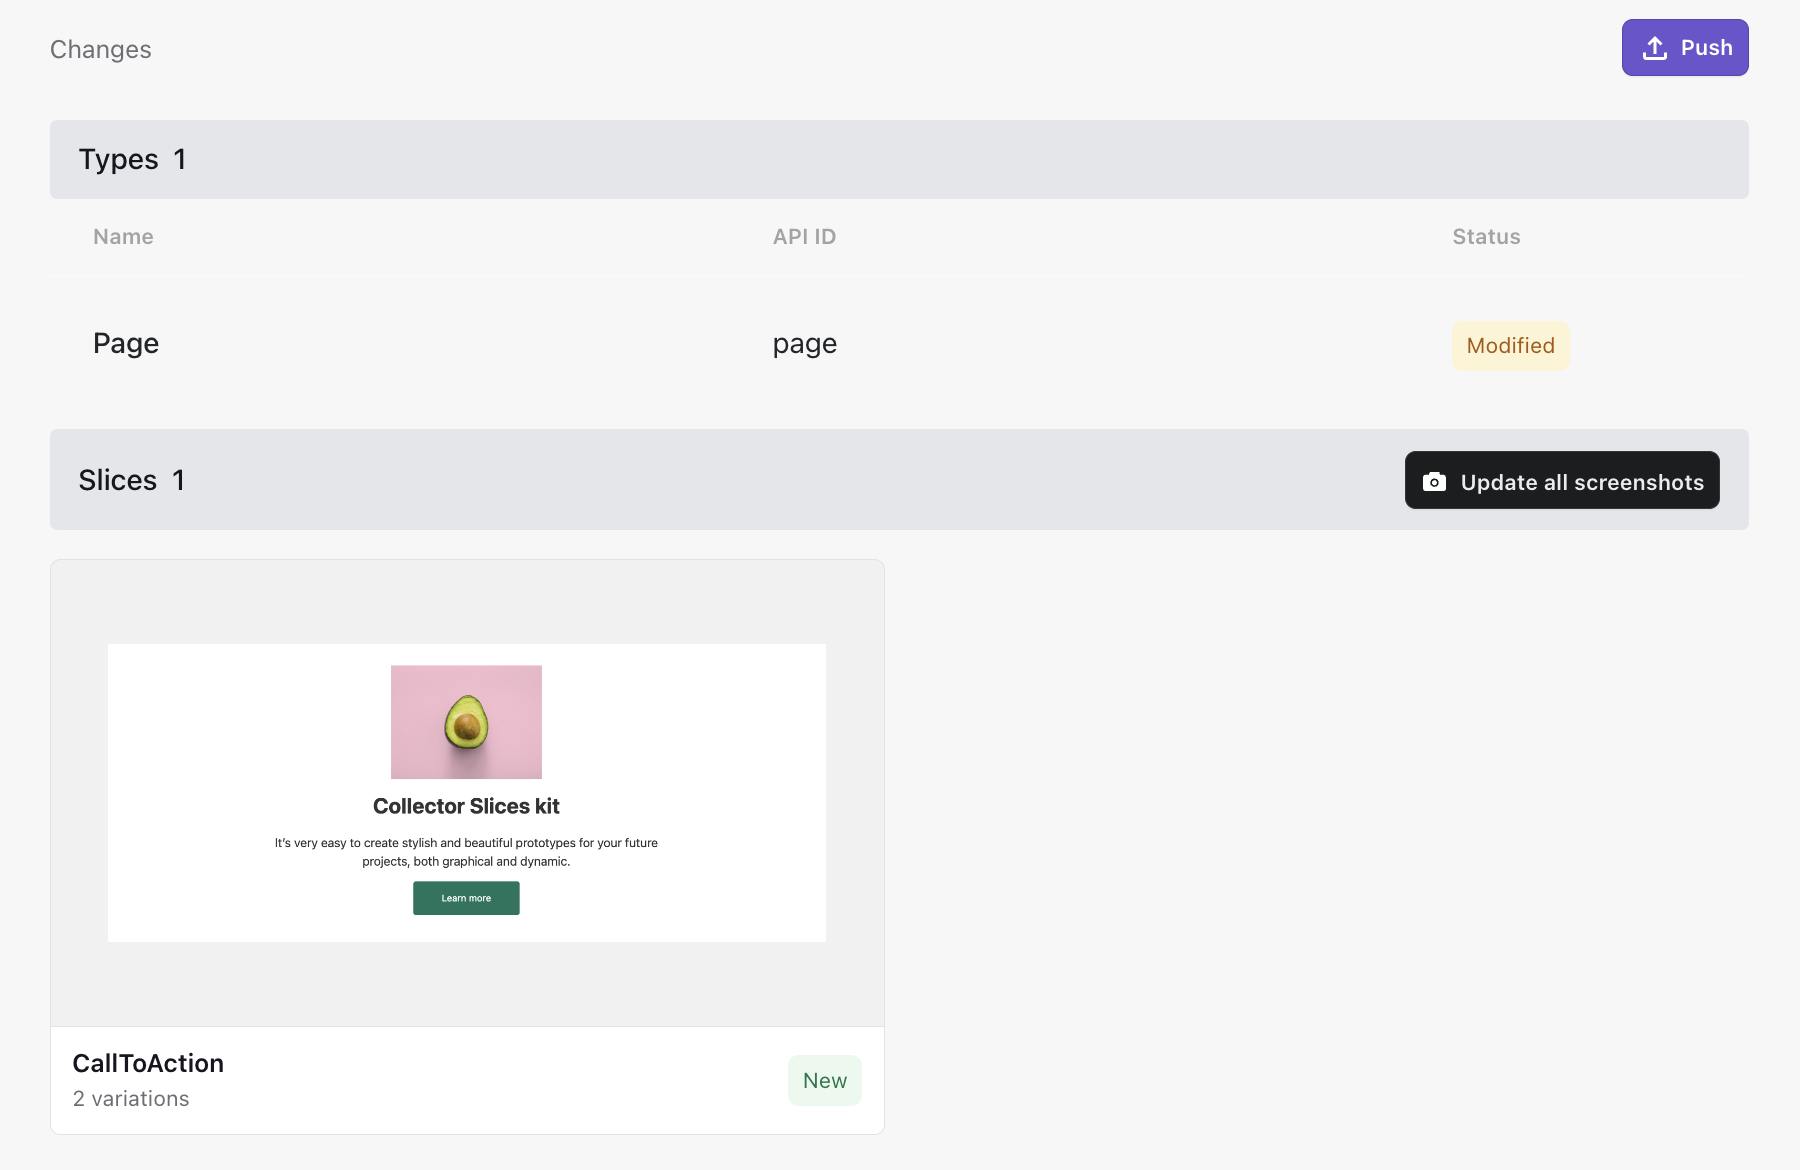
Now click “Push” in the upper right to push the changes we made to Prismic, allowing us to use the new “CallToAction” slice on our pages in the next section when we update our page’s content.
Custom slices
In this tutorial, we’re focusing on templated, pre-built slices to allow us to build our website faster. But you can easily build custom slices that fulfill your requirements. You can see that being done in this tutorial I did for building a custom blog using Prismic.
Stay on Top of New Tools, Frameworks, and More
Research shows that we learn better by doing. Dive into a monthly tutorial with the Optimized Dev Newsletter that helps you decide which new web dev tools are worth adding to your stack.

Customizing our website
With our slices now added and pushed to Prismic, all that’s left for us to do is customize our page’s content and make use of the slices we pushed to Prismic from Slice Machine.
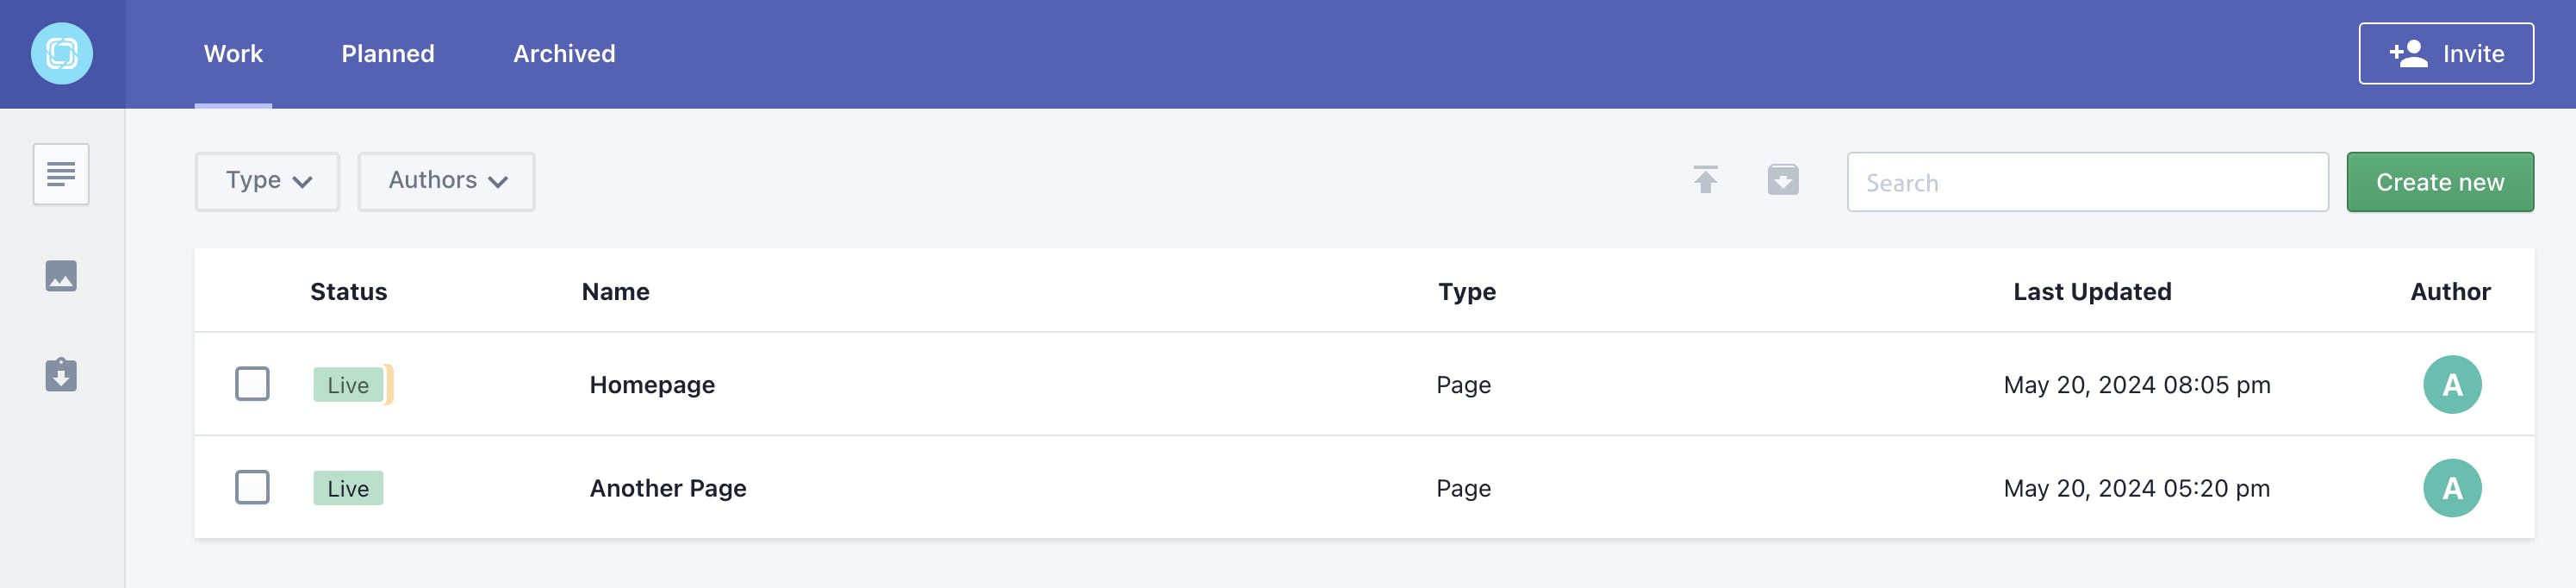
To do this, head over to your repository on Prismic. If you’ve closed the page from earlier, it can be reached by going to the URL your-repo-name.prismic.io/documents. At this point, you should see you have two existing pages, “Homepage” and “Another page” let’s customize one of these to start. I’m going to edit the “Homepage” page but you pick whichever one you prefer.
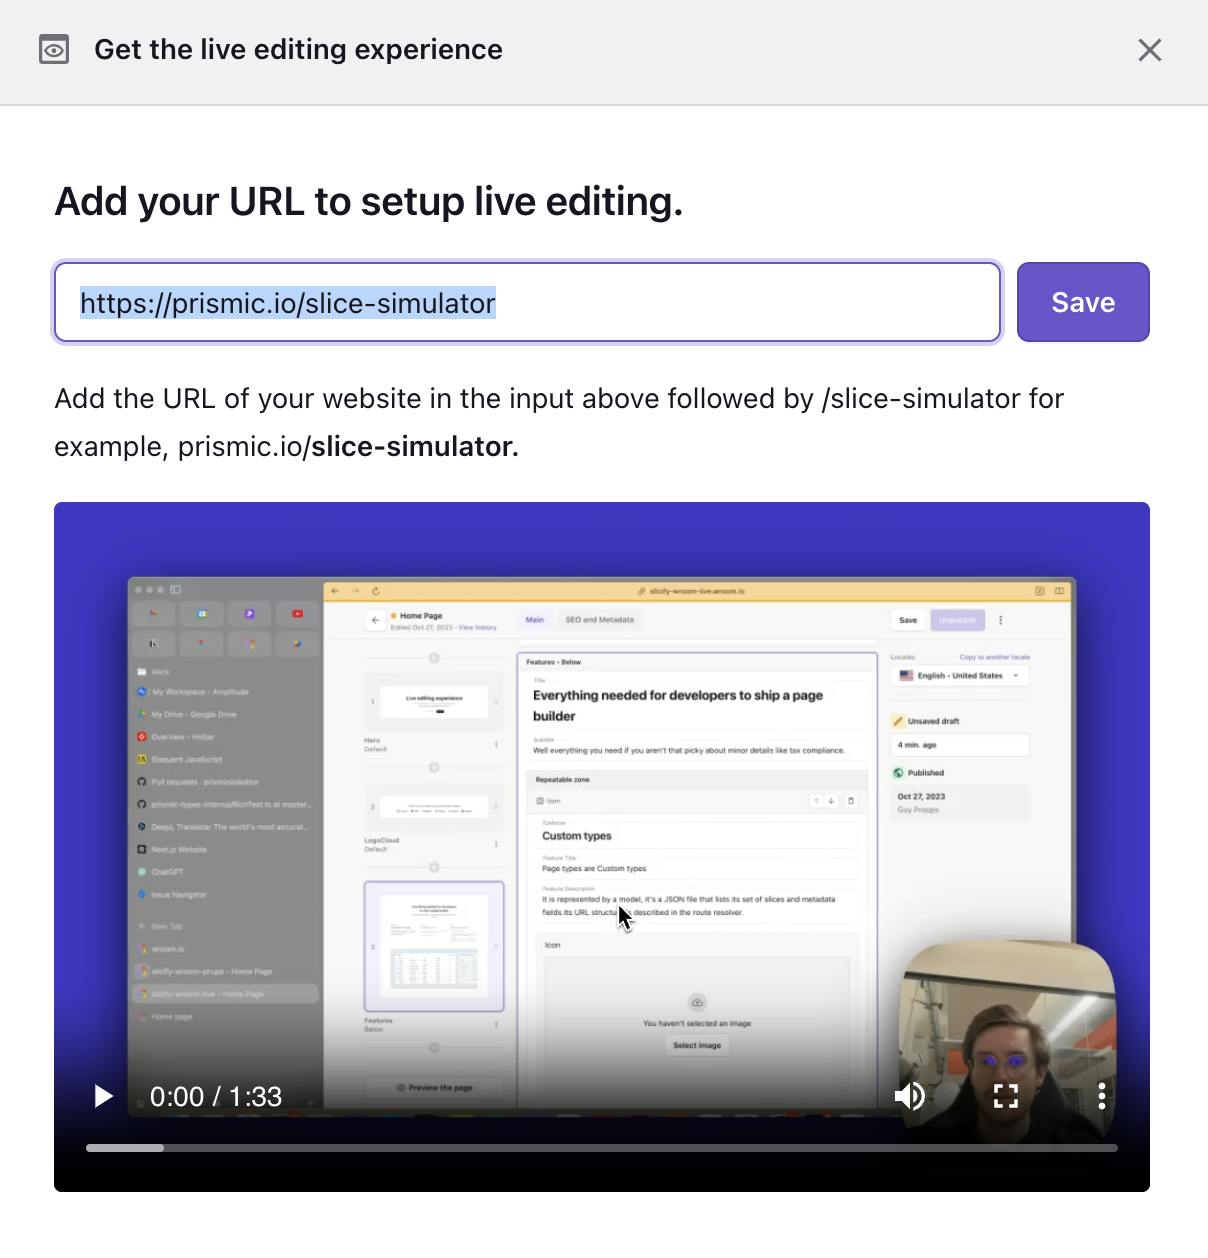
After you’ve picked the page and clicked on it for the first time, you should receive a popup that looks like the one below. This form allows us to configure our live preview URL so we can see changes in the previews on the Prismic page editor. You can populate the URL as http://localhost:3000/slice-simulator and then click “Save.”
Changing the live preview URL
NOTE: If you ever need to edit this URL in the future, when your website is live, you can access it under the three dots in the top right and then click “Live preview settings.”
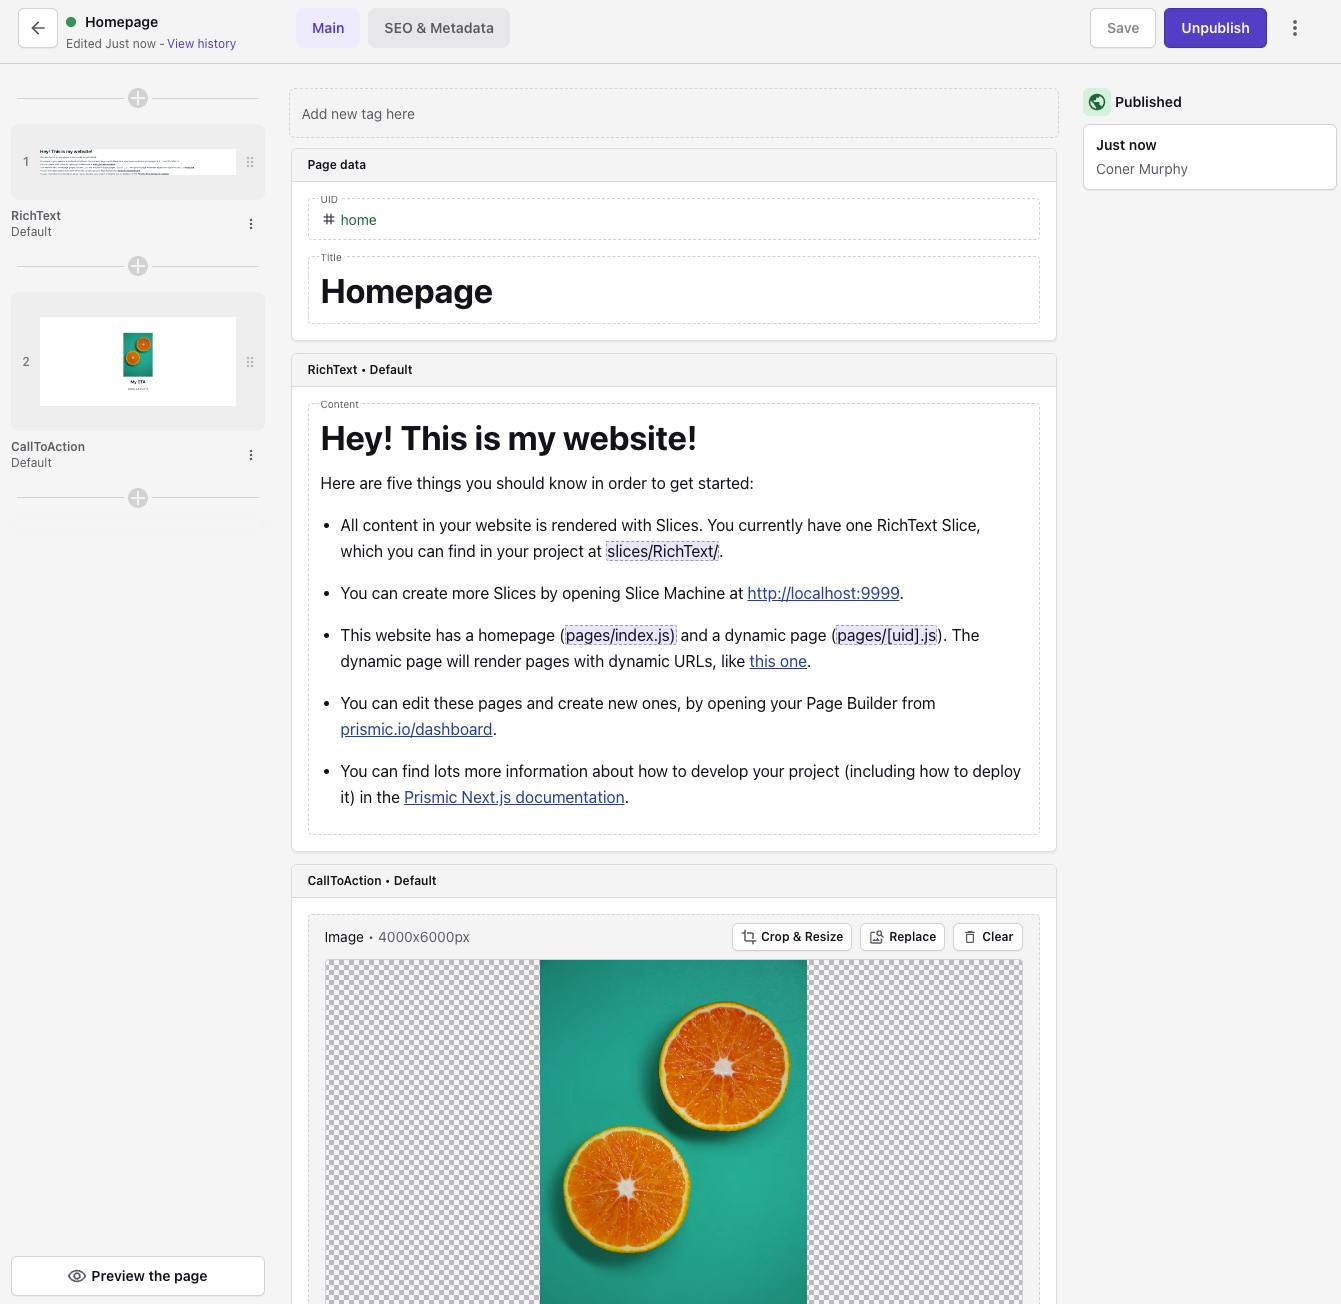
With our live preview URL now configured, let’s make some changes to our Homepage. The first change I will make is to change the header on the page from “Welcome to your new website!” to “Hey! This is my website!”.
Then, after changing the title, I will add a new CTA using the slices we added earlier. To add the CTA slice, press the + under the “RichText” slice on the left sidebar and select the Slice you want to add. Once the Slice is added to the page, you can customize the content of the Slice as you wish.
Finally, once you’ve made all of the changes you want to make, press the “Save” button in the top right, followed by the “Publish” button. Your final page should look similar to the one below, with the content you added.
To check out your updated page, visit the local version of your app in your browser by navigating to http://localhost:3000/ (you may need to refresh it).
Creating new pages in Prismic
After updating an existing page on Prismic, let’s create new ones. To create a new page, click on the “Create new” button in the top right of the home page of your Prismic repository. This should open a blank page to allow us to add content as needed.
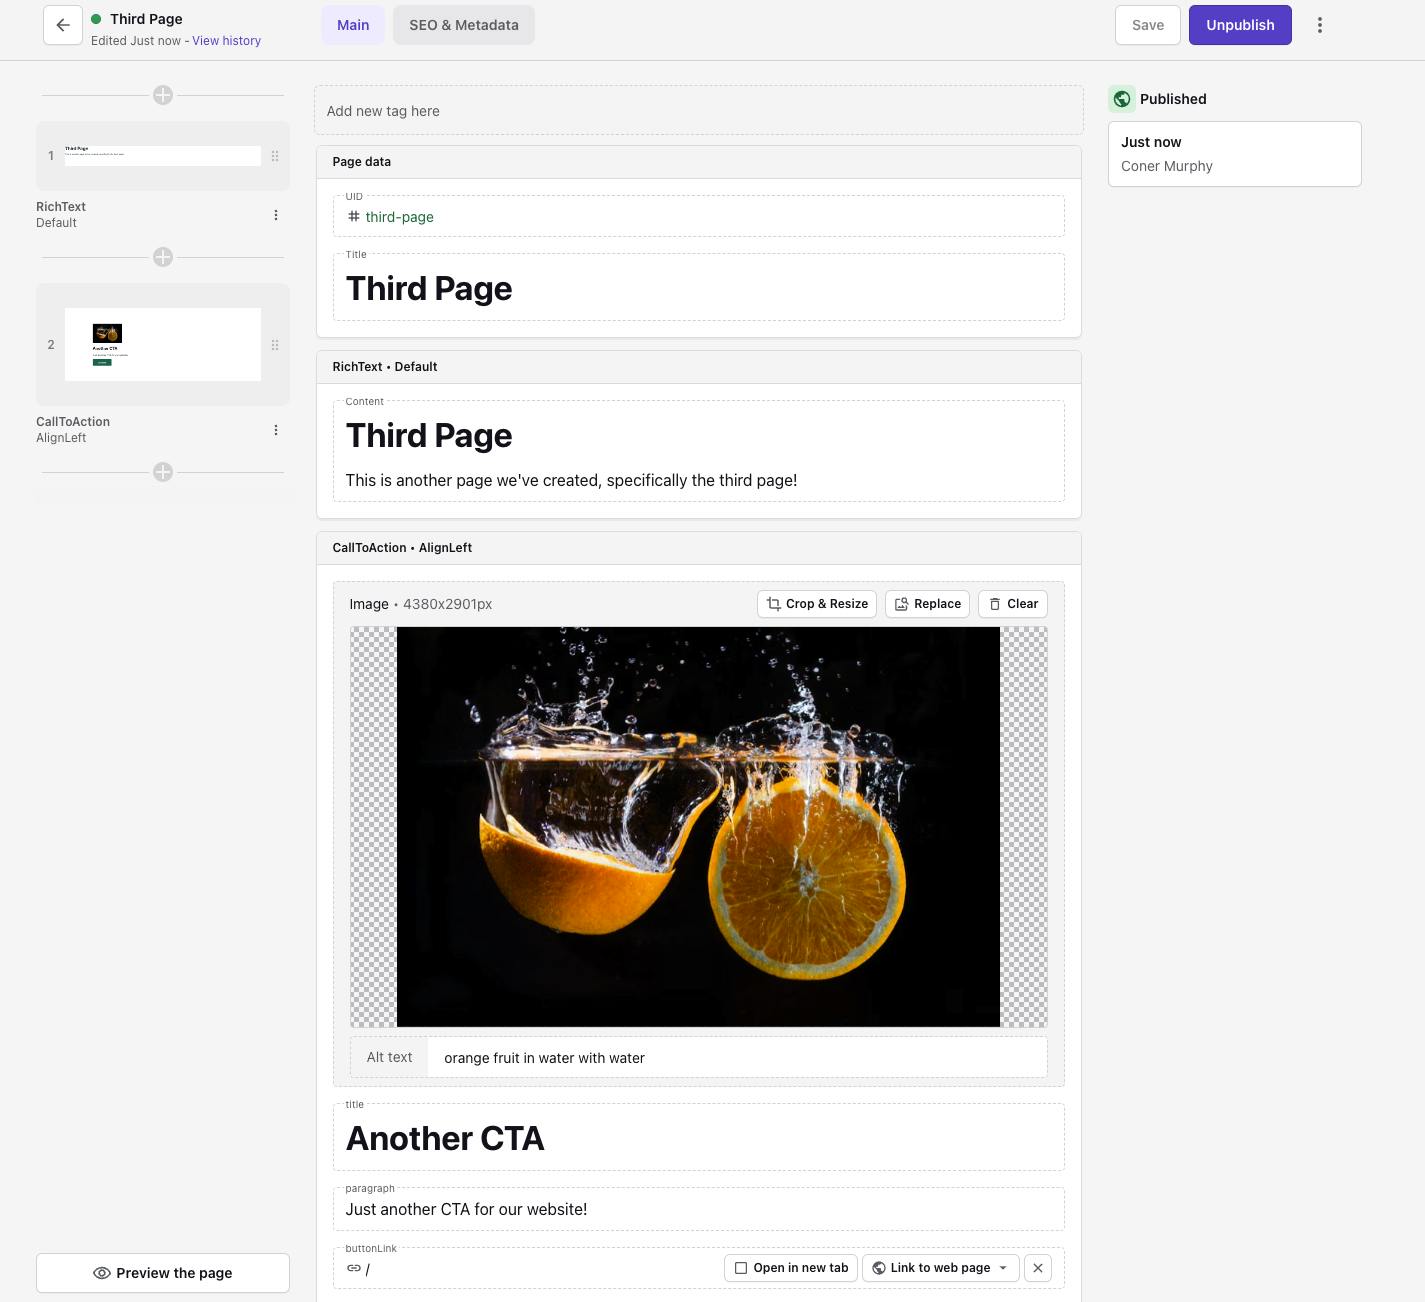
The first thing we need to do on our new page is to define a UID and Title for the page. The UID is what will become a slug in the URL of the page, and the Title is what will become the meta title of the page. For our new page, let’s make the UID ”third-page” and the Title ”Third Page”.
After populating these details, we can add slices and create content to build the page we want. For this example, I’ve created a similar page to the home page with the content below, but this time I’m using the “AlignLeft” CTA variant.
Once you’ve customized your page and are happy with it, make sure to click the “Save” button followed by the “Publish” button in the top right.
With the new page created and published from Prismic, we should then be able to access it on our local website by visiting http://localhost:3000/third-page (if you picked a different UID earlier, make sure to update it in the URL).
After visiting the URL in your browser, you should be able to see your new content displayed on the page. If so, you have successfully created a new page using the Prismic page builder on your Next.js app!
Closing thoughts
With our home page updated and our new third page created and displayed on our website, we’ve finished the tutorial and have successfully created a custom Next.js website using a Headless CMS (Prismic).
If you wanted to, you could create a custom website all from the foundations we covered in this tutorial. Both your non-technical team members and developer colleagues users will love it. Marketers can create pages independently from the visual Page Builder, while developers have a local environment to expand their Next.js app and Prismic setup.
If you would like to spend some more time learning about Prismic and the awesome things we can build with it, why not check out the tutorials and blog posts below?
- Adding Clerk Authentication to a Prismic Blog
- Adding Internationalization (i18n) with the App Router and Prismic
- Business Benefits of a Headless CMS
Thank you for reading.


