
Nuxt is one of the frameworks we work on to offer first-class support at Prismic. From an excellent TypeScript integration and impressive performances to auto-imports and flexible rendering modes, the meta-framework for Vue.js, Nuxt 3, packs in a lot.
Conscious of the great experience Nuxt provides you with. We, at Prismic, want to carry this it forward. Over the last few months, we released quite a lot of things toward this goal:
- In April, we released Slice Machine 1.0.0 with official support for Nuxt 3 featuring a new automatic TypeScript integration
- Later, in May, we released an updated Vue.js SDK,
@prismicio/vuev4, integrating with our refreshed client - This was closely followed in early June by
@nuxtjs/prismicv3 release out of RC, Prismic module for Nuxt 3 - Finally, we made last week all our Nuxt 3 starters available for you to start working with Prismic and Nuxt 3 seamlessly
We’re eager to show you how all of these work together and how you can quickly get started with Nuxt 3 and Prismic, so let’s get to it!
And in case you prefer videos, we also made one about all of that; you can watch it over on YouTube →
Setting up Nuxt 3 and Prismic
To get started, we first need a project. In this case, you have three options.
From scratch
You can get started from scratch by creating a brand new Nuxt project using nuxi, the Nuxt 3 CLI.
npx nuxi@latest init my-project
cd my-project
From a starter
We offer a few starters that can get you up and running fast with various kinds of websites. If you want a minimal starter with some example code but no extra noise, pick our new minimal starter.
npx degit prismicio-community/nuxt-starter-prismic-minimal my-project
cd my-project
If you prefer a more elaborate starter with a few pages, slices, and TailwindCSS already configured, then our multi-page starter is here for you.
npx degit prismicio-community/nuxt-starter-prismic-multi-page my-project
cd my-project
From an existing project
You already have a Nuxt project up and running? Great! Just get inside it and follow along.
cd my-projectInitializing Prismic and Slice Machine
Once we have our project ready at hand, it’s time to initialize Prismic and Slice Machine inside it. This is best done using Slice Machine init command with npx from inside our project.
npx @slicemachine/init@latest
This guided process will walk you through pairing your project to a new or existing Prismic repository, while installing and configuring Prismic and Slice Machine in the background.
Once it’s done, you’re done! And we’re ready to start developing with Prismic and Slice Machine.
Two notes, however, in case you started from scratch or from an existing project (i.e. not from a starter):
- In the event you have a default
App.vueat the root of your project. Just move it to the new pages directory:mv App.vue pages/index.vue, or delete it. - Finish configuring Slice Simulator inside your
slicemachine.config.json, by adding its URL, we’ll make use of it later.
  {
    "libraries": ["./slices"],
    "repositoryName": "my-project",
    "adapter": "@slicemachine/adapter-nuxt",
+   "localSliceSimulatorURL": "http://localhost:3000/slice-simulator"
  }
During this Summer, we’ll be working on automating these two extra steps for you so you won’t have to worry about them anymore in the future 🚀
Let’s get developing
Now that our project is set up, let’s get down straight to building a first slice together. This will also be the opportunity to explain what the init command did for us and what it means to have Prismic installed on our Nuxt project!
Launching our project
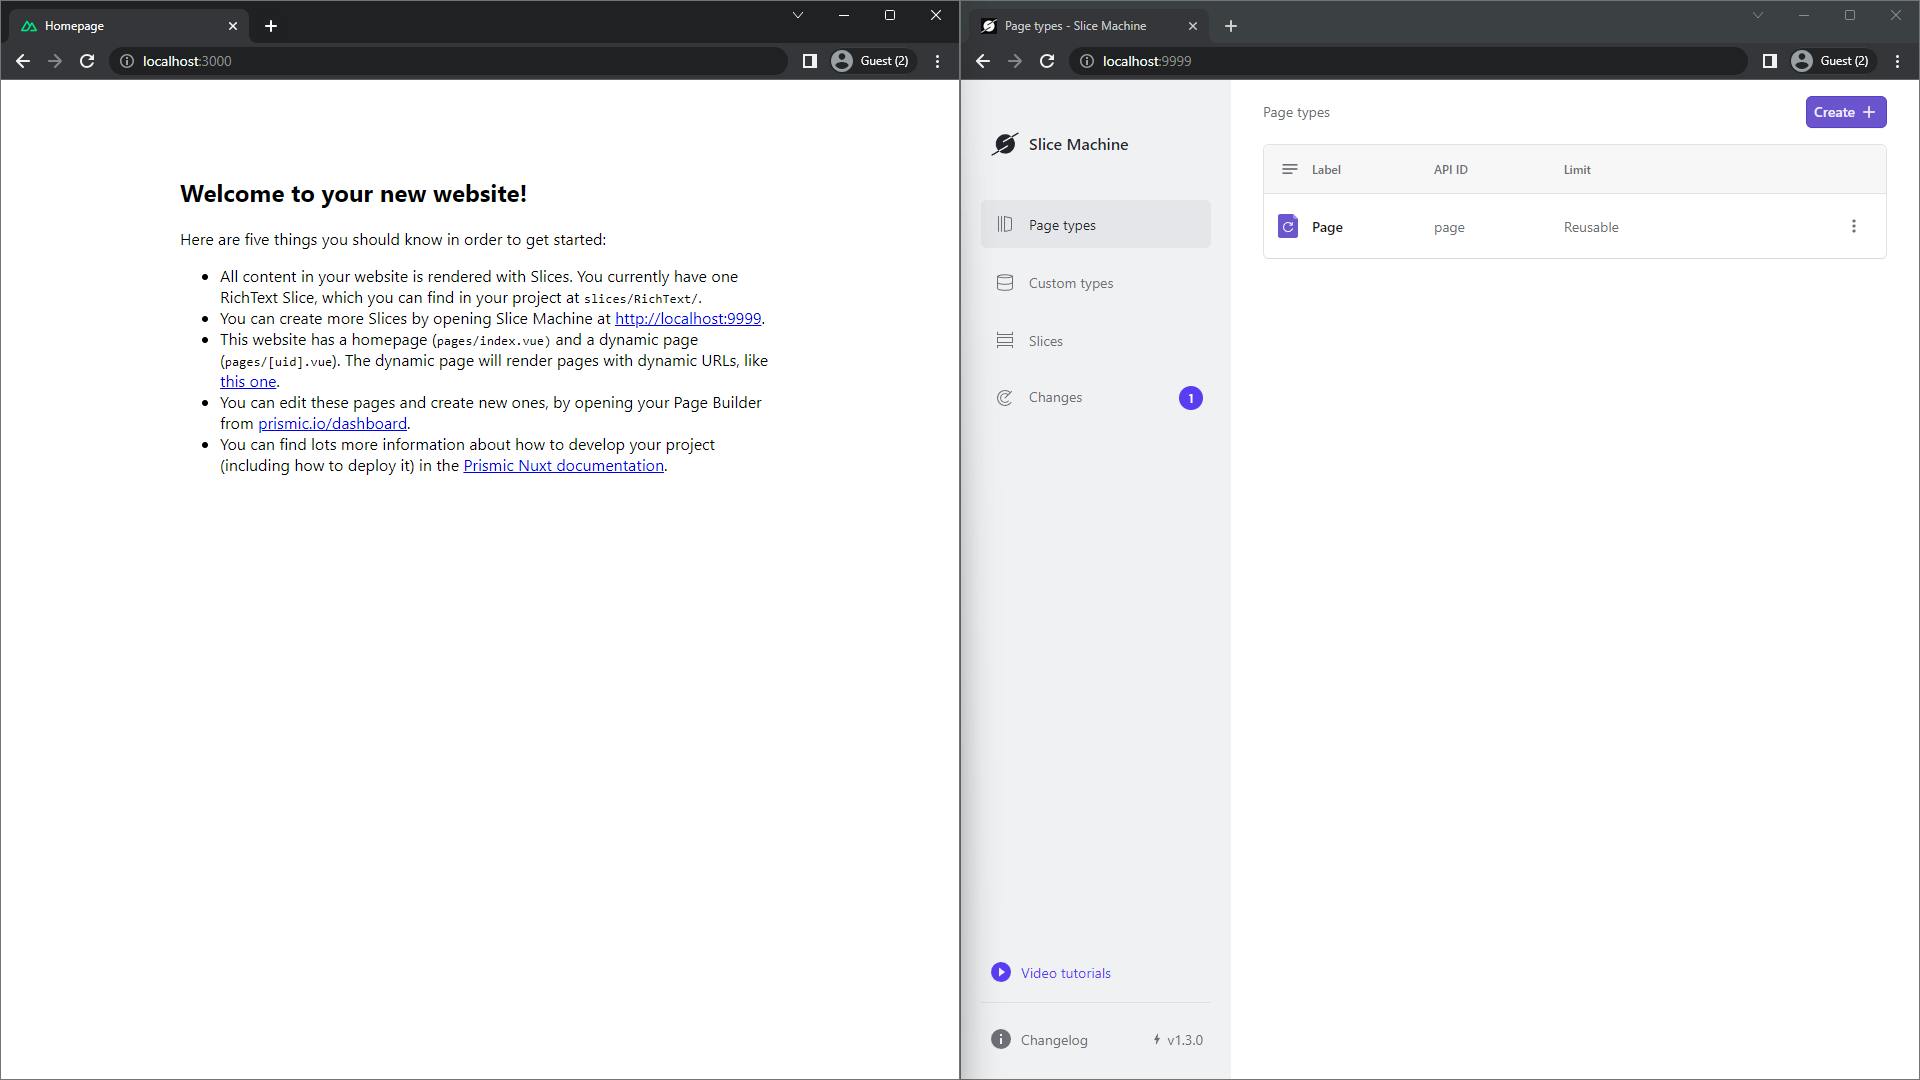
To run our project we want to start two things: Nuxt’s development server and Slice Machine.
Slice Machine is our main developer tool. It’s a UI you run locally to manage your Prismic project, create and develop custom types and slices to build your very own page build. It is configured through a mandatory slicemachine.config.json file that you can find at the root of your project.
Slice Machine was installed for us during the init command, through two extra dependencies: slice-machine-ui the UI itself, and @slicemachine/adapter-nuxt, Slice Machine’s adapter for it to work with Nuxt projects.
If you started with a starter, you can do so with a single command thanks to concurrently.
npm run devFor other cases, you’ll need to spin up two terminals, one for Nuxt, and one for Slice Machine.
# First terminal, Nuxt
npm run dev

# Second terminal, Slice Machine
npm run slicemachine
Once the servers are running, you should be able to access Nuxt on localhost:3000 and Slice Machine UI on localhost:9999.
Developing a first slice
While this post is not exactly about how to develop with slices, let’s still create a slice together to highlight some of the new things coming with Nuxt 3 and Prismic.
To do so, we head to the “Slices” page on Slice Machine, and we create a new slice, let’s name it “SimpleHero”. Inside, we can add a few fields, a title, a description, and an image. Then we can save it.

Now, if we head to our code, we can see Slice Machine created for us a new “SimpleHero” component inside our “slices” directory. It contains the minimum scaffolding for the new website section we’ll be developing.
What’s exciting here is that Slice Machine is now able to generate exact types for your slices and documents. These types play nicely with Nuxt’s TypeScript integration and allow you to template data quickly and safely with your auto-imported components, as you can see in the IntelliSense example below:

This is all possible thanks to a third, and last, dependency installed and configured by the init command: @nuxtjs/prismic, our Prismic module for Nuxt. It provides you with everything you need to develop your website with Prismic.
Under its hood, it makes use of @prismicio/vue. It’s a Vue plugin exposing many Vue components and helpers we can make use of seamlessly inside our project now thanks to Nuxt auto-imports.
Similarly, @prismicio/vue also uses under its hood @prismicio/client to inject inside your Vue application a client instance ready to be used for querying content with Nuxt data fetching composables. That client is also all wired up and ready to preview content out of the box so that setup is kept minimal on your end.
Simulating slices
Heading back to Slice Machine, we can now click the “Simulate Slice” button. This will bring us to the Simulator. On this page, we can develop slices in isolation, à-la-Storybook. We can edit mock data to display through an editor, and take screenshots of our slices.

The Simulator is a page of Slice Machine UI that makes use of the ~/pages/slice-simulator.vue page which was created during the init process.
This page is currently used by Slice Machine to allow us to develop slices in isolation with mocked content we can edit. Soon it will also be used by our editor, letting you preview slices as you're writing them!
Going further
And that’s the gist of it, you’re now ready to roll with Nuxt 3 and Prismic! As this was just an intro, here are some links for things you might want to explore next:
Let’s recap
Lots of releases happened over the last few months at Prismic allowing us to offer first-class support and quick setup to Nuxt 3 users.
- Iterate on your models and develop pages and slices within Slice Machine UI to create your very own page builder
- Enjoy Nuxt 3 latest and greatest with Prismic: auto-imports for everything and comprehensive TypeScript integration with our updated SDKs:
@prismicio/vuev4 and@nuxtjs/prismicv3 - Get started quickly with our updated starters and updated Slice Machine init command
We’re not stopping there as more things are to come for Nuxt and Prismic! Currently, we’re exploring opportunities to integrate Prismic within Nuxt DevTools, and it’s looking pretty promising!
In the meantime, feel free to give a start to Nuxt 3 and Prismic, following the above or directly from the UI. You can join the discussion and share your questions and feedback:
- 👨👩👧👦 On the community forum
- 💾 Or, if you stumble upon any issue or want to submit a new feature idea, we welcome you as a contributor over on GitHub.


