
When deciding how to build a website you have a lot of options. Today we are taking a look at building websites using the Remix framework, and we’ll integrate a headless CMS into our website. Then, we’ll even add caching to make our website even faster. But first, let’s talk a bit about Remix.
Why use Remix with a headless CMS?
Remix is a relatively new web framework, and some might be thinking: “Another framework. Really?”
Let me explain why I think Remix might be an excellent choice for building your next website.
Remix is a server-based framework. This means that pages are not generated when deploying your website like some frameworks that do static site generation (SSG). Instead, pages are rendered on-demand (per request) by the server. Because Remix does not rely on statically generating your pages, it is very suitable for websites with dynamic content that is changed frequently.
This is because with Remix you will not have to rebuild your static pages every time your content changes. You update your content, and shortly after that, the updated content will be live on your website. This is especially interesting for websites with a lot of pages that update frequently.
And where there’s a lot of content that’s updated frequently, today, you’ll often also find a headless CMS implemented as well for ease of content updates and the performance benefits of having the content delivered via an API. So, adding a headless CMS to a Remix site is a natural progression.
Let’s now discuss how Remix might be the better choice for your business.
Is the Remix framework a good choice for your website?
If you value SEO, then you’re in luck. Remix websites being rendered on the server is good for your SEO, as all the content of the page will be available when your website is crawled by search engines.
If your website allows users to create an account, Remix will provide a better experience than statically generated websites, as well. Static websites have to be loaded first, and after the page is loaded the website can check if there is a user logged in. If someone is logged in, some parts of the page are updated, such as the user’s name and avatar. This change can cause the page to move around a little. Server-rendered websites don’t have this problem.
Static websites, unlike Remix, come at an additional cost: the majority of your code lives on the front-end, which means your users will have to download more code and that slows down your website. This is not an optimal user experience, and in some cases having a slow website will hurt your SEO.
Another reason why Remix is great for many businesses looking to build a website is that you can deploy it on any platform that supports NodeJS applications. This provides great flexibility and will make your business less reliant on a specific hosting platform.
It doesn’t matter if you have in-house developers or are outsourcing your project: Remix provides a great experience for developers too. This can cut the costs of creating websites.
How I choose between Remix and Next.js
Another very popular choice for building websites with a headless CMS is Next.js. I know, because I built my agency’s website, brabantweb.nl, using Next.js and Prismic. For this website, I chose Next.js because the content of my website is not updated very frequently. I might update it once or twice per week. I personally like working with Remix a lot, but it was not the right choice for my project.
Remix really shines when your website is updated by multiple sources throughout the day. So, for my clients, I will definitely consider Remix for their projects.
If you want a detailed technical comparison between Remix and NextJS, check out this article comparing Remix and Next.js.
Let’s look at how we can integrate a headless CMS with Remix.
From headless CMS to headless page builder
What's better than a headless CMS? Prismic is a headless page builder that takes the performance benefits of going headless even further through the power of components. You still build websites with headless in mind, but instead of coding templates, you build reusable website sections (we call them Slices) for a custom page builder experience.
Building a Remix website with Prismic
For this tutorial, we’ll create a Remix website with a headless CMS. Then we’ll add caching, cache updating, and we will deploy the website.
You don’t necessarily need a cache for the code to work, but adding a cache can greatly improve the response times of your application. Using the cache, we will only communicate with the Prismic API when we need to, instead of doing so on every request to the application.
Prismic's Selected Frameworks
This Remix tutorial serves as a creative exploration or a 'toy project'. For professional-grade company websites, Prismic strongly recommends Nuxt, Next.js, and SvelteKit. These frameworks offer robust features and community support, ideal for enterprise solutions.
Explore our Next.js tutorial, Nuxt tutorial or Sveltekit tutorial.
Setting up Remix
To get started, run the following command:
npx create-remixYou will be prompted with some questions; you can see my responses below. I am going with the basic Remix app template and will be deploying my site on Fly.io, but feel free to choose any other configuration options.
The important part is that the hosting provider you choose supports long-running Node processes, as opposed to short-lived serverless functions. This is required for the in-memory cache to persist between requests. Here are the questions you’ll see and how I answered them:
? Where would you like to create your app? my-prismic-remix-site
? What type of app do you want to create? Just the basics
? Where do you want to deploy? Choose Remix App Server if you're unsure; it's easy to change deployment targets. Fly.io
? TypeScript or JavaScript? TypeScript
? Do you want me to run `npm install`? Yes
(Don’t forget to cd into your new app directory for the next steps. 😉)
Next, we will deploy the application to Fly. If you haven’t already and want to follow along, you need to install the Fly CLI with this guide.
The great thing about starting your project with the Remix CLI is that choosing your deployment target also comes with instructions on how to deploy your application in the README.
Run the following commands to register for Fly and launch a new app. (When Fly’s window opens in your browser, you can select the option to try it out for free. You can have up to two apps on the free account.)
flyctl auth signup
flyctl launch
When launching with the Fly CLI, you will again answer some questions like the ones below. I am choosing to deploy manually via the CLI, but it’s also possible to connect your project to GitHub so that your deployments can be triggered by Git commits. The easiest thing to do for your app name is to leave it blank for the auto-generated name.
? App Name (leave blank to use an auto-generated name):
Automatically selected personal organization: [Your name will appear here]
? Select region: [Select your location]
Created app my-prismic-remix-site in organization personal
Wrote config file fly.toml
? Would you like to setup a Postgresql database now? No
? Would you like to deploy now? Yes
Let’s deploy your application.
npm run deployWoohoo, your site is now live! 🎉 You can visit it at https://[insert your auto-generated name here].fly.dev/ .
Start configuring Prismic
We’ll start by installing a tool that will make configuring our headless CMS a breeze. Slice Machine is a developer tool from Prismic that helps you model the data for your pages and page sections by providing a visual interface and automatically providing boilerplate code.
To set up Slice Machine, run this command in your project:
npx @slicemachine/initThis command also installed the required dependencies from Prismic.
Follow the prompt telling you to log in to Prismic. You can log in with GitHub or sign up with your email in the window that opens.
Close the tab after logging in and go back to the CLI. Choose “Create a new Repository” in your terminal and choose a unique name. I’m going with my-prismic-remix-site.
You can now follow the link in your CLI to go to your Prismic dashboard. You’ll insert your unique repository name like this: https://[your-repository-name].prismic.io to get to your dashboard. In my case, this is https://my-prismic-remix-site.prismic.io.
Now, we’ll start up Slice Machine to configure our content models:
npm run slicemachineAnd you can then go to http://localhost:9999 to open the app.
The Slice Machine UI will have some instructional videos on how to use it (these are helpful if this is your first time trying Prismic). These will help you understand two key parts of modeling your content in Prismic: Custom Types and Slices. Custom types allow you to create templates for things like pages, author bios, and more. Slices are modular, reusable website sections that you can include for use as page building blocks in your Custom Types.
Create a Slice
In the Slice Machine UI, navigate to the “Slices” tab in the left-side menu. We’ll start by creating our first reusable Slice, by creating one called Hero. Later we'll add our Slice to a template, or what Prismic calls "Custom Types", so it becomes a building block for our page.
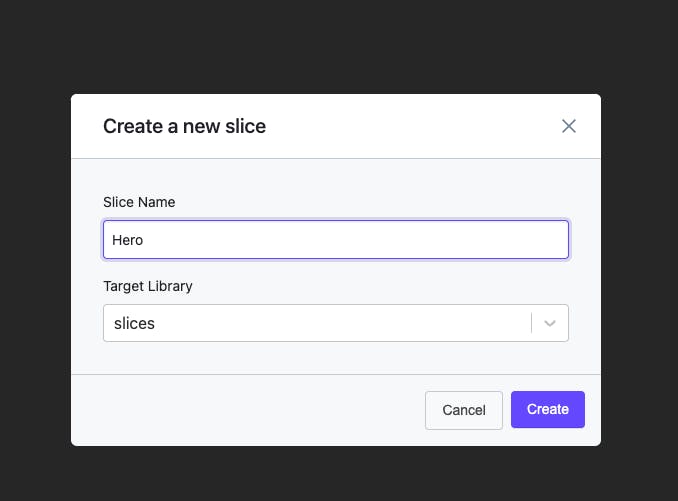
Using only the default fields “Title” and “Description” is fine for now. Push your Slice to Prismic by selecting the “Changes” tab in the lefthand menu, and then selecting the “Push Changes” button in the top right corner of that page.
Creating your Slice will create a Slice component in slices/Hero/index.js and a JSON file outlining the data required slices/Hero/model.json. We can use prismic-ts-codegen to generate the types for us to use in the component by running the following commands:
npm install --save-dev prismic-ts-codegen @prismicio/types
npx prismic-ts-codegen init
npx prismic-ts-codegen
This will create two files for us to use: prismicCodegen.config.ts and types.generated.ts. Really useful! 🙌
After doing that, go to your-project/slices/Hero/index.js. I will be using TypeScript and will change the file name to end with .tsx, but you should still be able to follow along even if you are not familiar with TypeScript. All the required code and types will be provided.
Replace the contents of the file with the following:
// slices/Hero/index.tsx
import { PrismicRichText } from "@prismicio/react";
import { isFilled } from "@prismicio/helpers";
import type { SliceComponentProps } from "@prismicio/react";
import type { HeroSlice } from "types.generated";

type Props = SliceComponentProps<HeroSlice>;

const Hero = ({ slice }: Props) => (
  <section>
    {isFilled.title(slice.primary.title) && (
      <PrismicRichText field={slice.primary.title} />
    )}
    {isFilled.richText(slice.primary.description) && (
      <PrismicRichText field={slice.primary.description} />
    )}
  </section>
);

export default Hero;
Then, in your /app/root.tsx, import PrismicProvider and use the provided component to wrap the Outlet:
// app/root.tsx
import { PrismicProvider } from "@prismicio/react";
import type { MetaFunction } from "@remix-run/node";
import {
  Links,
  LiveReload,
  Meta,
  Outlet,
  Scripts,
  ScrollRestoration,
} from "@remix-run/react";

export const meta: MetaFunction = () => ({
  charset: "utf-8",
  title: "New Remix App",
  viewport: "width=device-width,initial-scale=1",
});

export default function App() {
  return (
    <html lang="en">
      <head>
        <Meta />
        <Links />
      </head>
      <body>
        <PrismicProvider>
          <Outlet />
        </PrismicProvider>
        <ScrollRestoration />
        <Scripts />
        <LiveReload />
      </body>
    </html>
  );
}
In your app/ directory, create a new sub-directory called utils with a file called prismicio.ts and include the following code:
// app/utils/prismicio.ts
import {
  createClient,
  getRepositoryEndpoint,
} from "@prismicio/client";

//Add your unique repository name, such as "my-prismic-remix-site" below
export const repoName = [Insert your unique repository name here];
// If your Prismic repo is private, add your token here:
export const accessToken = "";
export const endpoint = getRepositoryEndpoint(repoName);

export const getPrismicClient = () => {
  return createClient(repoName, {
    accessToken,
  });
};
Be sure to add your unique Prismic repository name to the file above in the noted location.
Getting page data from Prismic
To get page data from Prismic, we first need a Custom Type to create our pages using Slice Machine. Remember, our Custom Type will be like a template that allows content editors to use Slices, like our Hero Slice, when they create new pages. Go to the “Custom Types” tab and select the “Create One” button that appears at the bottom of the dialogue box. Then you’ll see a modal that allows you to select a repeatable or a single type:
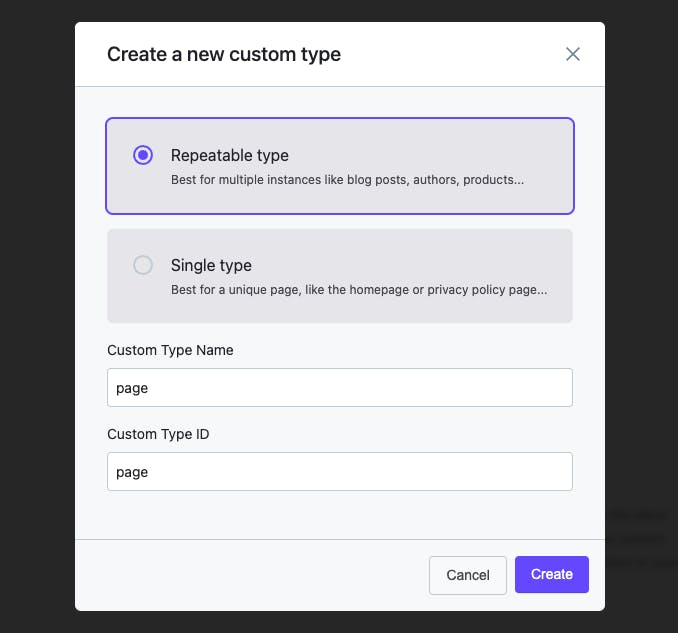
The “Repeatable type” works for this tutorial. Name the Custom Type “page” and select “Create.”
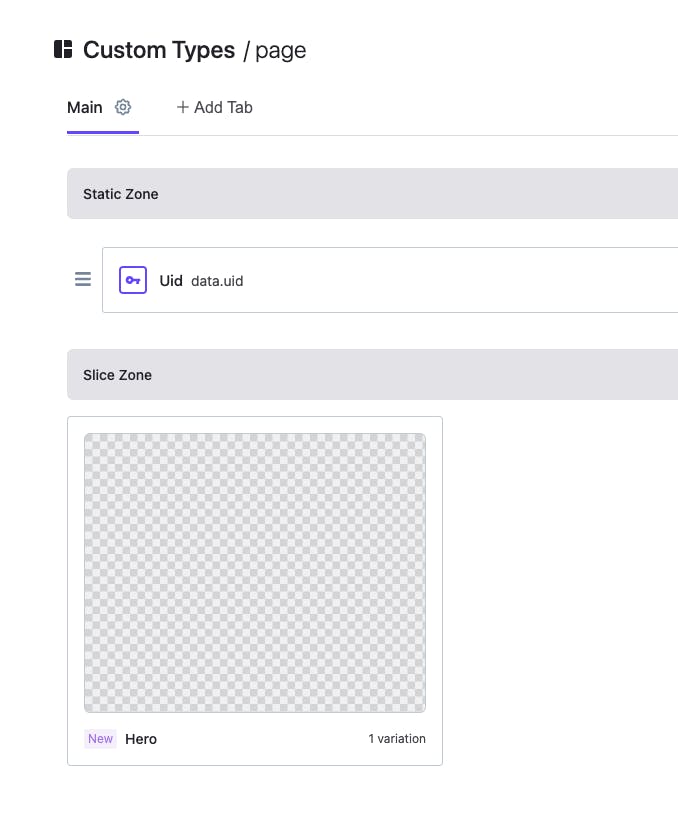
Next, you’ll see the interface for adding and editing fields in your new “page” Custom Type. Add a UID field called uid to your “Static Zone” by selecting “+ Add a new field” and following the prompts; you can name the field uid.
Next, in the “Slice Zone,” select “Add a new Slice” and add your Hero Slice, which should already be available to you. Then save it to your filesystem and navigate to the “Changes” tab again to “Push Changes” to Prismic. This saves the model in your code locally and also sends it to Prismic. This way, your Custom Type and Slices will all appear in Prismic’s custom page builder interface.
Don’t forget to generate your types if you’re using prismic-ts-codegen with the following command:
npx prismic-ts-codegenThen, in your app/routes/index.tsx, add the SliceZone, which simplifies displaying modular Slices on your pages:
// app/routes/index.tsx
import { SliceZone } from "@prismicio/react";
import type { PrismicDocument } from "@prismicio/types";
import type { LoaderFunction } from "@remix-run/node";
import { json } from "@remix-run/node";
import { useLoaderData } from "@remix-run/react";
import Hero from "slices/Hero";
import { getPrismicClient } from "~/utils/prismicio";

export const loader: LoaderFunction = async () => {
	const client = getPrismicClient();
  const customType = "page";
  const uid = "home";

  try {
    const doc = await client.getByUID(customType, uid);
    return json(doc.data);
  } catch (error) {
    throw new Response("Not found", {
      status: 404,
    });
  }
};

export default function Index() {
  const data = useLoaderData<PrismicDocument["data"]>();

  return (
    <div>
      <h1>Welcome to Remix</h1>
      <SliceZone
        slices={data.slices}
        components={{ hero: Hero }}
      />
    </div>
  );
}
Start your development server:
npm run devIf you try to access the homepage now, you will get the standard 404 page. You need to go to your Prismic dashboard and create an instance (what Prismic calls a document) of the page there so that there’s content for your Custom Types to use. When adding content to the page, set the UID field to “home” and fill in the rest of the content:
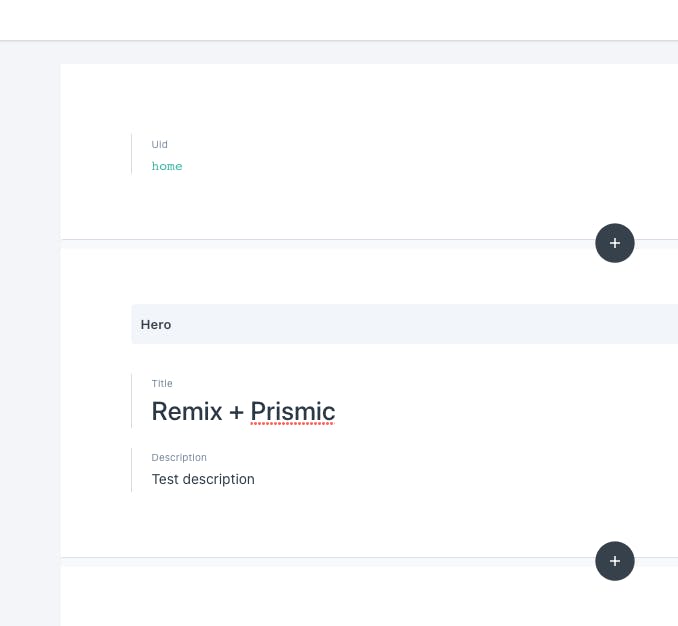
And be sure to use the “+” sign button in the middle of the document to add your Hero Slice. Don’t forget to publish your page with the button in the top right:

If you now refresh your http://localhost:3000, you should see something like this:

Adding dynamic pages
Now, let’s create some pages using a dynamic URL, rather than just the “home” page. Create a file in app/routes called $uid.tsx with almost the same contents as the app/routes/index.tsx. The only difference is how you set the uid, which you get from the params now:
// app/routes/$uid.tsx
import { SliceZone } from "@prismicio/react";
import type { PrismicDocument } from "@prismicio/types";
import type { LoaderFunction } from "@remix-run/node";
import { json } from "@remix-run/node";
import { useLoaderData, useParams } from "@remix-run/react";
import Hero from "slices/Hero";
import { getPrismicClient } from "~/utils/prismicio";

const client = getPrismicClient();

export const loader: LoaderFunction = async ({
  params,
}) => {
  const customType = "page";
  const uid = params.uid as string;

  try {
    const doc = await client.getByUID(customType, uid);
    return json(doc.data);
  } catch (error) {
    throw new Response("Not found", {
      status: 404,
    });
  }
};

export default function Index() {
  const data = useLoaderData<PrismicDocument["data"]>();
  const params = useParams();

  return (
    <div>
      <h1>Welcome to routes/{params.uid}</h1>
      <SliceZone
        slices={data.slices}
        components={{ hero: Hero }}
      />
    </div>
  );
}
With this in place, you should now be able to create new pages in Prismic and access them via http://localhost:3000/<uid>.
For example, I created a new page /about-us :
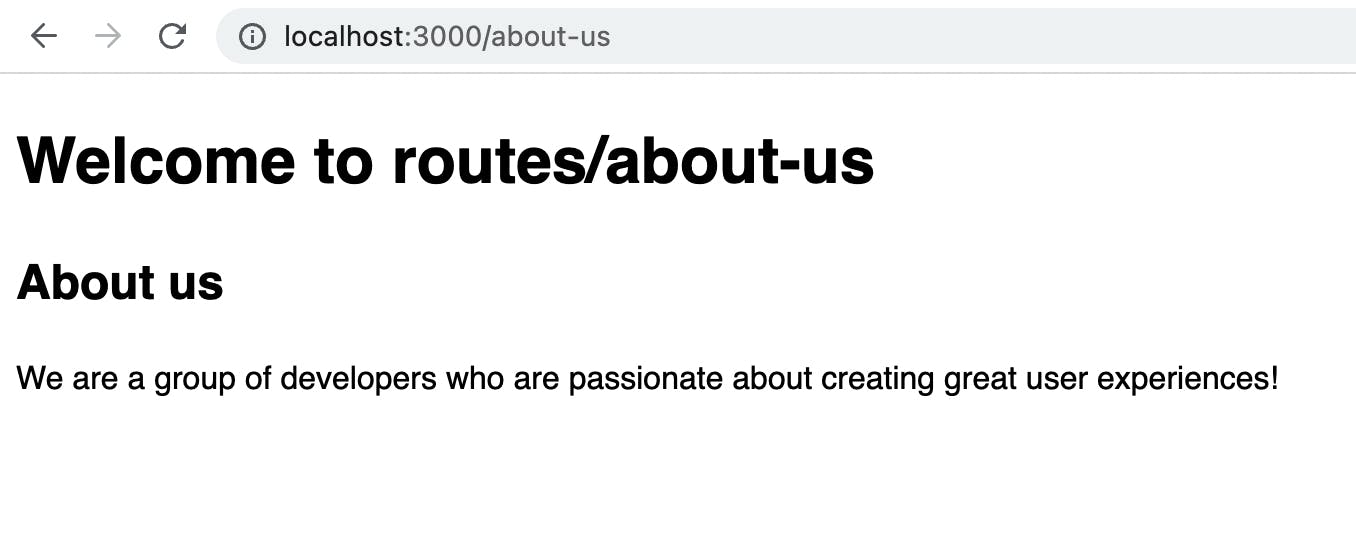
There is a caveat we should address: you can now go to /home and get the same page as the homepage. We can fix that by adding a check for it, but in a real production website project, I would recommend creating a separate Custom Type for your homepage.
Fortunately, Remix has a redirect helper function we can use in our loader on routes/$uid.tsx:
// app/routes/$uid.tsx
import { redirect } from "@remix-run/node";

export const loader: LoaderFunction = async ({
  params,
}) => {
  const customType = "page";
  const uid = params.uid as string;

  if (uid === "home") {
    return redirect("/");
  }

  try {
    const doc = await client.getByUID(customType, uid);
    return json(doc.data);
  } catch (error) {
    throw new Response("Not found", {
      status: 404,
    });
  }
};
Stay on Top of New Tools, Frameworks, and More
Research shows that we learn better by doing. Dive into a monthly tutorial with the Optimized Dev Newsletter that helps you decide which new web dev tools are worth adding to your stack.

Caching data for an even faster website
Even though Prismic’s API is fast, we could still improve our response times by caching the results. To do this, we will create a resource route. A resource route is the same as a regular route in Remix, with the only difference being that you don’t have a default export, so the route does not produce a page.
Let’s start by adding a Link Resolver in app/utils/prismicio.ts so we can check what data belongs to what URL in our application.
// app/utils/prismicio.ts
import type { LinkResolverFunction } from "@prismicio/helpers";

export const linkResolver: LinkResolverFunction = (
  document
) => {
  if (document.isBroken) {
    return "/not-found";
  }
  if (document.type === "page") {
		if (document.uid === "home") {
	    return `/${document.uid}`;
	  }
    return `/${document.uid}`;
  }
  return "/";
};
Then, install lru-cache:
npm install lru-cacheThis package will help us set up our cache.
Create a new file in app/utils called prismicio.server.ts. I have added a function getCachedDataByUID, which can be used as a replacement for client.getByUID() in your routes, and another function addPrismicDocToCache to update the cache.
// app/utils/prismicio.server.ts
import LRU from "lru-cache";
import { getPrismicClient } from "./prismicio";
import type { PrismicDocument } from "@prismicio/types";
import type { AllDocumentTypes } from "types.generated";

const options = {
  max: 500,
};

export const prismicCache = new LRU(options);

export function addPrismicDocToCache(
  uid: string,
  doc: Tdocument
) {
  prismicCache.set(uid, doc);
}

type CustomType = AllDocumentTypes["type"];

export function getCachedDataByUID(
  customType: CustomType,
  uid: string,
  params: Parameters<Client["getByUID"]>[2] = {}
): Promise<PrismicDocument> {
  const client = getPrismicClient();
  const doc = prismicCache.get<PrismicDocument>(uid);
  if (typeof doc !== "undefined") {
    return Promise.resolve(doc);
  }

  return client.getByUID(customType, uid, params);
}
For demonstration purposes, we used an in-memory cache here, but in production scenarios, you might want to choose a more professional approach, such as caching with Redis.
To test your cache we will need to run our application in production mode. You can’t test it using development mode because there is a gotcha: Remix removes most in-memory data during development.
npm run build && npm startLet’s compare the results from before and after adding the cache:
Before adding the cache:
GET / 200 - - 324.050 ms
GET / 200 - - 250.985 ms
GET /about-us 200 - - 202.362 ms
GET /about-us 200 - - 204.043 ms
After adding the cache:
GET / 200 - - 278.968 ms # cache miss
GET / 200 - - 29.736 ms # cache hit
GET / 200 - - 43.403 ms
GET / 200 - - 22.858 ms
GET /about-us 200 - - 235.168 ms # cache miss
GET /about-us 200 - - 34.331 ms # cache hit
GET /about-us 200 - - 23.264 ms
GET /about-us 200 - - 10.937 ms
Adding the cache saves us about 200 milliseconds per request! That is about 90% faster than without the cache.
There is a problem now though: your content will never be updated unless you restart the application, thus clearing the cache. To solve this, we will update the cache via Prismic’s webhooks.
Updating the cached data from Prismic
In order to ensure we’re updating our cached data, we’ll need to create a total of four webhooks:
- Two are for when content in Prismic is updated, so that we can update our cache both locally and in the deployed version of the site.
- Two are for when content in Prismic is unpublished, and again we’ll need one for our local setup and one for the deployed app.
So, let’s get started.
Create a new directory app/routes/prismic with a file called webhook.tsx and add the code for the webhook:
// app/routes/prismic/webhook.tsx
import type { ActionFunction } from "@remix-run/node";
import { json } from "@remix-run/node";
import { getPrismicClient } from "~/utils/prismicio";
import { addPrismicDocToCache } from "~/utils/prismicio.server";

export const action: ActionFunction = async ({
  request,
}) => {
  if (request.method !== "POST") {
    return json({ message: "Method not allowed" }, 405);
  }
  const payload = await request.json();
  if (
    payload.secret !== process.env.PRISMIC_WEBHOOK_SECRET
  ) {
    return json({ message: "Signature mismatch" }, 401);
  }

  return updateCacheEntries(payload);
};

async function updateCacheEntries(payload: any) {
	const client = getPrismicClient();
  try {
    if (
      payload.type !== "api-update" &&
      payload.documents.length <= 0
    ) {
      throw new Error("No documents to update");
    }

    const documents = await client.getAllByIDs(
      payload.documents
    );

    // Get a list of UIDs and use them to update the cache
    await Promise.all(
      documents
        .filter((doc) => !!doc.uid)
        .map(async (doc) => {
          const uid = doc.uid as string;
          console.log(`updating uid ${uid}`);
          const updatedDoc = await client.getByUID(
            doc.type,
            uid
          );
          addPrismicDocToCache(uid, updatedDoc);
        })
    );

    return json({ updated: true }, { status: 200 });
  } catch (err) {
    return json(
      { message: "Error updating cache" },
      { status: 500 }
    );
  }
}
You’ll notice that we reference PRISMIC_WEBHOOK_SECRET in the code here (we’ll create yours shortly). First, to be able to use it, we will add a .env file in the root of the project (you should see and check that Remix automatically added it to the .gitignore file before committing to git again).
# /.env
# Do NOT commit this to git, add the file to your .gitignore
PRISMIC_WEBHOOK_SECRET=YOUR_WEBHOOK_SECRET
Here, you should define the secret key you want to use in place of YOUR_WEBHOOK_SECRET. You’ll now need to connect the secret key in several other places, so make a note of it.
First, we’ll go ahead and add this variable to our Fly.io environment variables. You can do this via the CLI, again replacing the YOUR_WEBHOOK_SECRET part of the command with the secret key you’ve defined:
flyctl secrets set PRISMIC_WEBHOOK_SECRET=YOUR_WEBHOOK_SECRETWhen we set up our webhook in Prismic, we’ll need to provide a URL, which means that in order to see it in action on our local setup, we will need to expose our localhost to Prismic. We can expose our localhost using ngrok’s CLI. You’ll need to install it in your project, and you can find instructions for doing that here.
ngrok http 3000This will provide you with a public URL for your application.
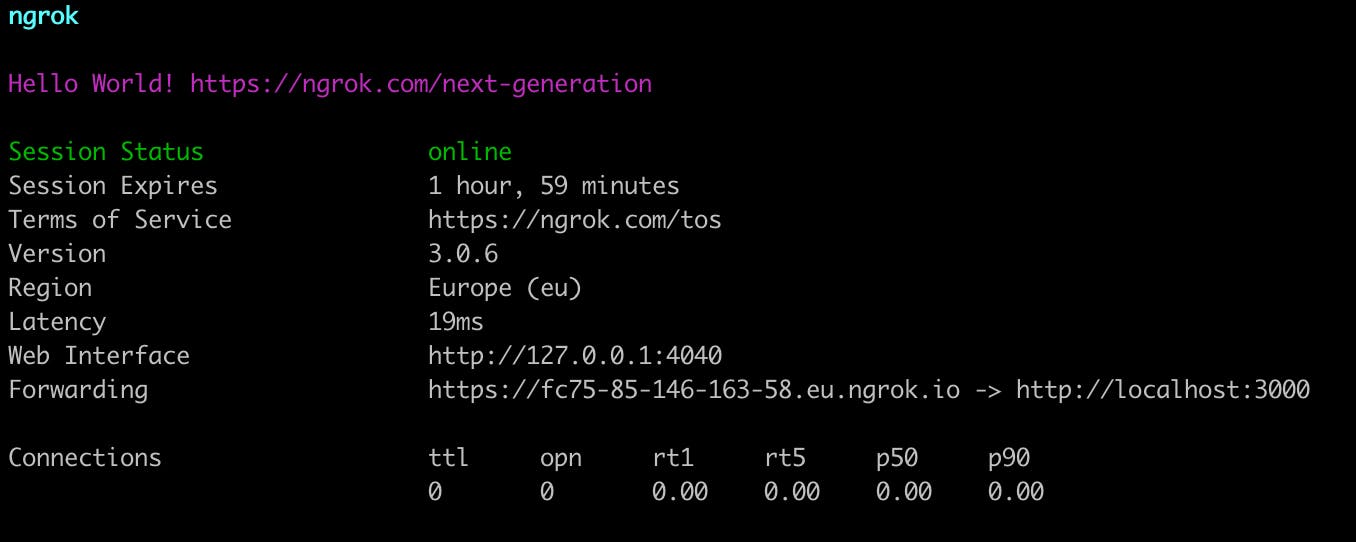
If you open the “Forwarding” URL, you will be shown a page that instructs you to add a token for ngrok. You can use your GitHub account to sign into your ngrok account, and then you can get your token from the your Authtoken page. Add it to your ngrok CLI, and restart ngrok:
ngrok config add-authtoken [YOUR_TOKEN_HERE]
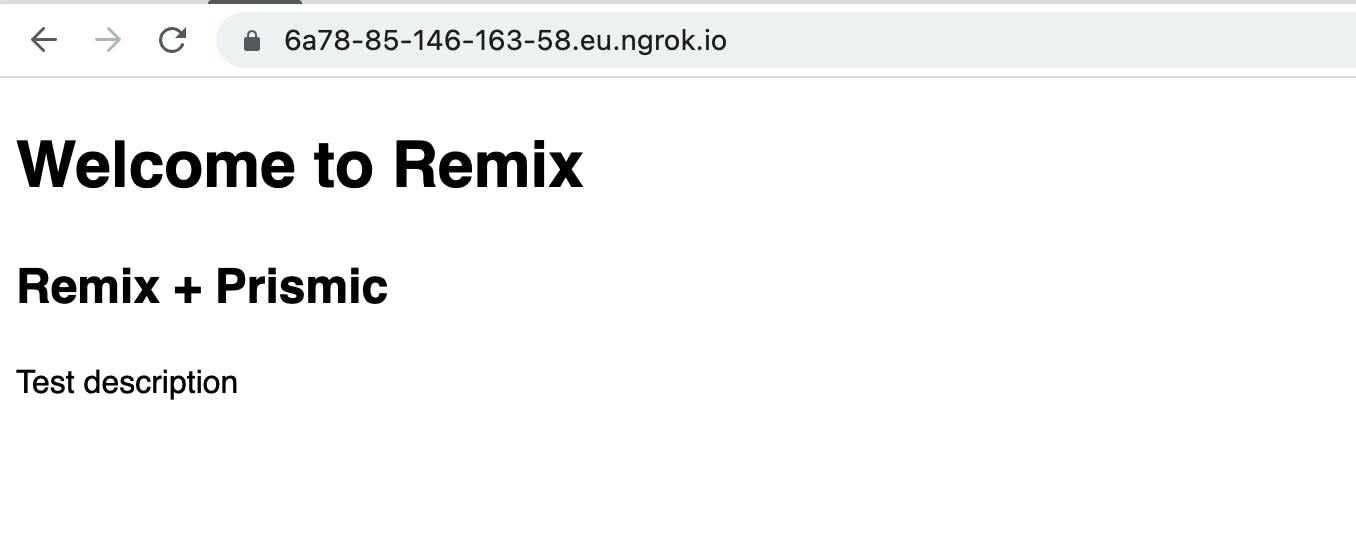
ngrok http 3000The forwarding URL always points back to your localhost instance, so don’t forget that in order to see something at the forwarding URL, you’ll need to have your local setup running. With that in place, you should be able to see your application on your personal ngrok URL:
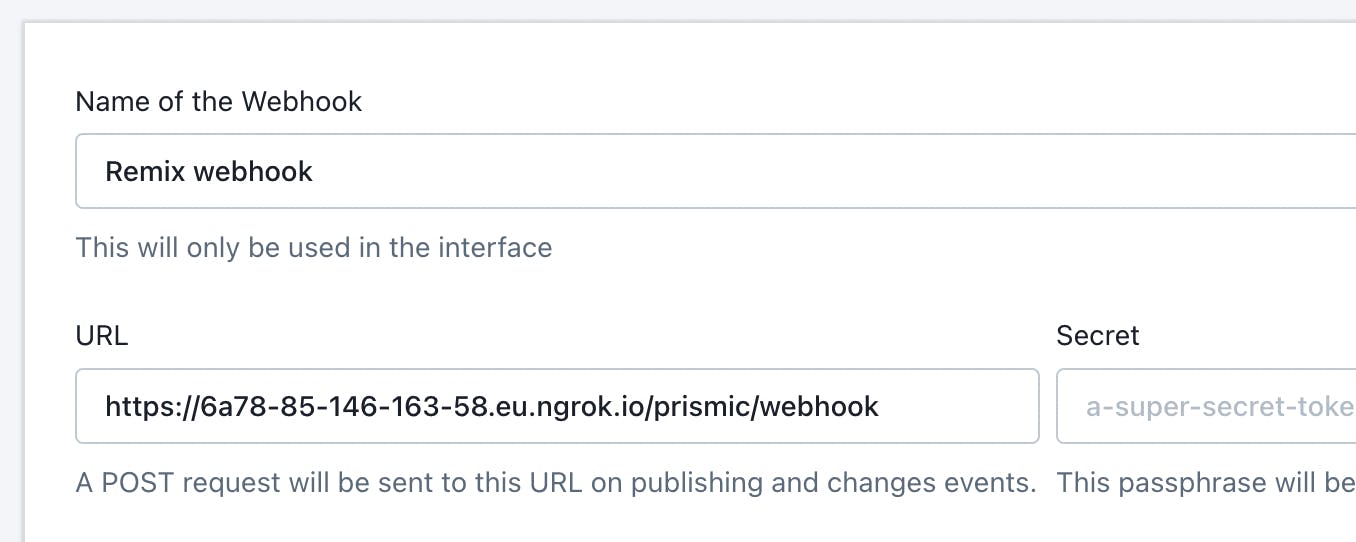
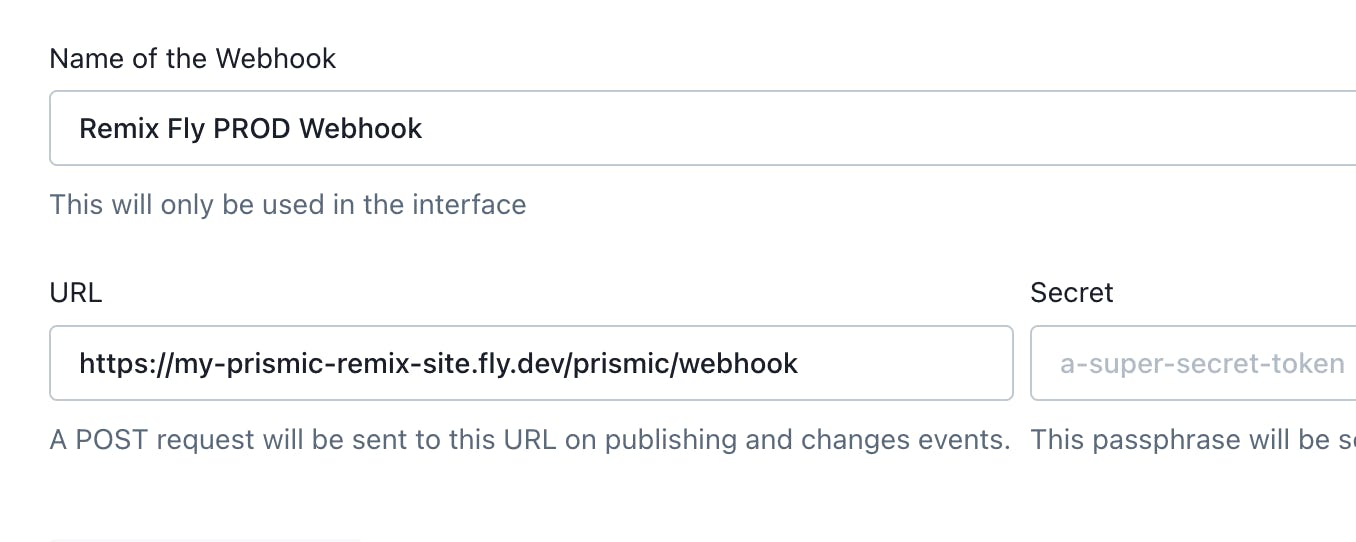
Now, let’s set up our webhook in Prismic. Go to your webhooks page in your Prismic dashboard by going to the settings page (which you can access through the gear icon in the bottom left corner of your repository view) and then to “Webhooks.”
The URL for your webhook will be [your_ngrok_url]/prismic/webhook. Here you can add your webhook URL with the same secret you used earlier for your .env file. Be sure to uncheck the “A document is unpublished” trigger because this webhook will only handle new and edited documents (we’ll handle unpublishing with a separate webhook later).
To test your setup locally, you need to add your PRISMIC_WEBHOOK_SECRET to your npm start command, because Remix ignores your .env file in production mode.
PRISMIC_WEBHOOK_SECRET=YOUR_WEBHOOK_SECRET npm startTrouble running the command above?
If after running the command above you see an error like TypeError: (0 , import_jsx_dev_runtime.jsxDEV) is not a function for your entry.server.tsx file, you may need to run npx remix build before running the command again.
Alternatively, we can test the webhook by deploying the application again:
npm run deployOur deployed application will have a different URL with Fly and will also need its own webhook. So, head back to the Prismic dashboard and create another webhook with the same secret key for our deployed application on Fly, again adding /prismic/webhook to the URL:
When creating this webhook, be sure to again uncheck the trigger “A document is unpublished.”
If you update one of your pages now, and go back to your webhooks, you will see the status:
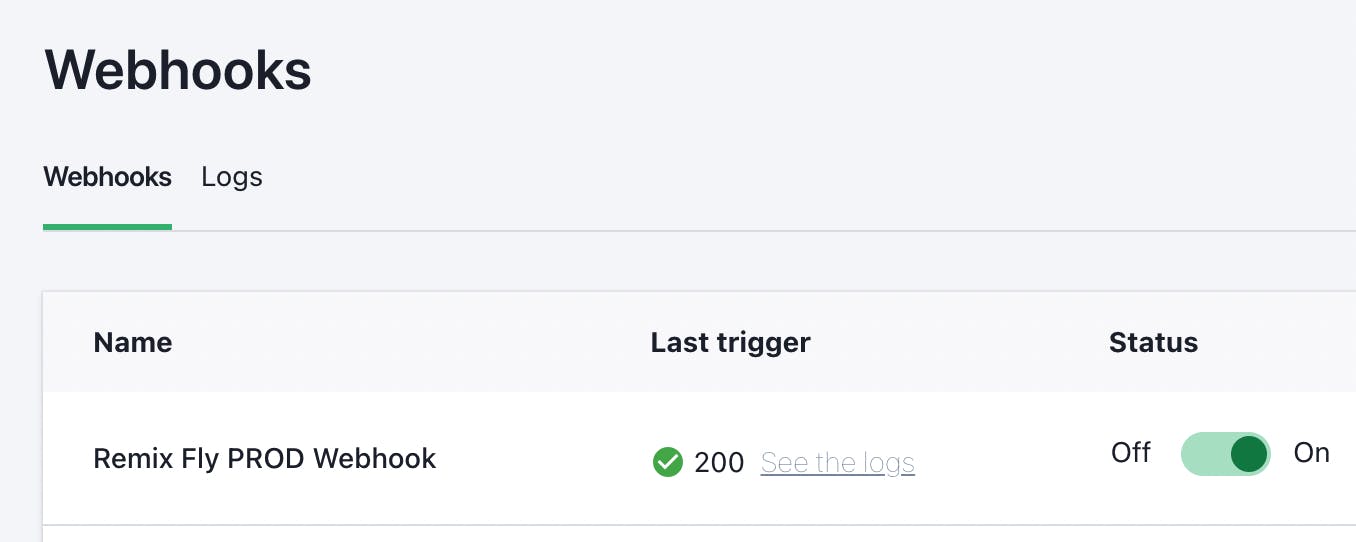
Success! Status 200. This means that our webhook was called and has successfully updated the cache with the latest data.
When visiting the site, you can see in the Fly logs how fast the response was:

I refreshed the page a couple of times after updating my content, and the last one took only 7 milliseconds! 🤯
Deleting cached items
There is one last thing to do, and that is to handle unpublished Prismic documents.
We need a separate webhook for this because the payloads for creating, updating, and deleting documents are identical. But we can create a webhook just for the sake of unpublishing to handle this scenario.
Add this function removePrismicDocFromCache to app/utils/prismicio.server.ts:
// app/utils/prismicio.server.ts
export function removePrismicDocFromCache(uid: string) {
  prismicCache.delete(uid)
}
Create a new file app/routes/prismic/unpublish-webhook.tsx:
// app/routes/prismic/unpublish-webhook.tsx
import type { ActionFunction } from "@remix-run/node";
import { json } from "@remix-run/node";
import { getPrismicClient } from "~/utils/prismicio";
import { removePrismicDocFromCache } from "~/utils/prismicio.server";

export const action: ActionFunction = async ({ request }) => {
  if (request.method !== "POST") {
    return json({ message: "Method not allowed" }, 405);
  }
  const payload = await request.json();
  if (payload.secret !== process.env.PRISMIC_WEBHOOK_SECRET) {
    return json({ message: "Signature mismatch" }, 401);
  }

  return deleteCacheEntries(payload);
};

async function deleteCacheEntries(payload: any) {
  const client = getPrismicClient();
  try {
    if (payload.type !== "api-update" && payload.documents.length <= 0) {
      throw new Error("No documents to delete");
    }

    const documents = await client.getAllByIDs(payload.documents);

    // Go over the list of UIDs and use them to delete items in the cache
    documents
      .filter((doc) => !!doc.uid)
      .map(async (doc) => {
        const uid = doc.uid as string;
        console.log(`deleting uid ${uid}`);
        removePrismicDocFromCache(uid);
      });

    return json({ updated: true }, { status: 200 });
  } catch (err) {
    return json({ message: "Error updating cache" }, { status: 500 });
  }
}
Now we need to create separate webhooks just for unpublishing in Prismic, and we are good to go. Be sure to uncheck all triggers except “A document is unpublished” here:
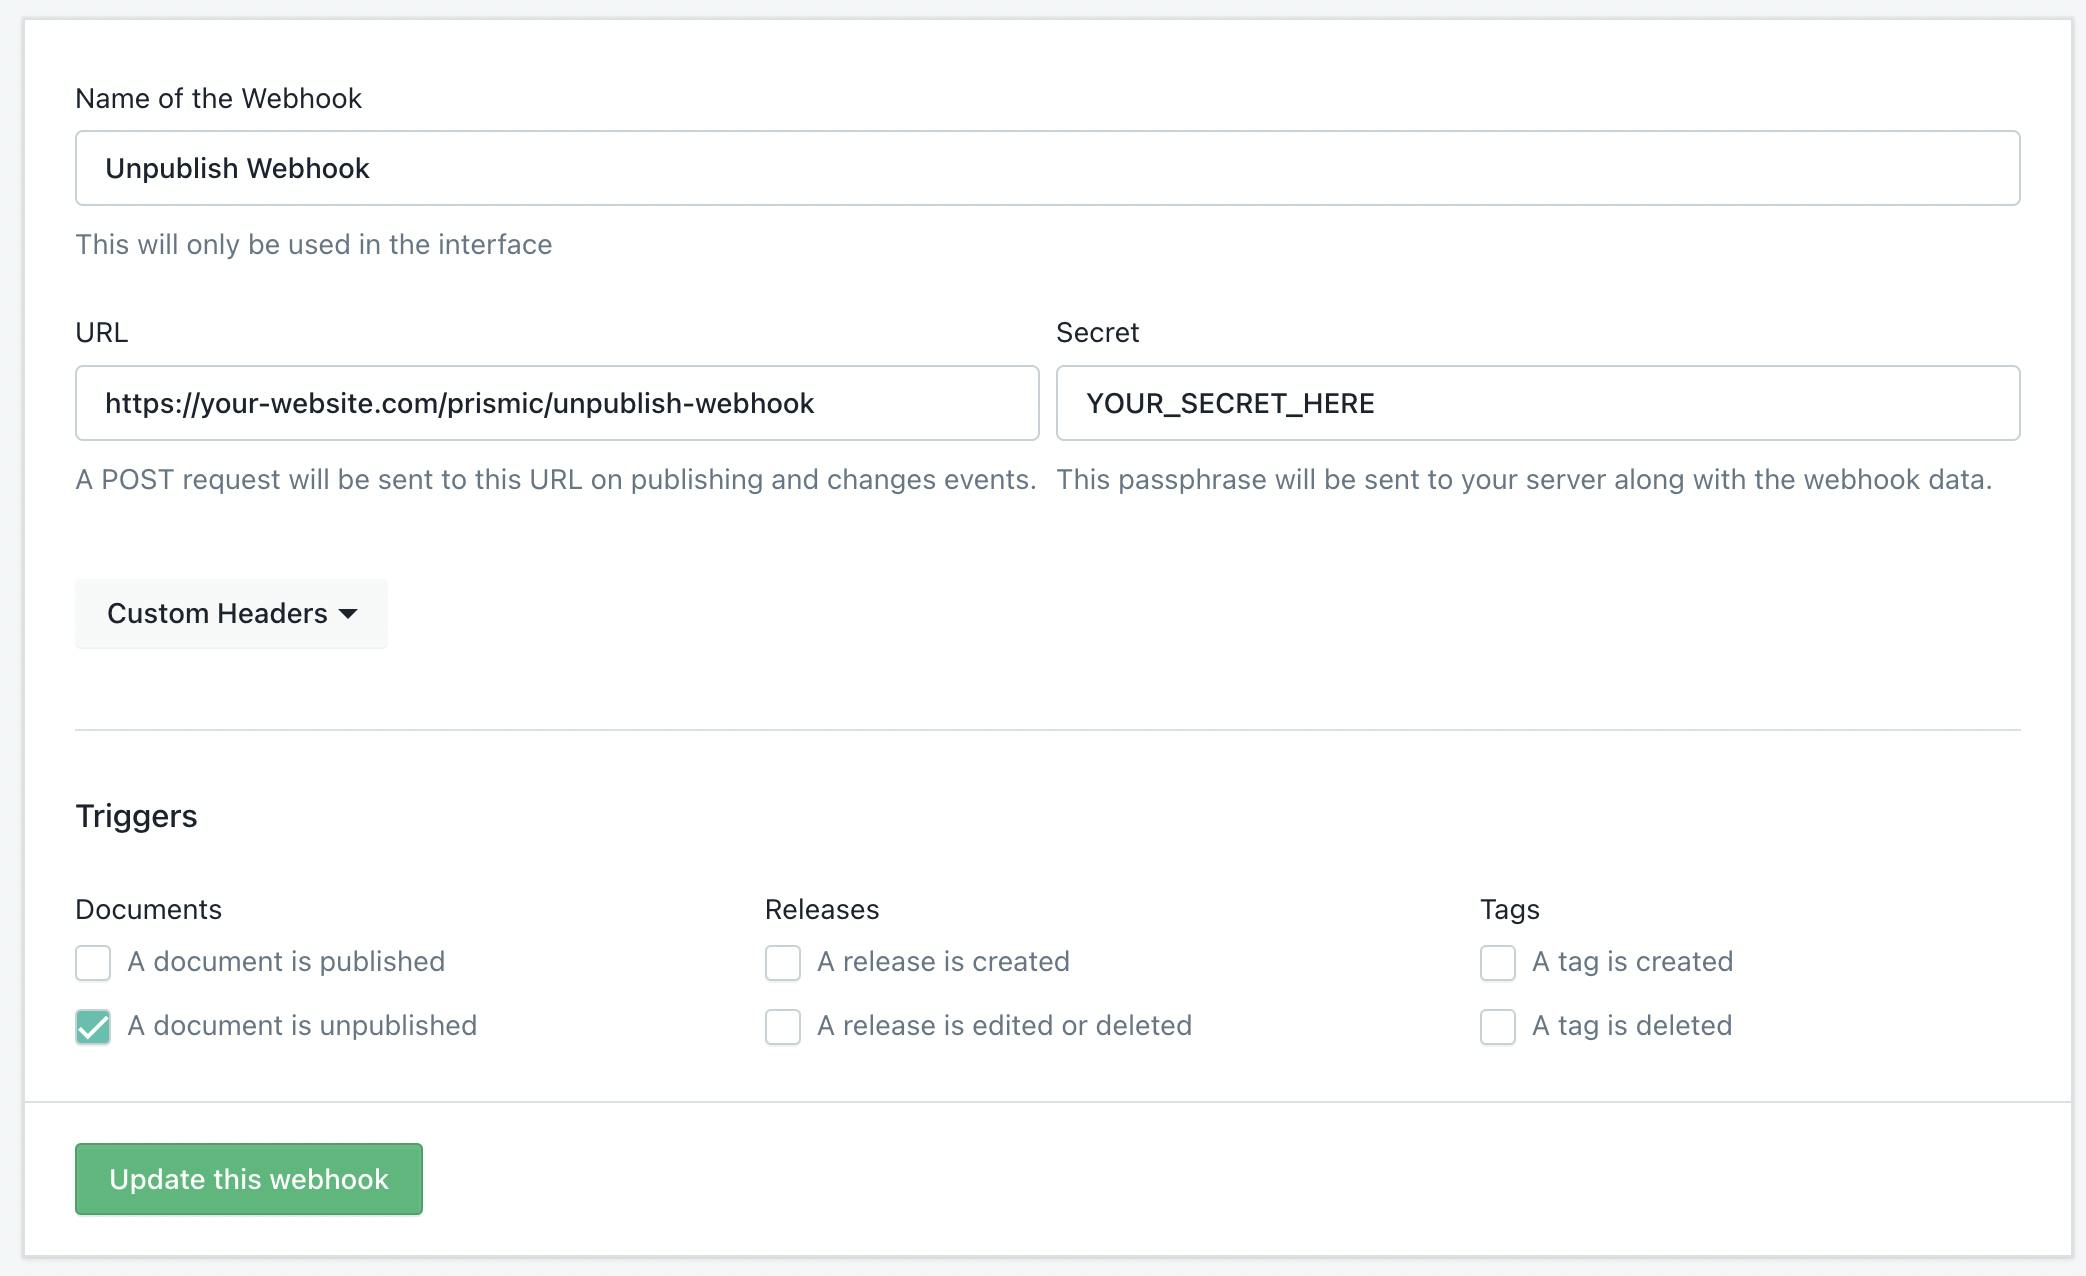
You’ll create the unpublish webhooks for both your local setup and the deployed version of the site again, just like the first two. This time, instead of adding /prismic/webhook to the URL, you’ll add /prismic/unpublish-webhook.
Conclusion
We have looked at some reasons why you might want to choose Remix for your next highly dynamic website.
We then implemented and deployed a Remix website with a headless CMS. We also added caching for faster response times, and we set up a webhook to update the data in our cache. This showed that even though the page was being rendered on the server, it still showed the page quickly.
You can find the source code for this tutorial on GitHub.


