
This month (June 2022), for our Optimized Dev challenge, we took a tour of Svelte, a component framework that takes a different approach to building applications. Svelte takes the work out of the browser and puts it into a build step that compiles and outputs vanilla HTML, CSS, and JavaScript.
🐣 New to Svelte?
New to Svelte? Have a first glance at the Svelte tutorial to pick up the basics, or check out this comparison of Svelte and React to get a sense of the similarities and differences you’ll see.
Challenge Overview
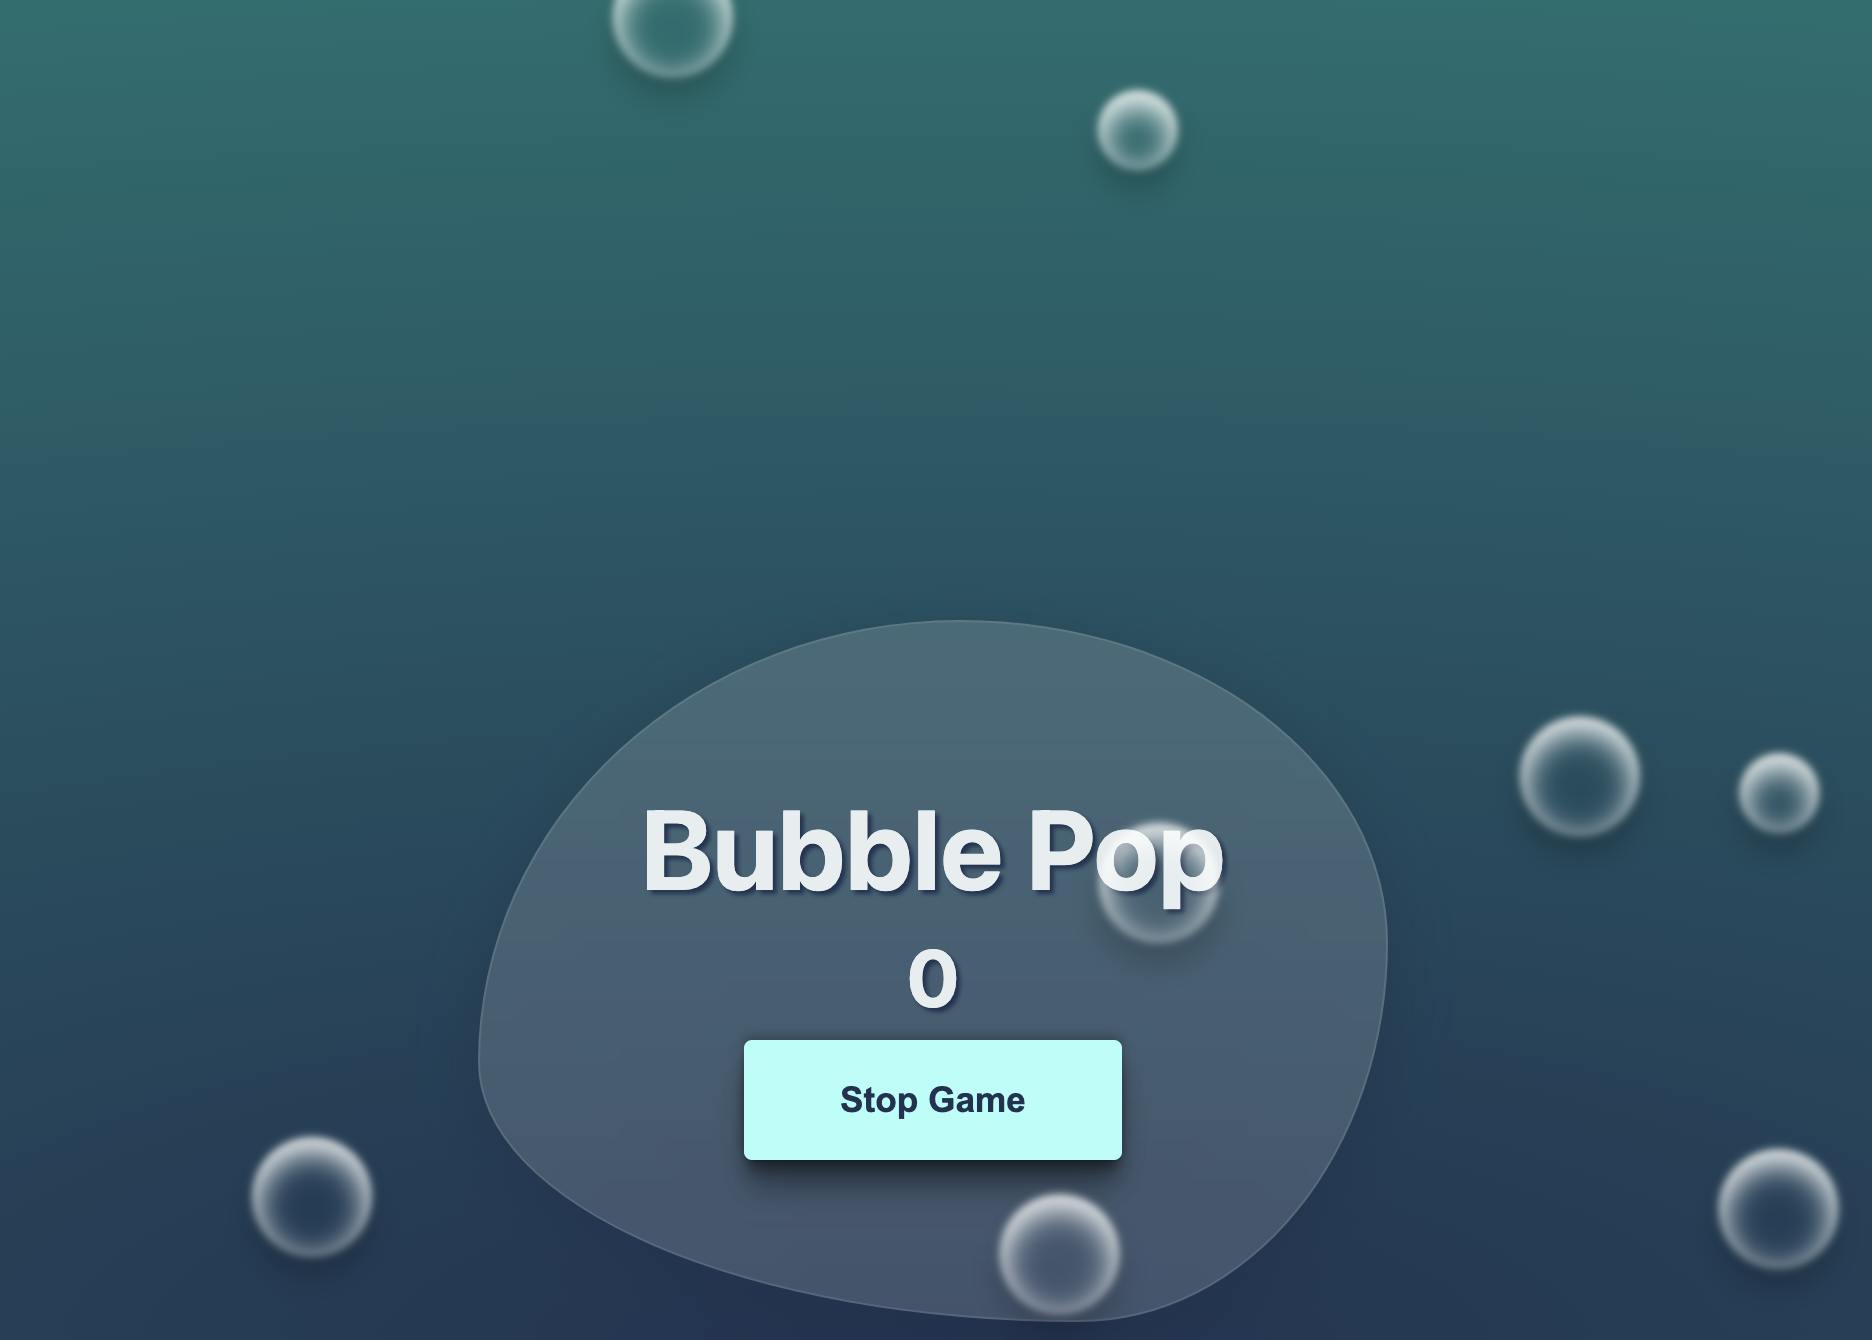
If you're new to The Optimized Dev, welcome! Each month we publish a coding challenge that helps you explore something new in web development. The challenge lasts from the 20th to the 27th of the month, and then we post the solution right here in this post. In this month's challenge, we built a Bubble Pop game! Now with the solution below, you can build one, too.
As you build your bubble-popping app, you’ll learn about some cool things in Svelte:
- You’ll see how you bring logic into its template syntax.
- How to bring data in through stores and to connect those stores to
localStorage. - A look at how binding works in this framework.
- And, through the bonuses, some of the awesome transitions that come built right into Svelte.
Project setup, tour, and help
Setup
To complete this challenge, we recommend you use the StackBlitz Svelte starter with Vite that we set up for you. You can kickstart your own instance of the project using the link below. It is also recommended to use the Chrome browser to run Stackblitz.
Project tour
Our project today is a Svelte application running on Vite. We took care of adding in some base styling in src/lib/styles.css and a conventional folder structure to hold the files we’ll be creating in src/lib. There are also images and sounds in the public folder for extra credit!
src/App.svelteis the main file in this Svelte application. Everything we show on the screen is imported into this file.- The
src/lib/componentsdirectory holds the base markup and styles for each component in our app. - In the
src/lib/components/bubbles, folderBubble.sveltehas some base markup and styles for individual bubbles.Bubbles.svelteis where you’ll take yourBubblecomponent and multiply it for the game. GameBar.svelteholds the markup and styles for the scenes seen in the game.Inputs.svelteis where the game settings that users can control will be. There are markup and styles to start.Footer.svelteis where you can make a fun footer to display your name.- You will also find a
src/lib/stores.js file. This is where you will find some global state for your challenge, and create some of your own. Yoursessionstore will help you keep track of whether the game is in session or not. Thescorestore is the actual score during the game, whilefinalScoreis taken from the winning score input inInputs.svelte. - In
src/lib/utilsyou’ll find a random number generator function and a custom transition for bubble pops that you can use as helpers in different parts of the challenge.
Now we need to put all the pieces together and learn about all the amazing things Svelte gives us out of the box.
Need help?
If you get lost, you can find stepped solutions here, which represent the state of the application at the beginning of each section of the tutorial. Right now, you’re in the same state as 01-templateBlocks.
Not signed up for The Optimized Dev?
Staying on the leading edge of web development just got easier. Explore new tech with a fun, scaffolded coding challenge that lands in your inbox once a month.

Svelte Challenge Solution
The challenge period is already over, so here you'll find the full tutorial solution. Want to join the challenge and explore something new next time around? Be sure to sign up!
Shoutout to our Optimizers!
Way to go on those solutions @trostcodes and @helge_eight! Love the creativity we're seeing from the community. 🚀
Template blocks
Template blocks are ways of expressing logic in the markup of a .svelte file. There are several types of blocks that can be used: if, each, await, and key. Today we will be focusing on the if and each blocks.
Each block
An each block in Svelte allows you to iterate over an array and render the markup inside for each item in the array. In Bubbles.svelte you’ll see the Bubble.svelte file already imported to start you off.
We can use a little JavaScript and a little Svelte magic to take that single Bubble component and make more bubbles. We’ll use the Array() method from JavaScript and the Svelte each block, {#each expression as name, index (key)} to render the Bubble component multiple times. Here we are using 10 bubbles and an underscore, _, to skip the name since it isn’t needed.
<!-- /src/lib/components/bubbles/Bubbles.svelte -->

+ {#each Array(10) as _, i}
	  <Bubble />
+ {/each}
At this point, each bubble would be exactly the same, but repeated 10 times. Let’s add a random function and use Svelte’s style props to create different types of bubbles. A style prop allows you to set a CSS custom property, passing it from parent to child as if it were a prop on a component.
In this case, we’ll set --scale, --offset, --delay, and --speed props for use in CSS styles that have been set in Bubble.svelte to animate each bubble. We’ll use a random number function located in src/lib/utils/random.js to vary each of the props we set.
 <!-- /src/lib/components/bubbles/Bubbles.svelte -->

 <script>
 	import Bubble from './Bubble.svelte'
+	import { random } from '../../utils/random.js';

 </script>

 {#each Array(10) as _, i}
	 <Bubble
+		--scale={random(2, 3.5) / 10}
+		--offset="{i * random(8, 10)}%"
+		--delay="{random(1000, 5000)}ms"
+		--speed="{random(10, 20)}s"
	 />
 {/each}
Now we have 10 different bubbles coming in, but we can’t pop them yet. Let’s head over to Bubble.svelte to try popping some bubbles!
If block
An {#if expression} template block in Svelte allows a piece of markup to be conditionally rendered when wrapped. This template block needs a piece of state or an expression to check against to either render the things inside or not. In the Bubble.svelte file, we will add some state to check if the bubble should be shown or not. At the top of the file, add a <script> block and create a popped variable that is a boolean set to false.
<!-- /src/lib/components/bubbles/Bubble.svelte -->

+ <script>
+  let popped = false
+ </script>
Now we can create an if block around the bubble, checking for a falsey value to conditionally render the bubble.
<!-- /src/lib/components/bubbles/Bubble.svelte -->

 <div class="positioner">
	 <div class="positioner-inner">
+		 {#if !popped}
			 <div class="bubble" />
+		 {/if}
	 </div>
 </div>
Then we need a way to change the value of the conditional. In Svelte, we can add any JavaScript DOM event listeners onto an element with the event name separated by a colon, :.
In this instance, we want to listen for a click on the bubble and fire a function. Add on:click={pop} to the div with the class=”bubble” and create a function, pop(), to change the value of popped.
<!-- /src/lib/components/bubbles/Bubble.svelte -->

 <script>
	 let popped = false
+	 function pop() {
+		 popped = true
+	 }
 </script>

 <div class="positioner">
	 <div class="positioner-inner">
		 {#if !popped}
-       <div class="bubble" />
+			 <div class="bubble" on:click={pop} />
		 {/if}
	 </div>
 </div>
Now we can actually “pop” a bubble!
Svelte stores
Having issues?
Pick up from the stepped solution here.
Now let’s add some global state to our application and start bringing things together so that the app functions like a game. Sometimes you need to share pieces of state in multiple places and they need to stay in sync.
In Svelte, we do that with stores. Now there are three types of stores: writable, readable, and derived. But today we will focus on the writable store that Svelte provides.
Writable stores
Writable stores are created by exporting a variable. These are turned into objects by Svelte with subscribe, set, and update methods. They are used with a special piece of sugar syntax that Svelte provides in the $. The store value can be read and updated anywhere by adding the $ in front, like $score.
Locate the src/lib/stores.js file. We’ve imported writable for you in the starter, as well as put a few stores in place that are connected to localStorage to save the values (more on this later).
As you can see below, the session store helps us track whether or not the game is still in play; the score store helps us track how many bubbles have been popped; the finalScore store helps us track the “Winning Score” inputted by users as the score that ends the game; and the lastScore store helps us track previous high scores.
//src/lib/stores.js

import { writable } from 'svelte/store';

export const session = writable(false);

export const score = writable(0);

export const savedFinalScore = localStorage.finalScore;

export const finalScore = writable(savedFinalScore || 10);

finalScore.subscribe((score) => (localStorage.finalScore = score));

const savedScore = localStorage.score;

export const lastScore = writable(savedScore || null);

lastScore.subscribe((score) => (localStorage.score = score));
Now you’ll start by adding your own writable store to stores.js for totalBubbles. This is the first step for eventually using the value inputted into “Total Bubbles” to set the number of bubbles to display.
+ export const totalBubbles = writable(50)Using stores
Now we can use all of these stores inside our components to make our app interactive. Inside Bubble.svelte, let’s import the score and increase it each time a bubble is popped.
<!-- /src/lib/components/bubbles/Bubble.svelte -->

 <script>
+	 import { score } from '../../stores'

   let popped = false
	 function pop() {
+		 score.set($score + 1)
		 popped = true
	 }
 </script>

 <div class="positioner">
	 <div class="positioner-inner">
		 {#if !popped}
			 <div class="bubble" on:click={pop} />
		 {/if}
	 </div>
 </div>
In the snippet, we import the score from the stores.js file, and inside the pop function, we use the set method to increase the score by one using the $score syntax to get the current value of score.
Reactive statements
Jump over to Bubbles.svelte. Here we are going to import three stores, score, finalScore, and totalBubbles.
<!-- src/lib/components/bubbles/Bubbles.svelte -->

 <script>
	 import { random } from '../../utils/random.js';
	 import Bubble from './Bubble.svelte'
+  import { score, finalScore, totalBubbles } from '../../stores'
 </script>
First, we will use the totalBubbles to sync how many bubbles are being added to the screen. We will do this with a reactive statement. Reactive statements can re-run logic whenever a value that they depend on updates.
The syntax may look a bit odd at first, but the $ pattern in Svelte means that it is a reactive declaration and will recompute the value if it is changed. For stores, the $ comes before the variable, but statements are declared with $:.
<!-- src/lib/components/bubbles/Bubbles.svelte -->

 <script>
	 import Bubble from './Bubble.svelte'
   import { score, finalScore, totalBubbles } from '../../stores'
	 import { random } from '../../utils/random.js';

+	 $: bubbles = new Array($totalBubbles)
 </script>

- {#each Array(10) as _, i}
+ {#each bubbles as _, i}
		  <Bubble
			  --scale={random(2, 3.5) / 10}
			  --offset="{i * random(8, 10)}%"
			  --delay="{random(1000, 5000)}ms"
			  --speed="{random(10, 20)}s"
		  />
  {/each}
We’ll add one more reactive statement here to conditionally hide the bubbles once the game has hit the finalScore. Then we’ll add an if template block to conditionally render the bubbles.
<!-- src/lib/components/bubbles/Bubbles.svelte -->

 <script>
	 import Bubble from './Bubble.svelte'
	 import { score, finalScore, totalBubbles } from '../../stores'
	 import { random } from '../../utils/random.js';

+	 let showBubbles = true

+	 $: if ($score === $finalScore) {
+		 showBubbles = false
+	 }

	 $: bubbles = new Array($totalBubbles)
 </script>


 {#each bubbles as _, i}
+	  {#if showBubbles}
		  <Bubble
			  --scale={random(2, 3.5) / 10}
			  --offset="{i * random(8, 10)}%"
			  --delay="{random(1000, 5000)}ms"
			  --speed="{random(10, 20)}s"
		  />
+	  {/if}
  {/each}
Start game functionality
Having issues?
Pick up from the stepped solution here.
Next up, it’s time to power up the game controls. Import the score and session stores to App.svelte. You’ll find that the game scene’s elements are already in place in this file with the Layout, Bubbles, GameBar, and Input components all ready for you to work with. Now we need a little function to start the game and set those stores.
<!-- src/App.svelte -->

 <script>
	 import './lib/styles.css'
+	 import { score, session } from './lib/stores'
	 import Layout from './lib/components/Layout.svelte'
	 import Bubbles from './lib/components/bubbles/Bubbles.svelte'
	 import GameBar from './lib/components/GameBar.svelte'
   import Input from './lib/components/Inputs.svelte'

+   function startGame() {
+		   score.set(0)
+		   session.set(true)
+   }
 </script>
In the markup, we can use another if and else if block to render the right scene and start the game with an on:click={startGame} on the button.
<!-- src/App.svelte -->

 <Layout>
+	 {#if !$session}
     <Input />
		 <h1>Bubble Pop</h1>
-		 <button>Start Popping</button>
+    <button on:click={startGame}>Start Popping</button>
+	 {:else if $session}
		 <Bubbles />
		 <GameBar />
+	 {/if}
 </Layout>
Binding Values
Having stores that are accessible across the application makes it easy to allow the user to change the settings of the game to fit their needs. Head to the src/lib/components/Inputs.svelte file, and you will see an input for the “Winning Score” and the “Total Bubbles.”
We can import the finalScore and totalBubbles stores to update these values based on inputted values. Svelte provides bind:value syntactic sugar to allow two-way binding between a variable and the input. Add these to the inputs in Inputs.svelte.
<!-- src/lib/components/Inputs.svelte -->

 <script>
+	 import { finalScore, totalBubbles } from '../stores'
 </script>

 <aside class="glass">
	 <h2>Game Settings</h2>

	 <label>
		 Winning Score:
		 <input
			 class="glass"
			 min="1"
			 max="100"
			 type="number"
			 name="score"
+			 bind:value={$finalScore}
	 />
	 </label>

	 <label>
		 Total Bubbles:
		 <input
			 class="glass"
			 min="1"
			 max="100"
			 type="number"
			 name="bubbles"
+			 bind:value={$totalBubbles}
		 />
	 </label>
 </aside>
Now, when the user inputs the number of bubbles they want to see or the winning score they want to end the game, that value will update the stores.
Local storage for stores
Having issues?
Pick up from the stepped solution here.
It’s not any fun if you change the values to what you like and the game just resets the next time you reload the page, though. Let’s refactor our totalBubbles store to store the value in localStorage, like other stores that were already in place in the starter.
We need to use the subscribe method from the stores to listen for the value to update and then set it. This is done in a few steps. Inside of src/lib/stores.js, first, let’s create a savedBubbles variable to access the localStorage value.
//src/lib/stores.js

+ const savedBubbles = localStorage.bubbles
Next, we can update the totalBubbles store to use that or an initial value and subscribe to the localStorage value. (Make sure you position savedBubbles to initialize before totalBubbles.)
//src/lib/stores.js

- export const totalBubbles = writable(50)
+ export const totalBubbles = writable(savedBubbles || 50)

+ totalBubbles.subscribe(bubbles => localStorage.bubbles = bubbles)
Now, whenever the user inputs their preferred total number of bubbles, it can be stored in localStorage.
You should have a fully working game, and you’ve already seen some cool things about Svelte. From state and stores to logic and more, you’ve toured some key concepts. But, if you’d like to keep learning, you can keep powering up your game with the bonus steps!
❓Bubbles still showing after the game is over? Try this.
Try the following code if you encounter a bug that keeps showing the bubbles after the game is over. Each Svelte component has a lifecycle; onMount is when the component is first mounted to the DOM. We use that to set a timeout to trigger the showBubbles variable and a reactive statement to set it to false when the score and the final score are equal.
<script>
import { onMount } from 'svelte';
import { random } from '../../utils/random.js';
import { score, finalScore, totalBubbles } from '../../stores';
import Bubble from './Bubble.svelte';

let timeout;
let showBubbles = true;

onMount(() => {
  if (timeout) setTimeout(() => (showBubbles = false), timeout);
  });

$: if ($score === $finalScore) {
  showBubbles = false;
  }

$: bubbles = new Array($totalBubbles);

</script>

{#each bubbles as _, i}
  {#if showBubbles}
    <Bubble
      --scale={random(2, 3.5) / 10}
      --offset="{i * random(8, 10)}%"
      --delay="{random(1000, 5000)}ms"
      --speed="{random(10, 20)}s"
    />
  {/if}
{/each}
🌟 Bonuses
Having issues?
Pick up from the stepped solution here.
Adding transitions
The transition: directive in Svelte is triggered when an element enters or leaves the DOM. An element that is transitioning out will stay on the screen until the transition has finished. These transitions can be separated or excluded by using an in: and/or out: directive. There are seven built-in transition functions in Svelte, but today we will work with fade and fly and build a custom transition.
Fade
A fade transition goes from 0 to 1 opacity over a set amount of time. The default duration is 400 milliseconds, but it can be customized with a parameter. The fade transition accepts delay, duration, and easing parameters. In GameBar.svelte, let's import and use a fade transition on the aside with the class of glass.
<!-- /src/lib/components/GameBar.svelte -->

 <script>
+  import { fade } from 'svelte/transition';
	 import { session, lastScore, score, finalScore } from '../stores';

   function resetGame() {
		const highScore = $score > $lastScore ? $score : $lastScore;
		lastScore.set(highScore);
		session.set(false);
	 }

   let bubbles = document.querySelector('#bubbles');

   $: if ($score === $finalScore) {
		 if (bubbles) bubbles.style.display = 'none';
	 }
 </script>

 {#if $score === $finalScore && $session}
	 <section>
		 <h1>You Win 🥳</h1>
		 <button on:click={resetGame}>Play Again</button>
	 </section>
 {:else if $session}
-	 <aside class="glass">
+  <aside class="glass" transition:fade>
		 <h1>Bubble Pop</h1>
		 <h2>{$score}</h2>
		 <button on:click={resetGame}>Stop Game</button>
	 </aside>
 {/if}
Fly
Continuing with GameBar.svelte, the fly transition will animate the x and/or y position and the opacity of an element over a duration. The x and y values are defaulted to zero, so a parameter must be set to tell the transition where to start from. The duration is also 400 milliseconds by default. These can be changed with the optional parameters: delay, duration, easing, and opacity. We can make the “You win” section fly upwards when it is rendered by adding fly to the import statement and setting an in: directive on the section wrapping it.
<!-- /src/lib/components/GameBar.svelte -->

 <script>
-  import { fade } from 'svelte/transition';
+  import { fly, fade } from 'svelte/transition';
	 import { session, lastScore, score, finalScore } from '../stores';

   function resetGame() {
		const highScore = $score > $lastScore ? $score : $lastScore;
		lastScore.set(highScore);
		session.set(false);
	 }

   let bubbles = document.querySelector('#bubbles');

   $: if ($score === $finalScore) {
		 if (bubbles) bubbles.style.display = 'none';
	 }
 </script>

 {#if $score === $finalScore && $session}
-	 <section>
+  <section in:fly={{ y: 200, duration: 1000 }}>
		 <h1>You Win 🥳</h1>
		 <button on:click={resetGame}>Play Again</button>
	 </section>
 {:else if $session}
   <aside class="glass" transition:fade>
		 <h1>Bubble Pop</h1>
		 <h2>{$score}</h2>
		 <button on:click={resetGame}>Stop Game</button>
	 </aside>
 {/if}
Next we’ll discuss custom transitions.
Custom Transitions
Svelte provides many transitions out-of-the-box, and they can even be customized with parameters, but even further we can create our own custom transitions! A custom transition can be created with a function that takes two arguments, a node and any parameters that need to be passed in as an object. Inside the function, the transition is created and a transition object that can have the following properties:
delay— milliseconds before the transition beginsduration— length of the transition in millisecondseasing— ap => teasing function (see the chapter on tweeting in Svelte’s documentation)css— a(t, u) => cssfunction, whereu === 1 - ttick— a(t, u) => {...}function that has some effect on the node
Easing Functions
Another thing Svelte provides for transitions is easing functions that can be imported to specify the rate of change over time. In the src/lib/utils/popTransition.js file, you’ll find a custom transition that uses the quintIn easing function from Svelte.
//src/lib/utils/popTransition.js

import { quintIn } from 'svelte/easing'

export const popTransition = (node, options) => {
		const opacity = getComputedStyle(node).opacity

		return {
			easing: quintIn,
			duration: options.duration || 200,
			delay: options.delay || 0,

			css: (t, u) => `transform: scale3d(${u + 1}, ${u + 1}, ${u + 1}); opacity: ${t * opacity}`
		}
	}
Let’s use it in Bubble.svelte to add the transition to our bubble when it pops. First import the file, and then add the transition to the bubble div in the markup.
<!-- /src/lib/components/bubbles/Bubble.svelte -->

 <script>
+	 import { popTransition } from '../../utils/popTransition';
	 import { score } from '../../stores';

	 let popped = false;

	 const pop = () => {
		 score.set($score + 1);
		 popped = true;
	 };

 </script>

 <div class="positioner">
	 <div class="positioner-inner">
		 {#if !popped}
-			 <div class="bubble" on:click={pop} />
+			 <div class="bubble" on:click={pop} transition:popTransition|local />
		 {/if}
	 </div>
 </div>
One more thing to note here is that we also used a |local modifier on the transition directive, transition:popTransition. This allows the transition to only run when the element it is on is created or destroyed and not when its parent blocks are. This localizes the transition to the bubble div.
Displaying the high score
In App.svelte we can also use stores to display a user’s previous high score. We need another if block to check if the lastScore is not null and render the previous high score. App.svelte should look like this now.
<!-- src/App.svelte -->

  <script>
 	  import './lib/styles.css'
-	  import { score, session } from './lib/stores'
+	  import { score, session, lastScore } from './lib/stores'
	  import Layout from './lib/components/Layout.svelte'
	  import Bubbles from './lib/components/bubbles/Bubbles.svelte'
	  import GameBar from './lib/components/GameBar.svelte'
	  import Inputs from './lib/components/Inputs.svelte'
    import { onMount } from 'svelte/internal';

	  onMount(() => {
		  session.set(false);
	  });

	  function startGame() {
		  score.set(0)
		  session.set(true)
	  }
  </script>

  <Layout>
	  {#if !$session}
		  <Input />
		  <h1>Bubble Pop</h1>
		  <button on:click={startGame}>Start Popping</button>
+		  {#if $lastScore !== 'null'}
+			  <h2>Previous High Score: {$lastScore}</h2>
+		  {/if}
	  {:else if $session}
		  <Bubbles />
		  <GameBar />
	  {/if}
  </Layout>
Adding confetti
One fun touch that we can add to make the game more exciting is some fun confetti that explodes at the “You Win” message. When you initialized the project, the svelte-confetti-explosion npm package was installed from the package.json.
We can use its <ConfettiExplosion/> component by importing it inside GameBar.svelte. We wrap it in a div to give it some CSS to position it correctly. The final GameBar.svelte file looks like this.
<!-- src/lib/components/GameBar.svelte -->

 <script>
	 import { fly, fade } from 'svelte/transition';
	 import { session, lastScore, score, finalScore } from '../stores';
+	 import { ConfettiExplosion } from 'svelte-confetti-explosion';

	 function resetGame() {
		 const highScore = $score > $lastScore ? $score : $lastScore;
		 lastScore.set(highScore);
		 session.set(false);
	 }
	 let bubbles = document.querySelector('#bubbles');
	 $: if ($score === $finalScore) {
		 if (bubbles) bubbles.style.display = 'none';
	 }
 </script>

 {#if $score === $finalScore && $session}
	 <section in:fly={{ y: 200, duration: 1000 }}>
		 <h1>You Win 🥳</h1>
		 <button on:click={resetGame}>Play Again</button>
	 </section>
+	 <div>
+		 <ConfettiExplosion />
+	 </div>
 {:else if $session}
	 <aside class="glass" transition:fade>
		 <h1>Bubble Pop</h1>
		 <h2>{$score}</h2>
		 <button on:click={resetGame}>Stop Game</button>
	 </aside>
 {/if}
Now there’s confetti, but what about bubble popping sounds?
Svelte actions
In the files for the app, I included two popping sounds. We can use these in a Svelte action to make the bubbles really POP!
First, we will make another util function by creating a src/lib/utils/sounds.js file. Inside we need to import the sounds and then a function to pick one at random.
//src/lib/utils/sounds.js

const sounds = ['/sounds/pop1.mp3', '/sounds/pop2.mp3']

export const randomSound = sounds[Math.floor(Math.random() * sounds.length)]
Create an actions folder in the src/lib/ directory and a pop.js file inside it.
Actions in Svelte are essentially lifecycle functions for an element. They are used for third-party libraries, tooltips, lazy-loading images, and for adding custom event handlers like we are here.
We import the randomSound function and use the Audio JavaScript function to initiate a new random sound each time the node is “clicked.” We also need to remove the event listener when the node is destroyed to prevent memory leaks.
//src/lib/actions/pop.js

import { randomSound } from '../utils/sounds'

export function popSound(node) {
  const handleClick = e => {
    if (node.contains(e.target)) {
      const popSound = new Audio(randomSound)
      popSound.play()
      node.dispatchEvent(new CustomEvent("pop"))
    }
  }

  document.addEventListener("click", handleClick, true)

  return {
    destroy() {
      document.removeEventListener("click", handleClick, true)
    }
  }
}
Now we can import and use this new action with the use:popSound syntax in the Bubble.svelte file on the div with the class “bubble.”
<!-- src/lib/components/bubbles/Bubble.svelte -->

 <script>
	 import { popTransition } from '../../utils/popTransition';
	 import { score } from '../../stores';
+	 import { popSound } from '../../actions/pop';

	 let popped = false;

	 const pop = () => {
		 score.set($score + 1);
		 popped = true;
	 };
 </script>

 <div class="positioner">
	 <div class="positioner-inner">
		 {#if !popped}
-			 <div class="bubble" on:click={pop} transition:popTransition|local />
+      <div class="bubble" on:click={pop} use:popSound transition:popTransition|local />
		 {/if}
	 </div>
 </div>
I hope you enjoyed creating your own Bubble Pop app and learned how powerful Svelte is along the way. You can find a fully complete version of the code here if you got stuck somewhere along the way! Have fun until next time!


