Explore the Benefits of Astro.js by Building a Quick App
 By Ben Holmes
If you're keeping up with the latest web dev tools, you've probably built some sort of “web app" using meta-frameworks like Next.js, Nuxt, SvelteKit, Angular, and more. These all offer some serious strengths:
- The freedom to think in components to isolate and reuse parts of your UI.
- JS-driven interactivity to add page transitions, image carousels, multi-step forms, and the like.
- Options to render at build-time or on-request using servers and serverless functions.
These are great benefits. Heck, even table stakes these days. But these frameworks often come at a cost: shipping more code than your user needs.
Tools like Next.js and Angular effectively ship JavaScript for every element on the page, just in case you need some interactivity. The simpler your site, the more this hydration code becomes a needless hit to your page load times and other core web vitals.
That's why we're exploring Astro.js in this issue of The Optimized Dev.
Not signed up for The Optimized Dev?
Staying on the leading edge of web development just got easier. Explore new tech with a fun, scaffolded coding challenge that lands in your inbox once a month.

Let’s talk about Astro.js
Astro is a web framework that checks all the bullets we listed above, but without the JavaScript bloat. Where a Next.js homepage may hit 100+KB of JavaScript, Astro can pull this down to less than 10 KB while letting you use the tools you love: React, Vue, Svelte, Markdown, and more.
Astro really shines on content-driven websites like marketing pages and blogs, where Time to First Byte and developer ergonomics are key. To put this to the test, we're going to keep things small by … browsing the entire universe 🌌
We’re going to build a space imagery explorer powered by the NASA API, a couple Svelte components for those carousel transitions, and Astro SSR to generate unique URLs for every "learn more" page. Through this app, we’ll get to see the benefits of Astro.js in action. Astro.js:
- Is about starting simple, and adding complexity where needed.
- Is about zero-config — any config explained will be handled by our
astro addCLI command (i.e. add Svelte support withastro add svelte). - Can deploy to serverless. To showcase this, we will tackle a use case where static sites fail us and server-side rendering shines.
- Supports any component framework, with opt-ins to ship client-side JavaScript.
- Makes talking to APIs very simple with built-in
fetchsupport. We will use this to call a third-party to get usable data.
Prismic's Selected Frameworks
This Astro tutorial serves as a creative exploration or a 'toy project'. For professional-grade company websites, Prismic strongly recommends Nuxt, Next.js, and SvelteKit. These frameworks offer robust features and community support, ideal for enterprise solutions.
Explore our Next.js tutorial, Nuxt tutorial or Sveltekit tutorial.
Getting started
Open this project on Stackblitz to follow along 🚀
This is a tweaked version of the Astro Basics template that you can use for future projects!
Now, you can poke around the repo to get comfortable with Astro’s conventions. If you’re coming from Next.js, you’ll notice a familiar folder structure:
pages/for your routes. This is the only “magic” folder undersrc, where every file translates to a live URL on your site.components/for static and interactive components. These could be written in Astro syntax, React, Vue, Svelte, etc.layouts/for your page layouts. You will import and use these in yourpageslike any other component.
Shout out to our Optimizers!
Thanks for sharing your challenge with us @helge_eight! Who else has been following along each month? Let us know! 🚀
Make our first fetch call
To start, let’s head to our homepage (src/pages/index.astro) and add a fetch call to the page's front-matter (aka the space between those --- fences). This is where all server-side logic will go. If you're coming from Next.js, think of this like your getStaticProps and/or getServerSideProps:
---
import Layout from '../layouts/Layout.astro';

const images = await fetch(
  `https://api.nasa.gov/planetary/apod?api_key=DEMO_KEY&count=10`
).then(res => res.json());

console.log(images)
---
Notice we could use await and fetch at the top of the file, no setup necessary. These are both supported out-of-the-box by Astro!
Now if you open your console, you should see a list of 10 random, intergalactic images from the NASA API 🪐
[
  {
    date: '2013-11-05',
    explanation: "ven though Kepler-78b is only...",
    hdurl: '<https://apod.nasa.gov/apod/image/1311/kepler78b_cfa_2400.jpg>',
    media_type: 'image',
    service_version: 'v1',
    title: 'Kepler-78b: Earth-Sized Planet Discovered',
    url: '<https://apod.nasa.gov/apod/image/1311/kepler78b_cfa_960.jpg>'
  },
  ...
]
We're using their DEMO_KEY as our API key for now, but feel free to request your own API key if you run into rate limiting. Don’t worry, it's free and quick to request!
Add type safety
Just a note: This section won’t offer type hints in the online StackBlitz editor just yet! If you clone this project locally, you should enjoy Intellisense in VS Code.
Astro also comes with built-in TypeScript support. We use a relaxed tsconfig.json by default so you can use TS when you want to, and ignore it when you don't. Here, we'll assign a type to our array of NASA imagery:
<!--src/pages/index.astro-->
---
import Layout from '../layouts/Layout.astro';

type Image = {
  title: string;
  explanation: string;
  media_type: 'image' | 'video';
  /** Date published in YYYY-MM-DD format */
  date: string;
  /** Video URL or standard resolution image URL */
  url: string;
  /** High-res image URL (for media_type: 'image' only) */
  hdurl?: string;
  /** API version. Defaults to "v1" */
  service_version: string;
}

const images: Image[] = await fetch(
  `https://api.nasa.gov/planetary/apod?api_key=DEMO_KEY&count=10`
).then(res => res.json());

console.log(images)
---
Challenge step [solved]: Display some images
Now that we have our data, let's render these to an interactive carousel. We could use Astro's Preact or Vue integrations here, but Svelte’s transition API should make animating our carousel a bit simpler. See our React vs. Svelte article if you're curious about where Svelte shines.
To add Svelte support, stop the dev server from your terminal with ^C and run:
# Linux and MacOS
astro add svelte
# Windows
npx astro add svelte
You can restart the dev server by running npm run dev.
This will update your config file and install all necessary dependencies for you. You can learn more by running astro add for a help page.
Let's start by displaying all of our images statically. To speed us along, we’ve included a basic component for displaying this media under src/components/Image.svelte. This component accepts our media info as props (title, url, alt, and media_type), and displays within a captioned figure element.
We can use this component on our index.astro page like any other component. Just import at the top of our pages/index.astro:
<!--src/pages/index.astro-->
---
import Layout from '../layouts/Layout.astro';
import Image from '../components/Image.svelte';
...
And use the component in your HTML. Since Astro files support JSX syntax, we'll render each image in our list using a .map over the images array:
<!--src/pages/index.astro-->
---
import Layout from '../layouts/Layout.astro';
import Image from '../components/Image.svelte';
type Image = ...
const images: Image[] = await fetch(
`https://api.nasa.gov/planetary/apod?api_key=DEMO_KEY&count=10`
).then(res => res.json());
---
<Layout title="Welcome to Astro.">
<main>
<h1>Welcome to <span class="text-gradient">Star Gazers</span></h1>
{images.map(image => (
<Image
title={image.title}
url={image.url}
alt={image.explanation}
media_type={image.media_type}
/>
))}
</main>
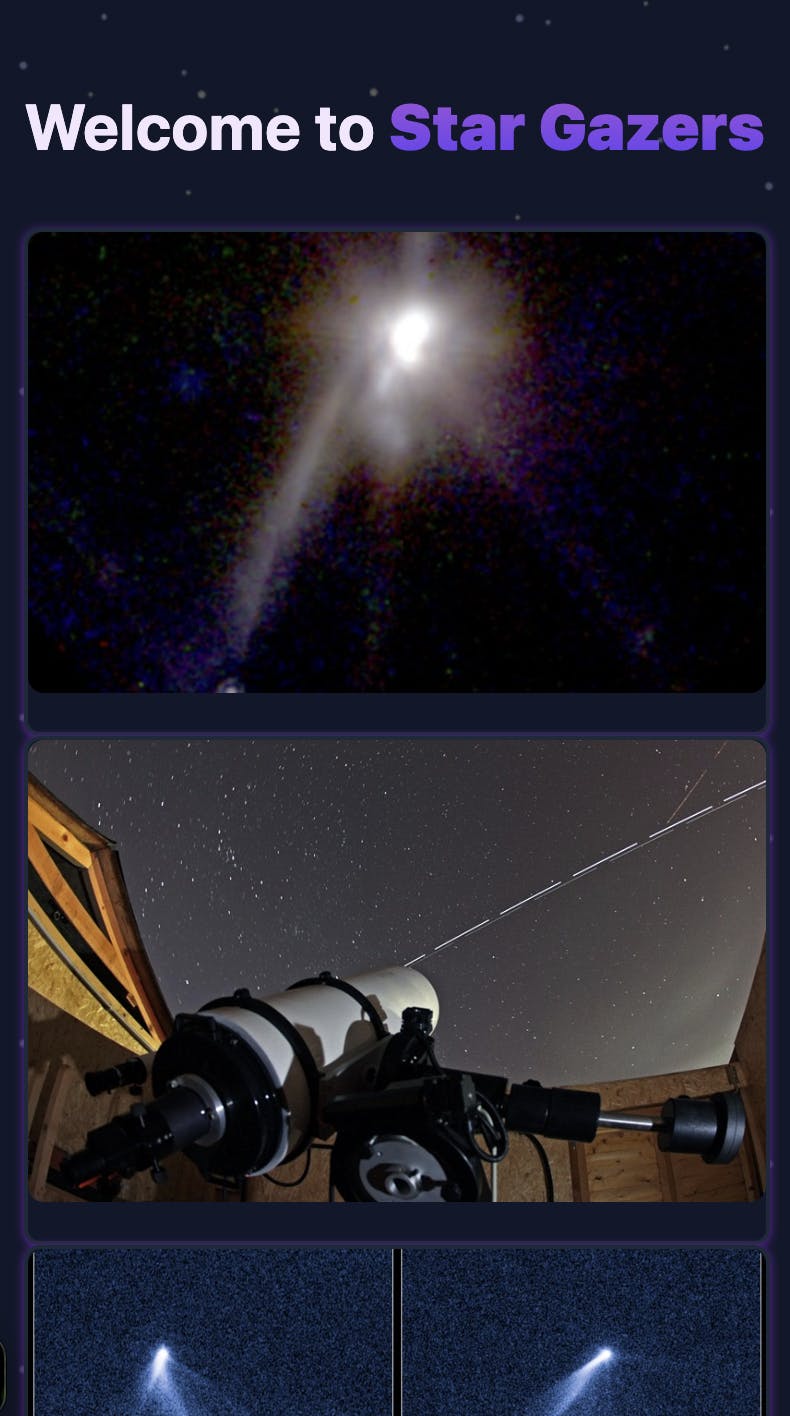
</Layout>When done, you should see 10 interstellar images rendered to the page 🌌
Add an animated carousel
We have our content listed out, but it's not very ... fun. Let's add some interactivity!
To start, let’s open our base Carousel implementation under src/components/Carousel.svelte. Most of this is plain CSS and some HTML templating to loop over our images. Still, you might’ve noticed this style in particular:
.image-container {
  grid-area: 1 / -1;
}
This places every image in the same row / column on our images element. In other words, we “sandwiched” all of our images on top of each other so we can cross-fade between them. More on that soon!
Now, let's replace our image rendering from earlier with this Carousel component:
<!--src/pages/index.astro-->
---
import Layout from '../layouts/Layout.astro';
import Carousel from '../components/Carousel.svelte';
...
---
<Layout title="Welcome to Astro.">
<main>
<h1>Welcome to <span class="text-gradient">Star Gazers</span></h1>
<Carousel images={images} />
</main>
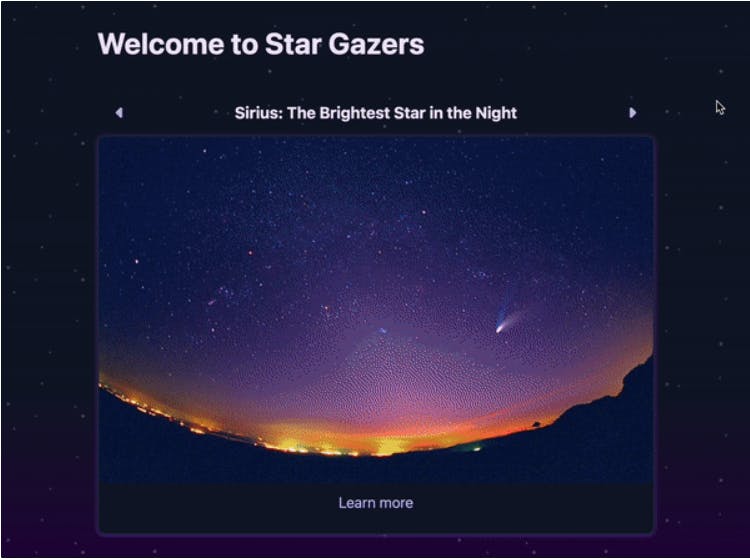
</Layout>You should see a stack of NASA images like this:
Wire up our previous / next buttons
Let's make those arrow buttons actually do something. We'll start with a currentIdx variable to keep track of which array index is displaying. We'll also add previous() and next() events to increment and decrement currentIdx, wrapping to the beginning whenever we hit the end of our array:
<!--src/components/Carousel.svelte-->
<script>
  import Image from './Image.svelte';

  export let images = [];

  let currentIdx = 0;
  function next() {
    currentIdx = (currentIdx + 1) % images.length;
  }
  function previous() {
    if (currentIdx === 0) {
      currentIdx = images.length - 1;
    } else {
      currentIdx -= 1;
    }
  }
</script>
Now, we can wire these functions to on:click events on our <button> elements. We can also use images[currentIdx] to display the correct image title in our h2:
<!--src/components/Carousel.svelte-->
<script>
...
</script>

<div class="buttons">
  <button on:click={previous} aria-label="Previous">
  <!--left arrow icon-->
  <svg>...</svg>
  </button>
  <h2>{images[currentIdx].title}</h2>
  <button on:click={next} aria-label="Next">
  <!--right arrow icon-->
  <svg>...</svg>
  </button>
</div>
Finally, we can conditionally show a given image in the list using an {#if} block:
<!--src/components/Carousel.svelte-->
...
<div class="images">
  {#each images as image, idx}
    {#if idx === currentIdx}
      <div class="image-container">
        <Image title={image.title} url={image.url} alt={image.explanation} media_type={image.media_type}>
        <a slot="figcaption" href={`/${image.date}`}>Learn more</a>
        </Image>
      </div>
    {/if}
  {/each}
</div>
Looks like we're ready to go! We can click that next button and ... wait ... nothing happened 😳 What gives?
Challenge step [solved]: Hydrate our carousel
Well, there's one more step to make your components interactive. By default, Astro will only server-render your component's HTML and CSS, ignoring any client-side JavaScript. This lets you use your favorite framework while shipping zero JS to the browser 👀
When you do need that interactivity, you can add a client: directive wherever that component is used. We'll apply client:idle to our <Carousel /> like so:
<!--src/pages/index.astro-->
---
...
---

<Layout title="Welcome to Astro.">
  <main>
    <h1>Welcome to <span class="text-gradient">Star Gazers</span></h1>
    <Carousel client:idle {images} />
  </main>
</Layout>
This is one of many client: directives you can use in Astro. client:idle will load our component's JavaScript when the main thread is free, letting other scripts like analytics and eagerly-loaded components take precedence. You can also wait to load JavaScript until the component scrolls into view, only when a CSS media query is satisfied, and more 🔥
With this directive applied, you can happily click through that carousel!
Add transitions
What's a carousel without some animations? Since we're using Svelte, we can reach for some nice built-in transitions here. Let's try importing the fly transition from our carousel:
<!--src/components/Carousel.svelte-->
<script>
 import { fly } from 'svelte/transition';
...
</script>
And apply it to our image-container with the transition: directive:
<!--src/components/Carousel.svelte-->
...
<div class="images">
  {#each images as image, idx}
    {#if idx === currentIdx}
      <div class="image-container" transition:fly={{ y: 20 }}>
        <Image title={image.title} url={image.url} alt={image.explanation} media_type={image.media_type}>
        <a slot="figcaption" href={`/${image.date}`}>Learn more</a>
        </Image>
      </div>
    {/if}
  {/each}
</div>
Our carousel should feel astronomically better to click now 👩🚀

Bonus: Add some "learn more" routes
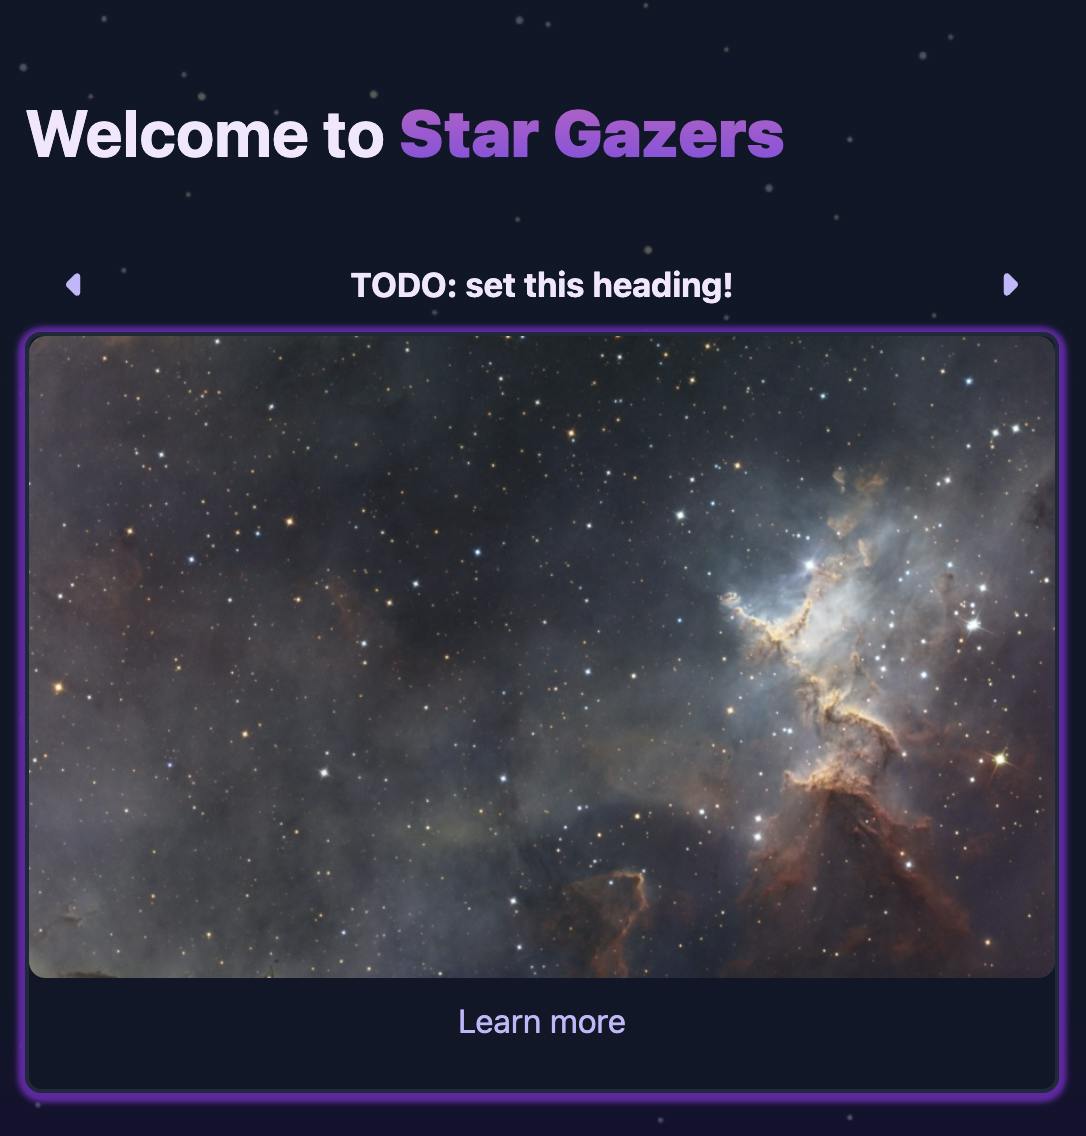
If you got this far and you're hungry for more, try out Astro’s dynamic routing! You may have noticed that our "learn more" link doesn't take us anywhere right now:

Since these images are randomly generated, our route could be thousands of different entries (one for each day of this API's existence actually). This sounds like a job for serverless functions 🚀
Before jumping in, let’s add output: 'server' to the project's astro.config.mjs. This should enable the dynamic routing we're after:
// astro.config.mjs
import { defineConfig } from 'astro/config';

import svelte from "@astrojs/svelte";

// <https://astro.build/config>
export default defineConfig({
  output: 'server',
  integrations: [svelte()]
});
Restart the dev server with ^C + npm run dev for these changes to take effect.
We should note that dynamic routing is also possible in "static site" mode using getStaticPaths. We don't know all of our possible routes up-front though, so this won't serve (heh) our use case!
After restarting the dev server, create a new route to read our image date to a variable using [bracket syntax]. Say, an [imageDate].astro file like this one:
---
// src/pages/[imageDate].astro
import Layout from '../layouts/Layout.astro';
const { imageDate } = Astro.params;
---
<Layout title={imageDate}>
<main>
<h1>{imageDate}</h1>
</main>
</Layout>
<style>
h1 {
margin: 2rem 0;
}
main {
margin: auto;
padding: 1em;
max-width: 60ch;
}
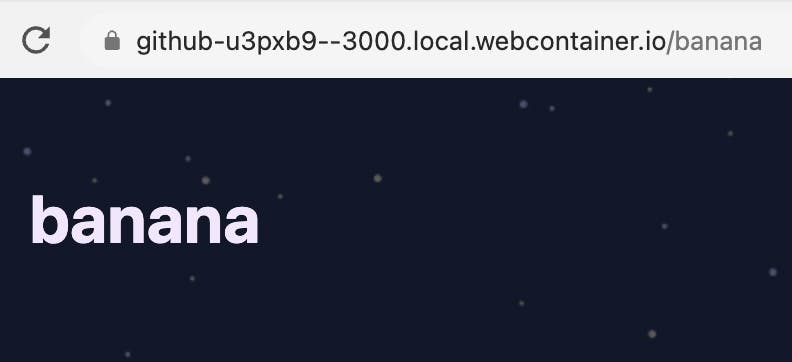
</style>This route will display for every base-level route other than our homepage. Right now, this should render our visited route to that h1 heading:
Let's try requesting more information using the NASA API. We can reuse the same "apod" endpoint from our home page, this time passing a date parameter:
---
// src/pages/[imageDate].astro
import Layout from '../layouts/Layout.astro';

const { imageDate } = Astro.params;
 const image = await fetch(
   `https://api.nasa.gov/planetary/apod?api_key=DEMO_KEY&date=${imageDate}`
 ).then(res => res.json());
---
Since the result is the same shape as our homepage images, we can reuse our Image component to display this to the user:
---
// src/pages/[imageDate].astro
import Layout from '../layouts/Layout.astro';
import Image from '../components/Image.svelte';

const { imageDate } = Astro.params;
const image = await fetch(
  `https://api.nasa.gov/planetary/apod?api_key=DEMO_KEY&date=${imageDate}`
).then(res => res.json());
---

<Layout title={image.title}>
  <main>
   <h1>{image.title}</h1>
   <Image title={image.title} url={image.url} alt={image.explanation} media_type={image.media_type}>
    <p slot="figcaption">
      {image.explanation}
    </p>
    </Image>
  </main>
</Layout>
Try heading to our homepage and clicking "learn more." You should be taken to a unique URL with a full explanation block, shareable to anyone on the galaxy-wide-web 🌌
Oh, and this entire page is rendered server-side with zero JavaScript in the browser. How's that for warp speed!
Deployment
If you want to deploy your Star Gazers site, we suggest deploying to SSR by following our deployment guides. We can get you on Netlify, Vercel, Deno Deploy, and more in minutes ❤️
You should also check out:


Wrapping up
We hope this tutorial makes you as excited about Astro as we are! There's still countless features to explore, like:
- Adding Tailwind CSS with zero config
- Built-in Markdown and MDX support
- Optimizing images with our Image component
- Generating sitemaps and RSS feeds
And more. If you're excited to explore the Astro-verse, hop into our docs and join our sparkling Discord community. We hit version 1.0 as of 2022, so our voyage has only just begun 🚀


